Happy Wednesday!
For today's post, I've created this nature inspired Relax Tag. To create the tag, I've used a variety of stamps, dies and stencils from the new release from the Art Journal Specials Collection as well as Joset Designs. You'll want to read below as I have a full tutorial on how to recreate my tag at home.

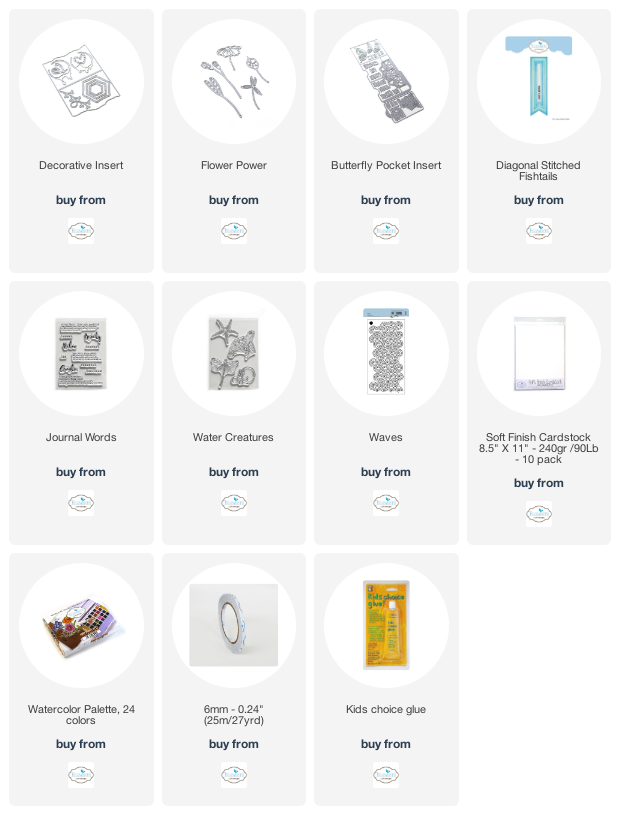
To start, die cut the tag from the Butterfly Pocket Insert Die out of White Soft Finish Cardstock. Place the Waves stencil on the left hand side of the tag. Using a palette knife and Texture Paste Opaque Matte, put the texture paste through the stencil. Remove the stencil and allow the paste to dry. Once the paste has dried, spritz the tag with water and then Distress Spray Stain in Carved Pumpkin, Mermaid Lagoon and Tumbled Glass. Allow the tag time to dry.
Once the tag has dried, apply Jet Black Archival Ink to the bubbles from the Water Creatures stamp set and stamp randomly on the tag five times as desired. Reapply ink the stamp as needed. Ink the edges of the tag using Black Soot Distress Ink and a blending tool with foam.

Die cut a 3/4" Stitched Diagonal Fishtail out of Kraft Cardstock. Cut the fishtail down to 4". Ink the edges of the fishtail using Black Soot Distress Ink and a blending tool with foam.

From the Decorative Insert, you'll need the medium hexagon and the heart branch. Die cut the heart branch out of White Soft Finish Cardstock. Die cut the medium hexagon out of kraft cardstock. Cut the hexagon down to 1 5/8". Ink the edges of the cut hexagon using Black Soot Distress Ink and a blending tool with foam.

From the Flower Power Die, you'll need the two bud branch, the other two bud with the branches attached and one of the single flower buds. Die cut the two bud with the branches attached and one single flower bud out of White Soft Finish Cardstock. Die cut the two bud branch twice out of White Soft Finish Cardstock. Using the Watercolor Palette and a waterbrush, colour a flower bud, one of the two bud branch and a two bud branch with the branch attached.

Apply Jet Black Archival Ink to the Dragonfly stamp from the Water Creatures stamp set and stamp onto a piece of White Soft Finish Cardstock. Colour the veins in using the Watercolor Palette and a waterbrush. Fussy cut the dragonfly out. Ink the edges of the dragonfly using Black Soot Distress Ink and a blending tool with foam.

Apply Jet Black Archival Ink to the Relax word from the Journal Words stamp set and stamp onto a piece of White Soft Finish Cardstock. Fussy cut the word out. Ink the edges of the word using Black Soot Distress Ink and a blending tool with foam.

Cut a piece of cheesecloth at the desired width and length.

Adhere the 4" fishtail 1/8" from the left of the tag. Adhere the cut hexagon 1/4" from the bottom and all the way to the right hand side of the tag. Adhere the cheesecloth as desired between the fishtail and the hexagon.

Adhere the bud branches and other branches as desired over top of the cheesecloth on the left hand side of the tag.

Adhere the dragonfly to the bottom portion of the buds and branches as desired. Foam square the relax word to the middle inside of the hexagon as desired.

To finish the tag, tie a piece of twine through the hole at the top of the tag.

Here are a few closeup photos of the finished tag.


Here is the finished Relax Tag.

Elizabeth Craft Designs Supplies Used:
Other Supplies Used:
- Ranger Ink: Texture Paste Opaque Matte and Jet Black Archival Ink
- Tim Holtz for Ranger Ink: Distress Ink - Black Soot, Distress Spray Stain - Carved Pumpkin, Mermaid Lagoon & Tumbled Glass and Blending Tool with Foam
- Misc: Kraft Cardstock, Twine and Cheesecloth
I hope that my tag has inspired you to recreate your own version at home.
- Katelyn
No comments:
Post a Comment