Friday, July 17, 2020

Like Wild Flowers Altered Thread Spool

Happy Friday!

I'm up on Wild Whisper's blog today, where I'm sharing my Like Wild Flowers Altered Thread Spool which features the Happy Tails and Strength of the Season Collections.


For all the details, more photos and a full tutorial on my altered thread spool, you'll want to stop by the Wild Whisper blog. You'll want to make sure to keep checking out Wild Whisper's blog as the design team will be sharing lots of inspiration featuring the new collections.

- Katelyn

Wednesday, July 15, 2020

We Are Unstoppable Note Piece

Happy Wednesday!

Today's piece is a little different and I'm so excited to be sharing with you as I've used a variety of dies from the Planner Essentials Collection as well as stamps, stencils and dies from the Art Journal Specials Collection to create this mixed media We Are Unstoppable Note Piece. You'll want to read below as I have a full tutorial on how to recreate my note piece at home.


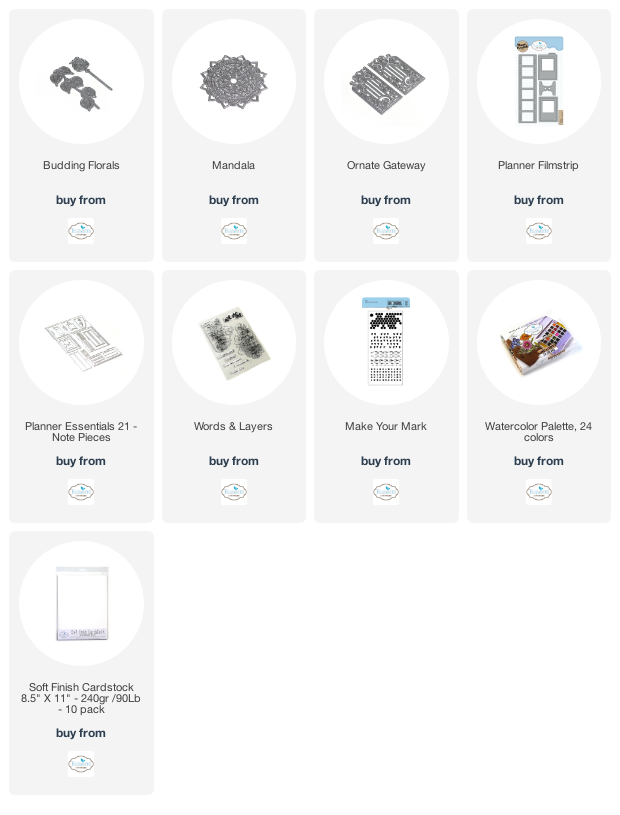
To start, die cut the 2 5/8" Note Piece from the Planner Essentials 21 - Note Pieces die out of White Soft Finish Cardstock. Place the hexagon portion of the stencil from the Make Your Mark Stencil on the left hand side of the note piece. Spritz Cracked Pistachio Distress Spray Stain through the stencil. Once the stenciled area has dried, apply Jet Black Archival Ink to one of the mixed media looking stamps from the Words & Layers stamp set and stamp in the middle of the stenciled area as desired. Reapply ink to the stamp and stamp randomly on the note piece four times as desired. 


Die cut the right Ornate Gateway die out of White Soft Finish Cardstock. Apply Emboss It Ink to the gate and sprinkle Seth Apter - Baked Texture: Blizzard Embossing Powder over the entire surface of the gate. Tap off the excess powder and emboss with a heat tool. 


Die cut the film strip piece from the Planner Filmstrip die out of black cardstock. Cut the filmstrip down to 5 3/8".


From the Budding Florals die, die cut the budding branch out of a piece of White Soft Finish Cardstock. Colour the budding branch in using the Watercolor Palette and a waterbrush. I used the orange colour to colour the branch.


Die cut the Mandala out of kraft cardstock. Cut the mandala in half.


Apply Jet Black Archival Ink to the We Are and Unstoppable stamps from the Words & Layers stamp onto a piece of kraft cardstock. Fussy cut around the We Are word. Cut the unstoppable word into a strip, cut one end on an angle if desired. 


Staple the film strip to the left hand side of the note piece as desired. Use as many staples as desired. Staple the half mandala to the middle left side of the film strip. Use as many staples as desired.


Staple the gate over top of the mandala. Foam square the budding branch 1/8" from the bottom and 7/8" from the top of the note piece. Foam square the We Are words 1 3/8" from the bottom and all the way to the right hand side of the note piece. Use adhesive and foam square to adhere the unstoppable strip  1" from the bottom and all the way to the right hand side of the note piece. 


Here are a few closeup photos of the finished note piece.


Here is the finished We Are Unstoppable Note Piece.


Elizabeth Craft Designs Supplies Used:
Other Supplies Used:

- Tim Holtz for Ranger Ink: Distress Spray Stain - Cracked Pistachio
- Ranger Ink: Jet Black Archival Ink and Emboss It Ink
- Emerald Creek Craft Supplies: Seth Apter - Baked Texture - Blizzard Embossing Powder
- Misc: Kraft Cardstock, Black Cardstock and Mini Stapler

I hope that my note piece has inspired you to recreate your own version at home.

- Katelyn


Tuesday, July 14, 2020

Only from the Heart Card

Happy Tuesday!


I'm up on the Quietfire Design blog today, where I'm sharing my Only from the Heart Card. My card features a variety of Quietfire stamps, A Way With Words Dies and Modern Gilding Powder.


For a full tutorial of my card, you'll want to head over to Quietfire Design blog for all the details. 

- Katelyn

Sunday, July 12, 2020

Elizabeth Craft Designs July Group Post - Summer Fun

Happy Sunday!

For July's Group Post it's all about Summer Fun! For this month's group post, I'm sharing my Tropical Vibes Card which is the perfect for sending to a friend. To create my card, I've used dies and stamps from Joset Designs. Grab a cup of your favourite summertime beverage and read below as I have a tutorial for you so that you can re-create my Tropical Vibes Card at home. You'll also want to make sure to stop by the Elizabeth Craft Designs Blog to check out the rest of the projects.


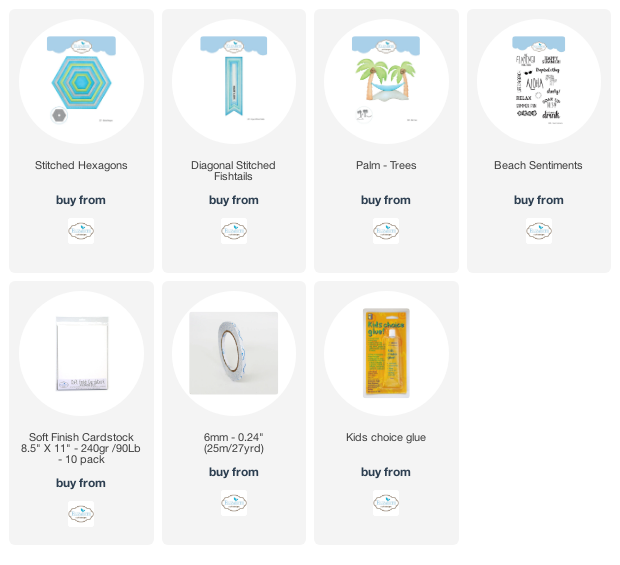
To start, cut a piece of White Soft Finish Cardstock that measures 5 1/2" x 10", score at 5" and fold the cardstock piece in half. Place the 5 1/8" Stitched Hexagon on the folded cardstock piece, making sure that the top of the stitched hexagon die sits off the top of the scored line on the piece of cardstock, this way you won't end up with two hexagon pieces.


From a piece of tropical patterned paper, die cut the 5 1/8" Stitched Hexagon out of it. Ink the edges of the stitched hexagon using Walnut Stain Distress Ink and a blending tool with foam.


Die cut a 4 3/4" Stitched Hexagon out of White Soft Finish Cardstock. Ink the edges of the hexagon using Walnut Stain Distress Ink and a blending tool with foam.


Die cut a 3/4" Diagonal Stitched Fishtail out of White Soft Finish Cardstock. Apply Tumbled Glass Distress Ink to the Tropical Vibes sentiment from the Beach Sentiments stamp set and stamp onto the fishtail. Cut the fishtail down to 2 1/2".


The next four steps use the Palm Trees die.

Die cut the sand out of piece of White Soft Finish Cardstock. Apply Emboss It Ink to the sand piece. Sprinkle Seth Apter - Baked Texture - Dirty Sand Embossing Powder over the entire surface of the piece. Tap off the excess powder and emboss with a heat tool.


Die cut both palm tree tops out of White Soft Finish Cardstock. Using a blending tool with foam, blend Mowed Lawn Distress Ink over the entire surface of both pieces.


Die cut both palm tree trunks out of White Soft Finish Cardstock. Using a blending tool with foam, blend Vintage Photo Distress Ink over the entire surface of both pieces.


Die cut the coconuts twice out of White Soft Finish Cardstock. Using a blending tool with foam, blend Walnut Stain Distress Ink over the entire surface of all the pieces.


Adhere the 4 3/4" stitched hexagon to the 5 1/8" stitched hexagons.


Foam square the sand to the bottom of the 4 3/4" stitched hexagon. Adhere the tops to each of the palm tree trunks. Use adhesive and foam squares to adhere the palm trees on the left hand side of the sand. To finish the palm trees, adhere three coconuts where the top of the palm tree and the trunk of the palm tree meet on each palm tree.


Use adhesive and foam squares to adhere the tropical vibes sentiment to the right of the palm trees. Slip part of the fishtail underneath the palm tree. 

To finish the card, adhere the cardfront to the hexagon cardbase.


Here are a few closeup photos of the finished card.


Here is the finished Tropical Vibes Card.


Elizabeth Craft Designs Supplies Used:

Other Supplies Used:

- Emerald Creek: Seth Apter - Baked Texture Embossing Powder: Dirty Sand
- Tim Holtz for Ranger Ink: Distress Ink - Mowed Lawn, Tumbled Glass, Vintage Photo & Walnut Stain and Blending Tool with Foam
- Ranger Ink: Emboss It Dabber
- Mintay: Wanderlust Patterned Paper

Thanks so much for joining me today and I hope that I have inspired you to recreate your own version of my Tropical Vibes Card.

- Katelyn


Friday, July 10, 2020

Leaf Envelope

Happy Friday! 

For today's post, I've created this vintage looking Leaf Envelope perfect to add in between any page in my Sidekick Planner. To create my envelope, I've combined a variety of dies and stamps from the Planner Essentials Collection and Sidekick Essentials Collection. You'll want to grab a cup of your favourite beverage and learn how to recreate my envelope at home.


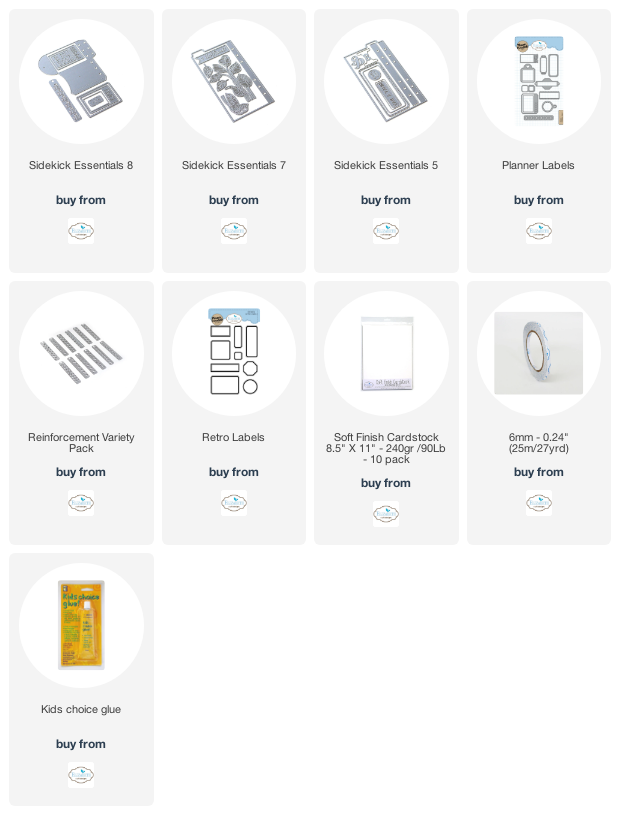
To start, die cut the envelope from the Sidekick Essentials 8 die out of kraft cardstock.


Choose a couple of the label stamps from the Retro Labels stamp set. Apply Candied Apple and Faded Jeans Distress Ink to the labels as needed and stamp the labels onto the envelope randomly as desired. Once the envelope has been covered with label images, ink the edges of the envelope using Walnut Stain Distress Ink and a blending tool with foam.


From the same die, die cut the two circles out of black cardstock.


From the Planner Labels die, you'll need the stitched circle and the label with arrows on it. Die cut the stitched circle out of black cardstock. Die cut the label with arrows on it out of vellum.


From the Sidekick Essentials 7 die, die cut the leaves out of White Soft Finish Cardstock. From the Sidekick Essentials 5 die, die cut the 03 circle label out of kraft cardstock. Make sure to keep the zero and three from the circle label.


Choose one of the Reinforcement Variety Pack, choose one of the reinforcements. Die cut the reinforcements out of black cardstock. You'll need a total of six.


Staple the arrow label on the left hand side of the envelope as desired. Adhere the leaves to the vellum.


Adhere the kraft 03 circle to the stitched circle. Foam square the stitched circle to the bottom right of the leaves. Adhere the large black circles overtop of the little holes on the envelopes. 


Adhere the envelope together.


Adhere three of the reinforcement circles over top of the circles on the envelope.


Flip the envelope over. Adhere three of the reinforcement circles over top of the circles on the envelope.


To finish the envelope. Add string to the in order to open and close the envelopes.


Here are a few closeup photos of the finished envelope.


Here is the finished Leaf Envelope.


Elizabeth Craft Designs Supplies Used:


Other Supplies Used:

Tim Holtz for Ranger Ink: Distress Ink - Candied Apple, Faded Jeans & Walnut Stain and Blending Tool with Foam
- Misc: Kraft Cardstock, Black Cardstock, Vellum, Twine and Mini Stapler


Thanks so much for joining me today and I hope that I have inspired you to recreate your own version of my Leaf Envelope.

- Katelyn