Happy Wednesday!
For January's Group Post it's all about A New Year Means New Planner Ideas. For this month's group post, I'm sharing my January Title Page. To create my planner spread, I've used dies and stamps from the Planner Essentials Collection. Grab your favourite Winter beverage and read below as I have a tutorial for you so that you can re-create my January Month Marker at home. You'll also want to make sure to stop by the Elizabeth Craft Designs Blog to check out the rest of the projects.

To start, die cut the January word from the Planner Months die out of White Soft Finish Cardstock.

Choose a winter paper collection you'd like to use. From one of the patterned papers, die cut one of the labels from the Planner Labels die out of it.

Choose another piece of patterned paper and die cut two of the dotted circle frames from the Planner Pocket - 2.

Choose another piece of patterned paper from the collection, die cut the 3d looking square pattern from the Planner Patterns out of it.

Die cut the torn strips twice out of two of the previously used patterned papers. Cut one of the torn strips down to 6 3/4". Cut the other torn strip down to 6 3/8".

Choose another piece of patterned paper and one that you have already used. Apply Jet Black Archival Ink to the hexagon stamp from the Months stamp set and stamp a total of seven hexagons on the patterned paper. Reapply ink to the hexagon stamp as needed. Fussy cut the seven hexagons out.

Die cut the small and medium sized banner from the Planner Essentials - 3 die out of two of the patterned papers already used.

From one of the previous used patterned papers, die cut the hexagon reinforcements from the Planner Essentials - 5 die out of the paper.

The last element you need is the page from the Planner Essentials - 9 die out of one of the patterned papers from the collection.

Adhere the reinforcement hexagons over each circle on the page. Adhere three of the hexagons to the bottom right side of the page. Adhere the other four hexagons to the top left side of the page.

Adhere the 6 3/4" torn strip 1 3/4" from the left and 7/8" from the bottom of the page. Adhere the 6 3/8" torn strip 1 5/8" from the right and 1/2" from the bottom of the page. Adhere the 3d square pattern to the middle of the torn strips.

Adhere the first dotted circle frame to the middle of the 3d square pattern. Adhere the other dotted circle frame slightly off from the previously adhere dotted circle frame. You'll want to make sure that the dotted circle frames don't line up. Foam square the label to the middle of the dotted circle frames.

Adhere the January word to the middle of the label. Adhere the two banners to the top right of the page.

To finish the dotted circle frame, add white craft drops to each of the circles.

Here are a few closeup photos of the month marker page.


Here is the finished January Marker Page.

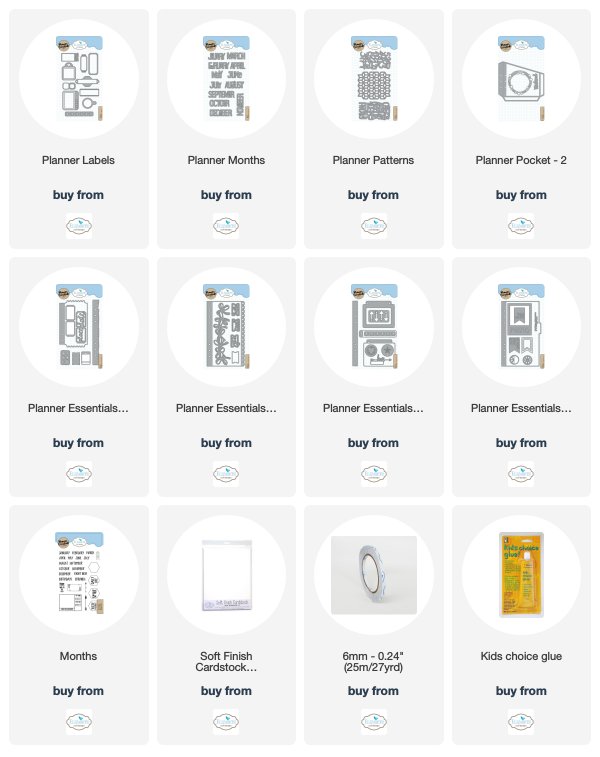
Elizabeth Craft Designs Supplies Used:
Other Supplies Used:
- Ranger Ink: Jet Black Archival Ink
- Misc: Winter Patterned Paper
Thanks so much for joining me today and I hope that I have inspired you to recreate your own version of my January Month Marker.
- Katelyn
No comments:
Post a Comment