Monday, April 1, 2019

Elizabeth Craft Designs April Group Post - All About Easter

Happy Monday!

We are switching things up on the Elizabeth Craft Designs blog this year and instead of having a designer challenge, we are now having group posts each month. Each month the group post will have a theme and some or all of the design team members will participate. For April's theme it's all about Easter Projects!

Easter is only 20 days away it's time to start thinking about creating some Easter Cards. For this month's group post, I created this cute Easter Card, perfect to give to that special someone in your life. To create my card, I've used dies from Els van de Burgt Studio, Joset Designs and ModaScrap as well as patterned paper from ModaScrap. Grab your favourite beverage and read below as I have a tutorial for you so that you can re-create my card at home. You'll also want to make sure to stop by the Elizabeth Craft Designs Blog to check out the rest of the team's projects. 


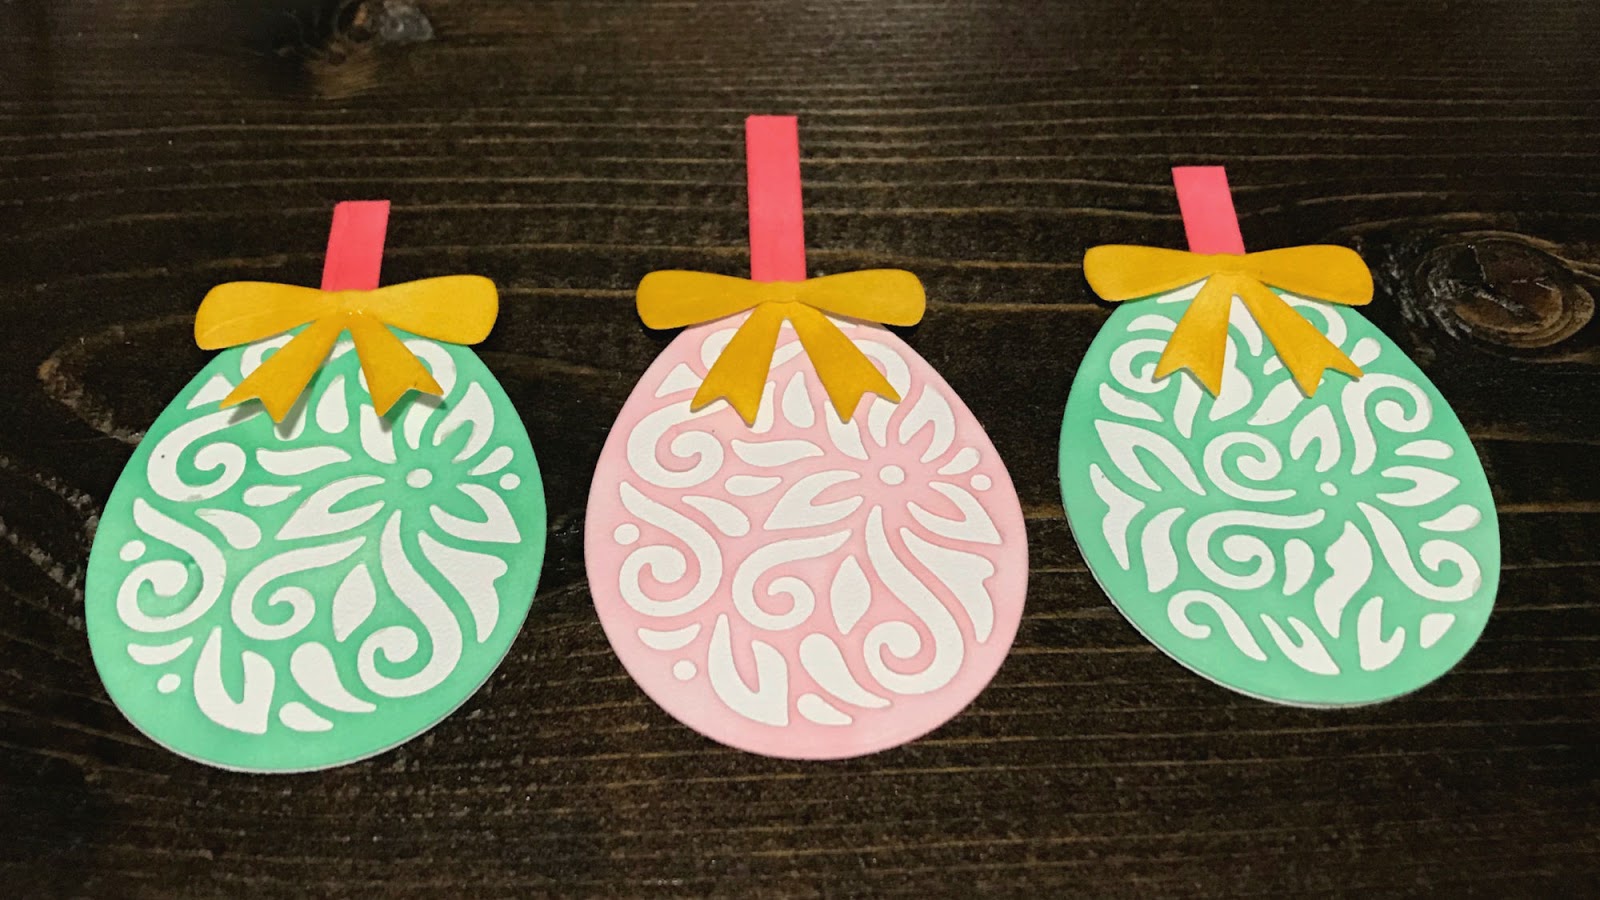
To start, from the Elegant Easter Eggs - Small, die cut the plain egg, intricate egg and then use the die for the plain egg to cut the intricate egg out of the cardstock, bow and band out of White Soft Finish Cardstock. Using a blending tool with foam, blend Picked Raspberry Distress Ink overtop of the intricate egg. Using a blending tool with foam, blend Squeezed Lemonade Distress Ink overtop of the intricate egg.


From the Words 3 - Happy Holidays die, die cut the Happy Easter sentiment out of White Soft Finish Cardstock.  Using a blending tool with foam, blend Shaded Lilac Distress Ink overtop of the Happy Easter sentiment.


From the Trio of Leaves die, choose one of the leaves. Die cut one of the leaves four times out of White Soft Cardstock.  Using a blending tool with foam, blend Spun Sugar Distress Ink overtop of the leaves.


Choose four flowers from the Small Flower Set. Die cut two of the flowers twice each out of White Soft Finish Cardstock. Die cut two of the other flowers twice each out of White Soft Finish Cardstock. Die cut the centers of the flowers twice out of White Soft Finish Cardstock.  Using a blending tool with foam, blend Picked Raspberry Distress Ink overtop of three of the flowers and three centers.  Using a blending tool with foam, blend Shaded Distress Ink overtop of the three flowers and three centers.


Die cut two of the small Entwined Circles out of White Soft Finish Cardstock.


Choose two pieces of patterned paper from ModaScrap's Butterfly Dream Paper Pack. Die cut the 4 3/4" Dashing Square out one of the patterned papers. Cut the other patterned paper down to 4 1/4" x 4 1/4". Ink the edges of both papers using Black Soot Distress Ink and a blending tool with foam.


Die cut a 4 1/4" Dashing Square out of Kraft Cardstock. In the top right corner, tear some of the cardstock down. In the bottom left corner, tear some of the cardstock up. Ink the edges of the square using Black Soot Distress Ink with a blending tool and foam.


Adhere the kraft cardstock square to the 4 1/4" patterned paper square. Foam square the 4 1/4" kraft cardstock square to the 4 3/4" square.


Adhere the first entwined circle to the middle of the kraft cardstock square. Adhere the other entwined circle overtop of the first entwined circle. 


Adhere the intricate egg together. Foam square the intricate egg to the middle of the entwined circles.


In the bottom right side of entwined circle, adhere three flowers and two leaves. In the top left side of the entwined circle, adhere the other three flowers and two leaves. In the bottom left hand corner of the cardfront, adhere the Happy Easter. 
To finish off your card, cut a cardbase out of White Soft Finish Cardstock that measures 4 3/4" x 9 1/2", score at 4 3/4". Adhere the cardfront to the cardbase.


Here are a few closeups of the card.


Here's the finished Happy Easter Card.


Elizabeth Craft Designs Products Used:


Other Products Used:

- Tim Holtz for Ranger Ink: Distress Ink - Black Soot, Spun Sugar, Shaded Lilac, Squeezed Lemonade & Picked Raspberry and Blending Tool with Foam
- Misc: Kraft Cardstock

- Katelyn


Sunday, March 31, 2019

Miss You Tag

Happy Sunday! Spring is in the air and I've been busy playing with the die Ready to Bloom from ModaScrap. With the Ready to Bloom die in had, I set off and created this cute Miss You Tag. To create my tag, I used dies from ModaScrap, Planner Essentials, a stencil from A Way With Words and a stamp set from Joset Designs. You'll want to read below as I share with you how to recreate my Miss You Tag at home.


To start, you'll need a scrap piece of White Soft Finish Cardstock. Apply Jet Black Archival Ink to the Miss You stamp and stamp onto the scrap piece of cardstock. Cut the sentiment in half. Distress the edges of each piece. Ink the edges of each piece using Black Soot Distress Oxide Ink and a blending tool with foam.


From the Planner Essentials 2 die, you'll need the large tag. Die cut the large out of White Soft Finish Cardstock. Place the Dotty stencil over top of the tag. Sprinkle Mango Tango, Rosebud and Aquamarine Magenta Nuance Powder through the stencil. Spritz the stencil with water and then remove the stencil. Once the tag has dried, distress the edges. Ink the edges of the tag using Black Soot Distress Oxide Ink and a blending tool with foam.


Die cut the Ready to Bloom die out of White Soft Finish Cardstock. Sprinkle Spring Green and Aquamarine Magenta Nuance overtop of the bloom. Spritz the bloom with water.


Adhere the Ready to Bloom image to the left hand side of the tag. Cut the bottom of the bloom to your desired length.


Use foam squares to adhere the Miss You Sentiment to the right hand side of the tag. 


To finish off the tag, tie a piece of twine through the top of the tag.


Here are a few closeups of the finished tag.


Here's the finished Miss You Tag.


Elizabeth Craft Designs Supplies Used:


Other Supplies Used:

- Tim Holtz for Ranger Ink: Distress Oxide Ink- Black Soot and Blending tool with Foam
- Ranger Ink: Jet Black Archival Ink and Mister
- Magenta Nuance: Aquamarine, Mango Tango, Rosebud and Spring Green
- Misc: Twine

Thanks for stopping by and checking out my card. I hope that I've inspired you to recreate my Miss You Tag at home.

- Katelyn 


Thursday, March 28, 2019

Congratulations Card

Happy Thursday!
I have a new post over on Quietfire Design blog today, where I'm sharing my Congratulations Card which features a variety of Quietfire stamps and A Way With Words Dies.


For a full tutorial and a few more photos of my project, you'll want to head over to Quietfire Design blog for all the details. 

- Katelyn

Monday, March 25, 2019

Believe Double Page Scrapbook Layout

Happy Monday! I'm up on Creative Scrapbooker Magazine's Blog as a monthly blogger sharing my Believe Double Page Scrapbook Layout. My layout features the Say Cheese 4 Collection from Simple Stories, ink from Ranger Ink and adhesive from Scrapbook Adhesives by 3L.


You'll want to make sure to stop by the Creative Scrapbooker Blog to learn all about how I created my Believe Double Page Scrapbook Layout.

Thank for stopping by!
- Katelyn

Wednesday, March 20, 2019

Happy Easter Card

Happy Wednesday! I've been busy playing with Joset Designs new fabulous collection. With the new Easter themed dies in hand, I set off and created my fun Happy Easter Card. To create my card, I used dies from Joset Designs, ModaScrap and Els van de Burgt Studio. You'll want to read below as I share with you how to recreate my Happy Easter Card at home.


To start, you'll need the Elegant Easter Eggs Small Die.

Die cut the bow dies three times out of White Soft Finish Cardstock. Using a blending tool with foam, blend Fossilized Amber Distress Ink over the entire surface of each bow.


Die cut the one of the decorative easter eggs twice and the plain easter egg twice out of White Soft Finish Cardstock. Using a blending tool with foam, blend Cracked Pistachio Distress Ink over the entire surface of the two decorative easter eggs.


Die cut the other decorative easter egg once and the plain easter egg once out of White Soft Finish Cardstock. Using a blending tool with foam, blend Spun Sugar Distress Ink over the entire surface of the decorative easter eggs.


Die cut the hanger die three times out of White Soft Finish Cardstock. Using a blending tool with foam, blend Worn Lipstick Distress Ink over the entire surface of the hangers.


From the Adventure Edges die, die cut the flowers out of White Soft Finish Cardstock. You'll only need three of them. Using a blending tool with foam, blend Spun Sugar Distress Ink over the entire surface of the flowers.


Die cut the 1 1/8" Stitched Fishtail Banner out of White Soft Finish Cardstock. Cut the banner down to 3 1/8". Apply Jet Black Archival Ink to the Happy Easter stamp and stamp onto the banner. Ink the edges of the banner using Ground Espresso Distress Ink and a blending tool with foam.


Choose a patterned paper piece out of the Beautiful Season Paper Pack. Die cut the 4 1/2" Dashing Rectangle out of the patterned paper. Ink the edges of the rectangle using Ground Espresso Distress Ink and a blending tool with foam.


From the Stitched Rectangles Die, die cut the 4" stitched rectangle out of White Soft Finish Cardstock. Ink the edges of the rectangle using Ground Espresso Distress Ink and a blending tool with foam.


Adhere the 4" Stitched Rectangle to the 4 1/2" Dashing Rectangle.


Adhere the decorative easter eggs to the back of each plain easter egg. Adhere the bows and hanger to each egg. Trim the hangers to the desired length.


Adhere the Happy Easter banner to the bottom left hand corner of the card front. Use foam squares to adhere one cracked pistachio egg 1/8" from the left and all the way to the top 4" stitched rectangle piece. Adhere the pink easter egg 5/8" from the bottom and all the way to the top of the 4" stitched rectangle. Adhere the cracked pistachio easter egg 1 1/8" from the bottom and all the way to the top of the 4" stitched rectangle. Make sure that all the hangers are at the top of the card front.


Cut a card base that measures 5 3/4" x 9", score at 4 1/2". Adhere the card front to the card base. Adhere the three flowers to the Happy Easter banner. To finish off the card, adhere Transp. Glitter/Gold Dots to the decorative easter eggs and the flowers on the banners.


Here are a few closeups of the finished card.


Here's the finished Happy Easter Card.


Elizabeth Craft Designs Supplies Used:


Other Supplies Used:

- Tim Holtz for Ranger Ink: Distress Ink- Spun Sugar, Worn Lipstick, Cracked Pistachio & Fossilized Amber and Blending tool with Foam
- Ranger Ink: Jet Black Archival Ink 

Thanks for stopping by and checking out my card. I hope that I've inspired you to recreate my Happy Easter Card at home.

- Katelyn 


Tuesday, March 19, 2019

March Calendar Page & Important Dates Tag

Happy Tuesday! I'm up on the Elizabeth Craft Designs blog today sharing my March Calendar Page and Important Dates Tag, which features dies from the new release from the Planner Essentials collection as well as dies from Els van de Burgt Studio and Joset Designs to create my pages.


I have a full tutorial on how I made my March Calendar Page and Important Dates Tag over on the Elizabeth Crafts Designs Blog


- Katelyn

Saturday, March 16, 2019

March Week #1 - Planner Post

Happy Saturday! I'm excited to be sharing with you Week 1 of my planner spread. I've been playing with the different stamps and dies in the planner collection from Elizabeth Craft Designs to my pages. You'll want to grab a cup of your favourite beverage and read below as I have a tutorial for you on how to recreate my planner spread. 


To start, you'll need to die cut the left hand planner page from the Planner Essentials 4 die out of White Soft Finish Cardstock. Next, you'll need to die cut the right hand planner page from the Planner Essentials 2 die out of White Soft Finish Cardstock. On a gel press plate, you'll need to put three large dots of Jade, Butter and Spanish Mulberry PaperArtsy Fresco Finish Chalk Acrylics. Using a brayer, mix the colours together by covering the plate with all of the paint. Press in a stencil and bubble wrap randomly on the plate. Press one of the pages into the plate, peel off and set aside. Repeat the previous steps for the other page.  Apply Jet Black Archival Ink to the March month out of the Calendar stamp set and stamp onto the tab of the right hand side page.


Apply Jet Black Archival Ink to the zigzag stamp from the Schedule stamp set and stamp randomly on the left hand side of the page. Apply ink to the stamp as many times as needed and stamp as many times as desired. Repeat the previous step for the right hand side of the page. Apply Jet Black Archival Ink to the bubbles stamp from the Patterns 2 stamp set and stamp randomly on the left hand side of the page. Apply ink to the stamp as many times as needed and stamp as many times as desired. Repeat the previous step for the right hand side of the page. Ink the edges of each page using Black Soot Distress Oxide Ink and a blending tool with foam.


From the Planner Essentials 3 die, die cut five banners out of black cardstock.


From the Planner Essentials 2 die, die cut the date and two arrows die out of black cardstock. Write the week date on the date tag.


From the Planner Essentials 1 die, die cut 12 reinforcement circles out of White Soft Finish Cardstock. Ink the edges of each circle using Black Soot Distress Oxide Ink and a blending tool with foam.


From the Planner Essentials 2 die, die cut six small tags out of White Soft Finish Cardstock. Apply Jet Black Archival Ink to each of the day stamps from the Calendar stamp set and stamp on each of the tags. Note that the weekend shares one tag. Write on your tags whatever you desire.  Ink the edges of each tag using Black Soot Distress Oxide Ink and a blending tool with foam.


Adhere the reinforcement circles over each circle on each page.


Now we'll work on the left hand page. Adhere a banner to the right hand side of the Monday and Wednesday tags. Adhere the date tag 3/8" from the left and 2 1/2" from the bottom of the page. Adhere the Monday to Wednesday tags to the page as desired. Adhere one of the arrows to the top right hand side of the Monday tag.


Next we'll work on the right hand page. Adhere a banner to the right hand side of the Thursday, Friday and Weekend tags. Adhere the Thursday to Weekend tags to the page as desired. Adhere one of the arrows to the bottom left hand side of the weekend tag.


Here are a few closeup photos of the finished March Week#1 planner spread.


Here's the finished March Week #1 Planner Spread.


Elizabeth Craft Designs Supplies Used:

Months

Other Supplies Used:

- Ranger Ink: Jet Black Archival Ink 
- Tim Holtz for Ranger Ink: Black Soot Distress Ink and Blending Tool with Foam
- PaperArtsy: Fresco Finish Chalk Acrylics - Jade, Butter and Spanish Mulberry
- Gel Press: 8x10 Gel Plate
- Misc: Black Cardstock, Black Gel Pen and White Gel Pen

Thanks for joining me! I hope that I've inspired you to recreate my planner spreads.

- Katelyn