Saturday, January 16, 2021

Hello Phone Booth Planner Insert

  Happy Saturday! 

Today's post, is all about using the Phone Booth Special from the Planner Essentials Collection and dies from Els van de Burgt Studio to create this modern Hello Phone Booth Planner Insert. You'll want to grab a cup of your favourite beverage and learn how to recreate my planner insert at home. 


The next ten steps use the Phone Booth Specials Die.

Die cut the phone booth page and the other phone booth out of a piece of black cardstock.


Die cut the door out of black cardstock.


Die cut the top arched trim piece for the phone booth out of Champagne Foil Paper. Die cut the insert for the top arched trim piece out of black cardstock.


Die cut the two trim pieces, the large rectangle and the larger strip out of Champagne Foil Paper.


Die cut the numbers out of black cardstock. Choose six numbers.


Die cut the telephone reinforcements out of Champagne Foil Paper. You'll need a total of five.


Die cut the Hello Word out of Champagne Foil Paper.


Die cut the telephone cord out of Champagne Foil Paper.


Die cut the small telephone out of Champagne Foil Paper. You'll just need the handle of the phone.


Die cut the large phone out of black cardstock.


Die cut a piece of Pewter Soft Finish Cardstock that measures 2 1/4" x 6 1/8".


Die cut a 1 3/4" Stitched Circle out of a piece of Pewter Soft Finish Cardstock.


Adhere the single phone booth die to the phone booth page.


Adhere the 2 1/4" pewter paper to the back of the phone booth door. Adhere the phone booth door to the middle of the phone booth.


Adhere the telephone reinforcements over the holes on the phone booth page.


Adhere the trim pieces to the top and bottom of the phone booth page. Adhere the champagne foil top trim piece to the top of the booth. Adhere the matching black cardstock trim piece in the middle of the foil piece. 


Adhere the 1/4" strip in between the trim and the top arched trim. Adhere the rectangle to the bottom portion of the door.


Adhere the numbers to the 1/4" strip at the top of the phone booth. Adhere the champagne foil paper telephone to the door for the phone booth.


Adhere the stitched circle to the bottom right side of the door. Adhere the Hello word to the middle of the circle.


Adhere the cord to the inside of the phone booth. Adhere the phone to the bottom of the cord.


Here are a few closeup photos of the planner insert.


Here is the finished Hello Phone Booth Planner Insert.


Elizabeth Craft Designs Supplies Used:

- Planner Essentials - Phonebooth Special
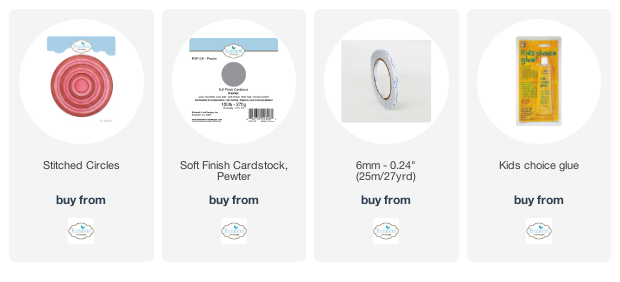
 
Other Supplies Used:

- Misc: Champagne Foil Paper and Black Cardstock

Thanks so much for joining me today and I hope that I have inspired you to recreate your own version of my Hello Phone Booth Planner Insert.

- Katelyn


Thursday, January 14, 2021

Dream Big Wall Hanging

  Happy Thursday!

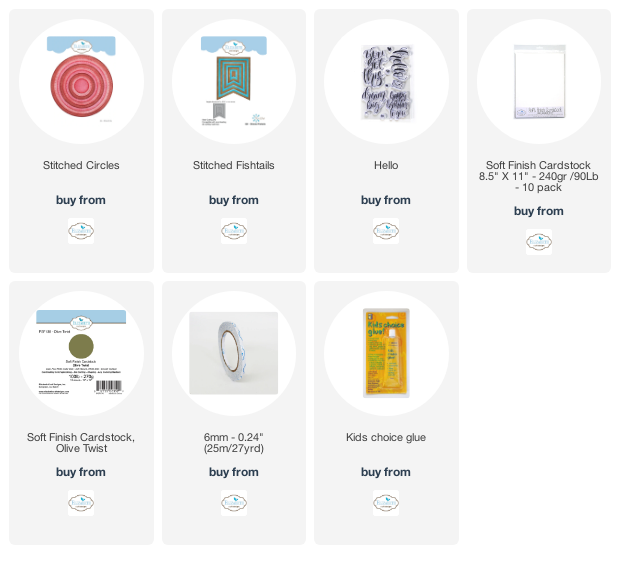
I'm excited to be sharing a sneak peek with you of some of the new dies from the Paper Flower Collection. Today's project is a Dream Big Wall Hanging perfect for any area of your home. To create my wall hanging, I've used a variety of new dies from the Paper Flower Collection, Els van de Burgt Studio and stamps from Sue Smith. You'll want to read below as I have a full tutorial on how to recreate my wall hanging at home.


Choose some of your favourite patterned paper. I used the Bloom collection from Graphic 45. Choose two pieces of coordinating patterned paper. Die cut a 4 1/2" Stitched Fishtail out of one of the patterned papers. Die cut a 4" Stitched Fishtail out of the second piece of patterned paper. Distress the edges of both fishtails. Ink the edges of the fishtails using Black Soot Distress Ink and a blending tool with foam.


Choose another piece of coordinating patterned paper and die cut a 3 3/4" Stitched Circle. Die cut a 3 1/4" Stitched Circle out of White Soft Finish Cardstock. From the Hello stamp set, you'll need the Dream Big sentiment. Apply Emboss It Ink to the sentiment and stamp in the middle of the 3 1/4" circle. Sprinkle Gothic Black Modern Gilding Powders over the stamped sentiment. Tap off the excess powder and emboss with a heat tool. Distress the edges of both circles. Ink the edges of the circles using Black Soot Distress Ink and a blending tool with foam.


From the Leaves & Branches Die, die cut one of the leafs twice out of a piece of Olive Twist Soft Finish Cardstock. Ink the edges of the leaves using Black Soot Distress Ink and a blending tool with foam.


The next four steps use the Florals 6 die.

Die cut the large leaf three times out of either a green patterned paper or a piece of green cardstock. Ink the edges of the leaves using Black Soot Distress Ink and a blending tool with foam.


Die cut the small flower with the larger hole in the middle five times out of White Soft Finish Cardstock.


Die cut the centres for the flowers once out of White Soft Finish Cardstock. You'll need a total of three centres.


Die cut the medium flower three times, the small flower three times and the extra small flower six times out of a dark purple patterned paper or purple cardstock or coordinating paper that goes with the patterned paper you've used. Shape all the flowers as desired. Ink the edges of the flowers using Black Soot Distress Ink and a blending tool with foam.


Adhere the 4" Stitched Fishtail to the 4 1/2" Stitched Fishtail.


Adhere the dream big circle to the middle of the patterned paper circle. Use foam squares to adhere the patterned paper circle 1" from the right and 1/4" from the top of the 4" fishtail.


Adhere the all the leaves as desired on the right hand side of the Dream Big circle.


Adhere your flowers together. For each flower, you'll need a medium flower, a small flower, two extra small flowers and a centre. 


Use foams squares to adhere the flowers around the Dream Big circle and making sure that they cover the bottom of the leaves. 


Adhere the five white flowers as desired in amongst the large flowers and leaves.


To finish the wall hanging, punch two holes at the top of the fishtails. Tie a piece of white twine through the holes to create the hanging part of your wall hanging.


Here are a few closeup photos of the finished wall hanging.


Here is the finished Dream Big Wall Hanging.


Elizabeth Craft Designs Supplies Used:

- Floral 6
- Leaves & Branches

 
Other Supplies Used:

- Tim Holtz for Ranger Ink: Distress Ink - Black Soot and Blending Tool with Foam
- Ranger Ink: Emboss It Dabber
- Emerald Creek Craft Supplies: Gothic Black Modern Gilding Powder
- Graphic 45: Blossom Collection
- Misc: White Twine 

I hope that my card has inspired you to recreate your own version of my Dream Big Wall Hanging.

- Katelyn


Wednesday, January 13, 2021

So Much World Card

Happy Wednesday!

I'm up on Wild Whisper's blog today, where I'm sharing my cute So Much World Card. The card features the No Place Like Home Collection as well as stamps from the Talk Foodie To Me and Where to Next? Collections.


For all the details and a full tutorial on my card, you'll want to stop by the Wild Whisper blog. You'll want to make sure to keep checking out Wild Whisper's blog as the design team will be sharing lots of inspiration.

- Katelyn


Tuesday, January 12, 2021

Happy Birthday Card

  Happy Tuesday!

I'm up on the Quietfire Design blog today, where I'm sharing my Happy Birthday Card. My card features a variety of A Way With Words Dies, Quietfire Design Stamps and Modern Gilding Powders.   


For a full tutorial on my card, you'll want to head over to Quietfire Design blog for all the details. 

- Katelyn