Showing posts with label Dylusions. Show all posts

Friday, April 14, 2023

Adventures Ahead Mixed Media Page

      Happy Friday!

I'm sharing this Adventures Ahead Mixed Media Page over on Jennifer Edwardson Creative Inc. Blog. My page feature the Simple Spring Titles Cut File, 3x4 Flower Frames Cut File, Bloom Cut File, Time Cut File Bundle, Summer Bloom Clear Stamps and Full Bloom Creative Kit from Jennifer Edwardson Creative Inc. Shop. 


For all of the details on my Adventures Ahead Mixed Media Page, you'll want to head over to Jennifer Edwardson Creative Inc. blog.


- Katelyn


Wednesday, November 17, 2021

Remember, Explore, Adventure Art Journal Page

 Happy Wednesday!

 I'm up on Wild Whisper's blog today, where I'm sharing my Remember, Explore, Adventure Art Journal Page. The art journal page features the Where to Next? Collection as well as the brand new release from Nicole Wright Designs.


For all the details and a full tutorial on my art journal page, you'll want to stop by the Wild Whisper blog. You'll want to make sure to keep checking out Wild Whisper's blog as the design team will be sharing lots of inspiration.

- Katelyn


Saturday, June 19, 2021

Carpe Diem Planner Page

Happy Saturday!

I'm up on the Elizabeth Craft Designs blog today, where I'm sharing my Carpe Diem Planner Page. My planner page features dies from the Sidekick Essentials and Planner Essentials Collections. 


For a full tutorial on my Carpe Diem Planner Page, you'll want to head over to the Elizabeth Craft Designs blog for all the details. 

- Katelyn


Tuesday, June 8, 2021

Live Like Someone Left the Gate Open Art Journal Page

 Happy Tuesday!

I'm up on the Quietfire Design blog today, where I'm sharing my Live Like Someone Left the Gate Open Art Journal Page. My art journal page features a variety of Quietfire Design Stamps, A Way With Words Dies and Modern Gilding Powders.


For a full tutorial on my art journal, you'll want to head over to Quietfire Design blog for all the details. 

- Katelyn


Monday, May 10, 2021

Elizabeth Craft Designs May Group Post - Bold & Colourful Projects

Happy Monday!

For May's Group Post it's all about Bold & Colourful Projects. For this month's group post, I'm sharing this There Are no Strangers Card. To create my card, I've used dies from Joset Designs and stamps from the New Beautiful Blooms Collection. Grab a cup of your favourite beverage and read below as I have a tutorial for you so that you can re-create my There are no Strangers Card at home. You'll also want to make sure to stop by the Elizabeth Craft Designs Blog to check out the rest of the projects.   


To start, die cut a 4" Stitched Indented Rectangle out of a piece of kraft cardstock. Distress the edges of the rectangle. Ink the edges of the rectangle using Black Soot Distress Ink and a blending tool with foam.


Die cut a 3 3/4" Fitted Indented Rectangle out of a piece of blue patterned paper. Distress the edges of the rectangle. Ink the edges of the rectangle using Black Soot Distress Ink and a blending tool with foam.


Die cut a 3 1/2" Stitched Indented Rectangle out of a piece of White Soft Finish Cardstock. Spritz Blue Lagoon Dylusions Ink Spray on the rectangle as desired. Distress the edges of the rectangle. Once the rectangle has dried,  ink the edges of the rectangle using Black Soot Distress Ink and a blending tool with foam.


Die cut a 1" Fitted Fishtail out of a piece of White Soft Finish Cardstock. From the Friendship stamp, you'll need the There are no strangers quote. Apply Detail Black Ink to the stamp and stamp on the fishtail side of the fishtail. Trim the fishtail down to 3". Distress the edges of the fishtail. Ink the edges of the fishtail using Black Soot Distress Ink and a blending tool with foam.


From the same Friendship stamp set, you'll need the large hydrangea branch and one of the single hydrangea branch. Apply Detail Black Ink to each stamp and stamp onto a piece of watercolour cardstock. Colour the flowers using a waterbrush and Watercolor Palette. Once the flowers have dried, fussy cut them out. Ink the edges of the flowers using Black Soot Distress Ink and a blending tool with foam.


Foam square the 3 3/4" rectangle to the 4" rectangle. Adhere the 3 1/2" rectangle to the 3 3/4" rectangle.


Foam square the hydrangea bunch to the left hand side of the 3 1/2" rectangle. Adhere the single hydrangea in amongst the hydrangea bunch as desired.


Adhere the fishtail to the right of the hydrangeas as desired.


To finish the card, cut a cardbase out of White Soft Finish Cardstock that measures 5 1/4" x 8", score at 8". Adhere the cardfront to the cardbase.


Here are a few closeups of the finished card.


Here is the finished There are no Strangers Card.


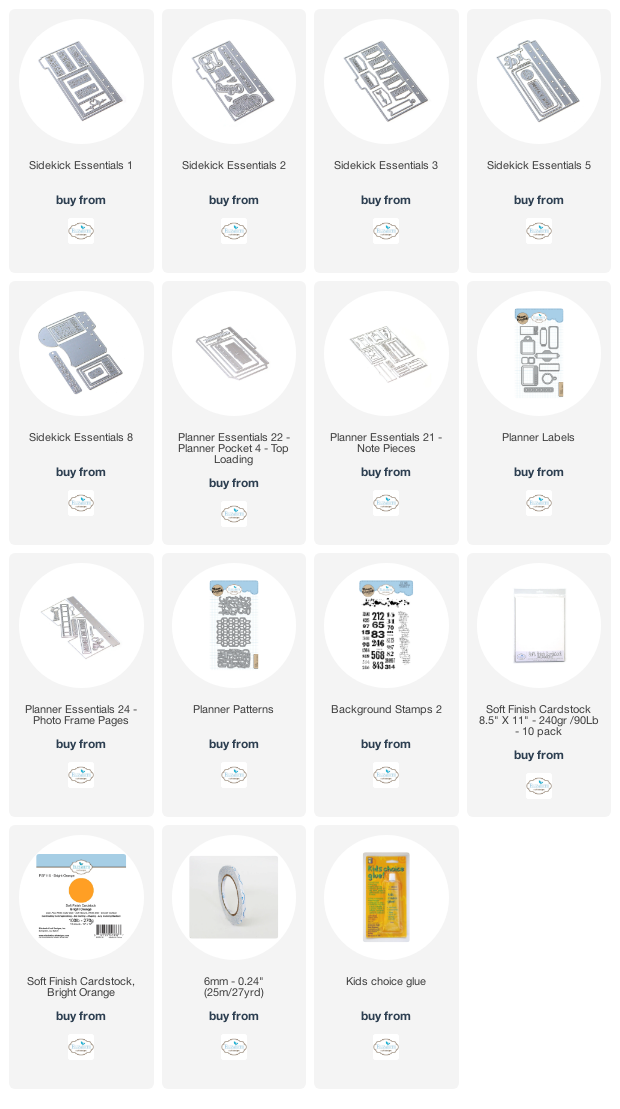
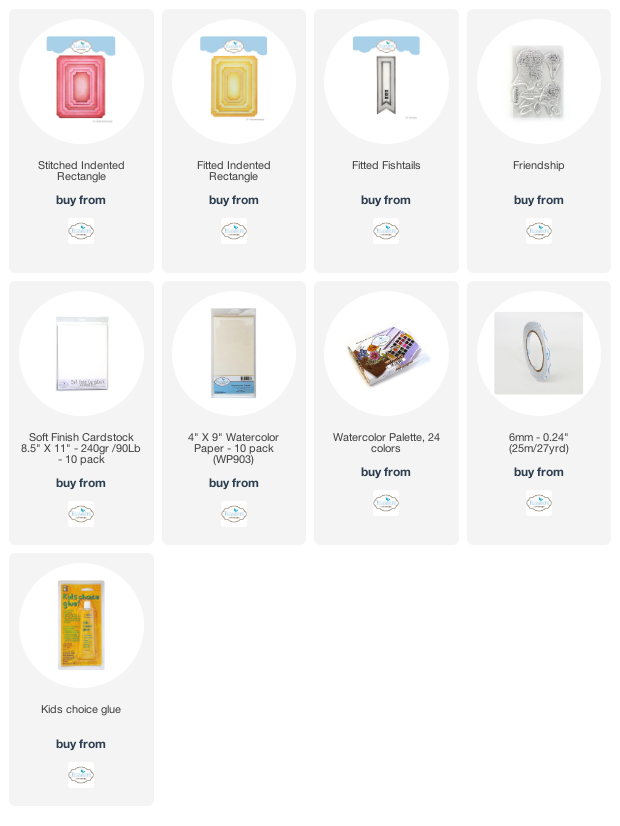
Elizabeth Craft Deigns Supplies Used:

 
Other Supplies Used:

- Tim Holtz for Ranger Ink: Distress Ink - Black Soot and Blending Tool with Foam
- Dylusions for Ranger Ink: Ink Spray - Blue Lagoon
- Pink Fresh: Detail Black Ink
- Graphic 45: Bird Watcher 12x12 Solids & Patterns
- Misc: Kraft Cardstock

Thanks so much for joining me today and I hope that I have inspired you to recreate your own version of my There are no Strangers Card.

- Katelyn


Tuesday, January 12, 2021

Happy Birthday Card

  Happy Tuesday!

I'm up on the Quietfire Design blog today, where I'm sharing my Happy Birthday Card. My card features a variety of A Way With Words Dies, Quietfire Design Stamps and Modern Gilding Powders.   


For a full tutorial on my card, you'll want to head over to Quietfire Design blog for all the details. 

- Katelyn


Saturday, August 29, 2020

Noted Sidekick Essentials Planner Page

  Happy Saturday! 


For today's post, I've created this Noted Sidekick Essentials Planner Page which features the Planner Essentials and Sidekick Essentials Collection. You'll want to grab a cup of your favourite beverage and learn how to recreate my Planner Page at home.


To start, die cut the page from the Sidekick Essentials 2 Die out of White Soft Finish Cardstock. Spritz water at the bottom right hand corner of the page. Spritz Pure Sunshine, Cherry Pie and Rose Quartz Dylusions Ink Spray in the bottom right corner. Remove the excess ink with a piece of paper towel. Allow the spritz area to dry. Once dry, apply Jet Black Archival Ink to the script stamp from the Background Stamps 2 and stamp randomly on the page as desired five times. Reapply ink to the stamp as needed. Ink the edges of the page using Black Soot Distress Ink and a blending tool with foam.


From a piece of patterned paper, die cut the small note piece from the Planner Essentials 21 - Note Pieces die. Ink the edges of the note piece using Black Soot Distress Ink and a blending tool with foam.


From the Sidekick Essentials 1 die, die cut the noted word out of kraft cardstock. Cut the noted word out so that it measures 3/4" x 2 3/8". Ink the edges of the word rectangle.


Die cut the stitched label from the Planner Label die out of black cardstock.


Die cut the number Planner Patterns out of White Soft Finish Cardstock.


From the Planner Essentials 24 - Photo Frame Pages die, die cut the film strip out of kraft cardstock.


Die cut the arrow strip from the Planner Essentials 22 - Planner Pocket 4 - Top Loading die out of black cardstock.


From the Sidekick Essentials 5 die, you'll need the plain rectangle and the & sign. Die cut the plain rectangle out of black cardstock. Die cut the & sign out of Bright Orange Soft Finish Cardstock. Ink the edges of the & sign using Black Soot Distress Ink and a blending tool with foam.


From the Sidekick Essentials 8 die, you'll need the stitched rectangle and the & reinforcements. Die cut the stitched rectangle out of vellum. Die cut the & reinforcements out of black cardstock. You'll need a total of 6 & reinforcements.


Die cut the arrow and pennant label from the Sidekick Essentials 3 die out of Bright Orange Soft Finish Cardstock. Ink the edges of the pennant label using Black Soot Distress Ink and a blending tool with foam.


Adhere the & reinforcements over top of the holes on the page.


Foam square the black rectangle 5/8" from the right and 3/8" from the bottom of the page. Adhere the stitched rectangle to the middle of the black rectangle. Adhere the patterned paper note piece 1/4" from the right and 1 1/4" from the bottom of the page.


Adhere the pennant label 1/4" from the right and 1 3/4" from the top of the page. Adhere the & sign 5/8" from the left and 2" from the bottom of the page. Staple the film strip and arrow strip to the number background as desired. Adhere the number background 1/4" from the right and 3/4" from the bottom of the page.


Adhere the noted word to the planner label. Staple the arrow underneath the noted word as desired. Use foam squares to adhere the noted word label 1 3/8" from the bottom and 1/8" from the right of the page.


Here are a few closeup photos of the page.


Here is the finished Noted Sidekick Essentials Planner Page.


Elizabeth Craft Designs Supplies Used:


Other Supplies Used:

- Tim Holtz for Ranger Ink: Distress Ink - Black Soot and Blending Tool with Foam
- Dylusions for Ranger Ink: Ink Spray - Pure Sunshine, Cherry Pie & Rose Quartz
- Ranger Ink: Jet Black Archival Ink
- Emerald Creek Craft Supplies: Pam Bray Digital Paper - Grey Barnwood

Thanks so much for joining me today and I hope that I have inspired you to recreate your own version of my Noted Sidekick Essentials Planner Page.

- Katelyn


Wednesday, July 29, 2020

Hip, Hop Hello Card

Happy Wednesday!

I've been busy creating with the brand new Joset Designs collection of adorable Fairytale themed dies and stamps that is releasing August 4th. For today's project, I created this summery Hip, Hop Hello Card. To create my card, I've used a variety of dies from Joset Designs and Els van de Burgt Studio. You'll want to read below as I have a full tutorial on how to recreate my card at home.


To start, die cut a 4 1/2" Stitched Rectangle out of White Soft Finish Cardstock. Spritz water over the entire surface of the rectangle. Spritz Distress Spray Stain in Carved Pumpkin and Twisted Citron as well as Dylusions Ink Spray in Pink Flamingo over the entire rectangle as desired. Use a paper towel to blot off the excess ink. Set aside to allow it time to dry.


Die cut both pieces from the Floral Burst Background out of White Soft Finish Cardstock.


Die cut a 2 1/4" Stitched Circle out of White Soft Finish Cardstock. Apply Picked Raspberry Distress Ink to the Hip, Hop Hello sentiment from the Prince & Frogs Sentiment Stamp Set and stamp in the middle of the stitched circle. 


From the Trio of Leaves dies, choose one of the leaves. Die cut the chosen leaf three times out of Spring Green Soft Finish Cardstock.


From the Once Upon a Time Accessories, you'll need the sun and flower with center die. Die cut the sun and flower with center die three times out of White Soft Finish Cardstock. Using a blending tool with foam, blend Picked Raspberry Distress Ink over the entire surface of all three suns. Using a blending tool with foam, blend Carved Pumpkin Distress Ink over the entire surface of two of the flowers. Using a blending tool with foam, blend Twisted Citron Distress Ink over the entire surface of the remaining flowers. Using a blending tool with foam, blend Squeezed Lemonade Distress Ink over the entire surface of all three flower centers.   


Adhere the Floral Burst Background with frame to the inside of the 4 1/2" stitched rectangle. Make sure that the stitching is showing all around the rectangle. 


Foam square the 2 1/4" stitched circle 1/2" from the right and 5/8" from the bottom of the 4 1/2" stitched rectangle.


Adhere the three flowers together.


Cut one of leaves down to only having three leaves and adhere to one of the orange/pink flowers. Use adhesive and foam squares to adhere the orange/pink flower to the bottom right corner of the stitched circle. Cut the other two leaf bunches down to four leaves each and adhere to the top left side of the stitched circle as desired. Use adhesive and foam squares to adhere the remaining two flowers to the top left corner of stitched circle, making sure that where the leaf bunches meet are covered.


To finish the card, cut a cardbase out of White Soft Finish Cardstock that measures 5 3/4" x 9", score at 4 1/2". Adhere the cardfront to the cardbase.


Here are a few closeup photos of the finished card.


Here is the finished Hip, Hop Hello Card.


Elizabeth Craft Designs Supplies Used:

- Once Upon a Time Accessories
- Floral Burst Background
- Prince & Frog Sentiments

Other Supplies Used:

- Tim Holtz for Ranger Ink: Distress Ink - Carved Pumpkin, Twisted Citron & Picked Raspberry, Distress Spray Stain - Carved Pumpkin & Twisted Citron and Blending Tool with Foam
- Dylusions for Ranger Ink: Ink Spray - Pink Flamingo

I hope that my card has inspired you to recreate your own version of my Hip, Hop Hello Card.

- Katelyn