Happy Saturday!
For today's project I'm sharing this Peace Gift Tag perfect to add to a Christmas gift. To create my gift tag, I've used the NEW dies and stamps from the Beautiful Blooms Collection as well as dies from the Planner Essentials Collection and stamps from the Art Journal Collection. You'll want to read below as I have a full tutorial on how to recreate my gift tag at home.

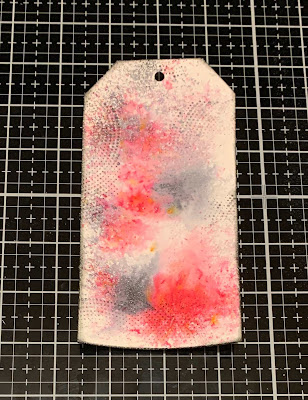
To start, die cut a large tag from the Planner Essentials 26 - Planner Pocket 4 - Tag & Toppers out of a piece of White Soft Finish Cardstock. Sprinkle Magenta Nuance in Red and Grey on the tag. Spritz the powder with water and allow to dry.

Once the tag has dried, you'll need the circle stamp from the Frosty Patterns Stamp Set. Apply Jet Black Archival Ink to the stamp and stamp randomly on the tag. Reapply ink to the stamp as needed and stamp another four times. Distress the edges of the tag. Ink the edges of the tag using Black Soot Distress Ink using a blending tool with foam.
The next three steps use the Peace Stamp Set and coordinating Peace Die set.
Apply Jet Black Archival Ink to the poinsettia stamp and stamp onto a piece of White Soft Finish Cardstock. Reapply ink to the stamp and stamp on the same piece of White Soft Finish Cardstock. Colour the poinsettias in using a waterbrush and the Watercolour Palette. Die cut the poinsettias out using the coordinating die. Ink the edges of the poinsettias using Black Soot Distress Ink and a blending tool with foam.

Apply Jet Black Archival Ink to the branch stamp and stamp onto a piece of White Soft Finish Cardstock. Reapply ink to the stamp and stamp on the same piece of White Soft Finish Cardstock. Repeat the previous step one more time. Colour the branches in using a waterbrush and the Watercolour Palette. Die cut the branches out using the coordinating die. Ink the edges of the branches using Black Soot Distress Ink and a blending tool with foam.

Apply Jet Black Archival Ink to the peace stamp and stamp onto a piece of White Soft Finish Cardstock. Die cut the peace word out using the coordinating die.

Apply the three branches as desired on the tag.
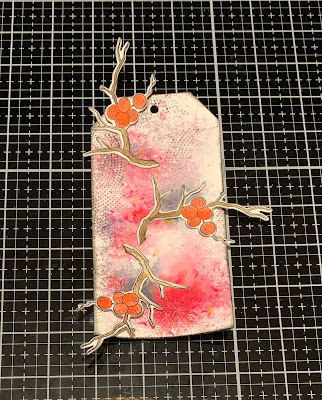
Use foam squares to adhere the two poinsettias on the tag as desired so that they cover the ends of the branches.

Adhere the Peace word to the bottom right side of the tag as desired.

To finish the tag, tie a piece of white ribbon through the hole at the top of the tag.

Here are a few closeup photos of the finished gift tag.


Here is the finished Peace Gift Tag.

Elizabeth Craft Designs Supplies Used:
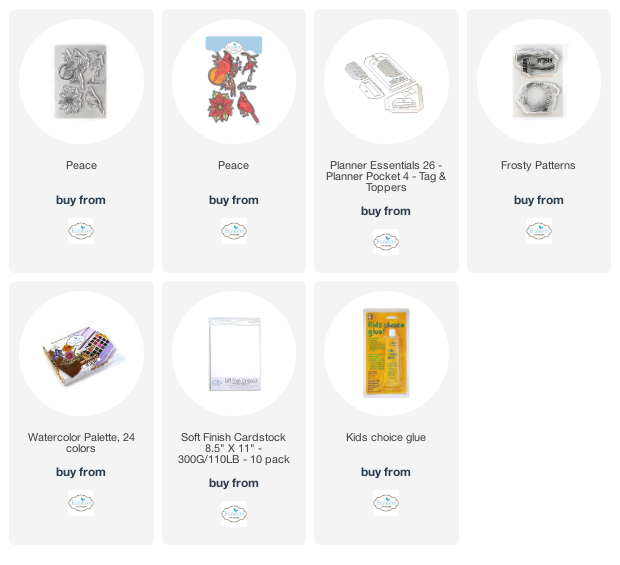
Other Supplies Used:
- Tim Holtz for Ranger Ink: Distress Ink - Black Soot and Blending Tool with Foam
- Ranger Ink: Jet Black Archival Ink
- Magenta Nuance: Red and Grey
- Misc: White Ribbon
I hope that my gift tag has inspired you to recreate your own version of my Peace Gift Tag.
- Katelyn