Showing posts with label Pink Fresh. Show all posts

Wednesday, November 9, 2022

By The Sea Mini Album

 Happy Wednesday!

I'm sharing my By The Sea Mini Album over on Jennifer Edwardson Creative Inc. Blog. My mini album feature the BRAND NEW Polaroid Frame Bundle, the Write Down Clear Stamp & Cut File, Vintage Seas Creative Kit and Vintage Seas Add On Kit as well as a variety of Pinkfresh Studio Ink  from Jennifer Edwardson Creative Inc. Shop. 


For all of the details, a full tutorial and all the photos of the inside of my By The Sea Mini Album, you'll want to head over to Jennifer Edwardson Creative Inc. blog.

- Katelyn


Tuesday, September 13, 2022

Floral Stamped Cards

   Happy Tuesday!

I'm sharing my Floral Stamped Cards today over on Jennifer Edwardson Creative Inc. Blog. My cards feature the BRAND NEW Summer Bloom and Simple Sentiments Clear Stamps, the BRAND NEW Summer Bloom and Simple Sentiments Cut File Bundles as well as a variety of stencils and ink from Jennifer Edwardson Creative Inc. Shop. 


For all of the details and a full tutorial on my Floral Stamped Cards, you'll want to head over to Jennifer Edwardson Creative Inc. blog.

- Katelyn


Friday, June 17, 2022

Hi Card

 Happy Friday!

 I'm up on Wild Whisper's blog today, where I'm sharing my Hi Card. My card features the Brand New Chaos & Love Collection as well as the Ledger Stamp Set from Nicole Wright Designs.


For all the details and a full tutorial on my Hi Card, you'll want to stop by the Wild Whisper blog. You'll want to make sure to keep checking out Wild Whisper's blog as the design team will be sharing lots of inspiration.

Don't forget to use DTKATELYNG to receive 10% off your order on Wild Whisper's Website.

- Katelyn


Friday, June 3, 2022

For You Gift Box

 Happy Friday!

 I'm up on Wild Whisper's blog today, where I'm sharing my For You Gift Box perfect for adding a gift into for that plant enthusiast in your life. My gift box features the Play in the Dirt and Floral Collection as well as the Honeycomb Flair Stencil from Pam Bray Designs and the Ledger Stamp Set from Nicole Wright Designs.


For all the details and a full tutorial on my For You Gift Box, you'll want to stop by the Wild Whisper blog. You'll want to make sure to keep checking out Wild Whisper's blog as the design team will be sharing lots of inspiration.

Don't forget to use DTKATELYNG to receive 10% off your order on Wild Whisper's Website.

- Katelyn


Friday, March 11, 2022

Welcome Baby Girl Card

 Happy Friday!

 I'm up on Wild Whisper's blog today, where I'm sharing my Welcome Baby Girl Card, perfect for welcoming that new bundle of joy. The card features the brand new Sweet Little One Collection.


For all the details and a full tutorial on my Welcome Baby Girl Card, you'll want to stop by the Wild Whisper blog. You'll want to make sure to keep checking out Wild Whisper's blog as the design team will be sharing lots of inspiration.

Don't forget to use DTKATELYNG to receive 10% off your order on Wild Whisper's Website.

- Katelyn


Saturday, September 18, 2021

Ooh LaLa This is For You Card

  Happy Saturday!

For today's project I have this Ooh LaLa This is For You Card. To create my card, I've used a variety of the new dies from the Paper Flower Collection as well as stamps and dies from the Planner Essentials Collection. You'll want to read below as I have a full tutorial on how to recreate my card at home.


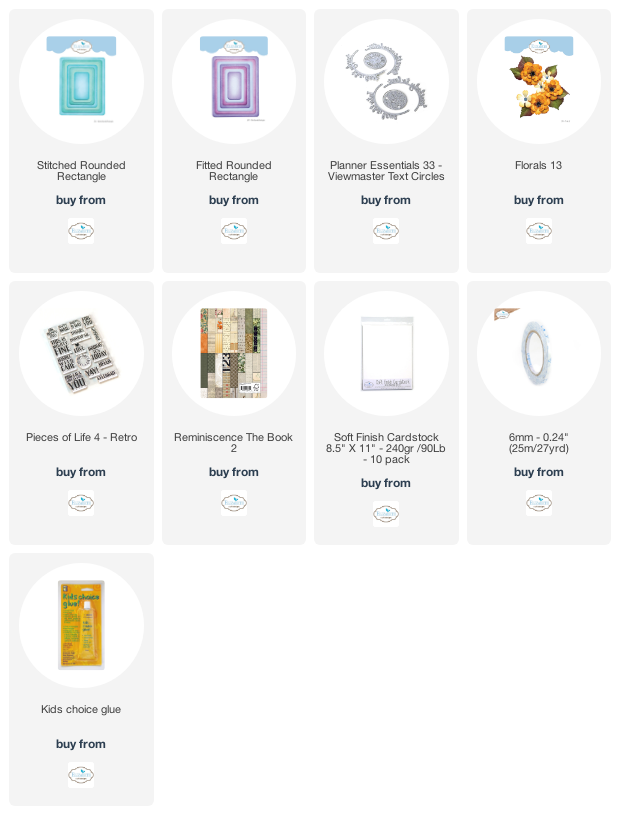
To start, choose three pieces of patterned paper out of the Reminiscence the Book 2. Die cut a 4" Stitched Rounded Rectangle out of one of the patterned papers. Die cut a 3 3/4" Fitted Rounded Rectangle out of the next patterned paper. Die cut a 3 1/2" Stitched Rounded Rectangle out of the last piece of patterned paper. Distress the edges of all three rectangles. Ink the edges of the three rectangles using Walnut Stain Distress Ink and a blending tool with foam.


Die cut a 2 1/4" Stitched Circle from the Planner Essentials 33 - Viewmaster Text Circles out of a piece of kraft cardstock. Next, you'll need the Ooh LaLa sentiment from the Pieces of Life 4 - Retro Stamp Set. Apply Detail Black Ink to the sentiment and stamp on the right hand side of the circle as desired. Distress the edges of the circle. Ink the edges of the circle using Walnut Stain and a blending tool with foam.


The next three steps use the Florals 13 die.

Die cut the one large leaf once and the other two leaves twice out of a piece of White Soft Finish Cardstock. Using a blending tool with foam, blend Rustic Wilderness Distress Ink over the entire surface of each leaf. Ink the edges of each leaf using Walnut Stain Distress Ink and a blending tool with foam. Shape the leaves as desired.


Die cut the one large flower, three medium flowers and five small flowers out of a piece of White Soft Finish Cardstock. Using a blending tool with foam, blend Spiced Marmalade Distress Ink over the entire surface of each flower. 


Die cut the centres three times out of a piece of black cardstock.


Adhere the 3 3/4" rectangle to the 4" rectangle. Foam square the 3 1/2" rectangle to the 3 3/4" rectangle.


Adhere the circle 1/8" from the right and 1" from the top of the 3 1/2" rectangle.


Adhere the one large leaf in the bottom left corner of the 3 1/2" rectangle. Adhere one of each of the other leaves 1/2" from the right and 1/8" from the bottom of the 3 1/2" rectangle. Adhere the remaining leaves 1/4" from the left and 1/2" from the top of the 3 1/2" rectangle.


Adhere a large flower, medium flower, small flower and a centre together. Adhere a medium flower, small flower and a centre together. Repeat this step for a second matching flower. Shape flowers as desired. You will have two small flowers leftover.


Foam square the large flower to the middle left side of the circle. Adhere one of the other flower bunches above and below the large flower. Adhere the small flowers in amongst the flower bunches as desired.


To finish the card, cut a cardbase out of White Soft Finish Cardstock that measures 4" x 10 1/2", score at 5 1/4". Adhere the cardfront to the cardbase.


Here are a few closeup photos of the finished card.


Here is the finished Ooh LaLa This is For You Card.


Elizabeth Craft Designs Supplies Used:


Other Supplies Used:

- Tim Holtz for Ranger Ink: Distress Ink - Walnut Stain, Rustic Wilderness & Spiced Marmalade and Blending Tool with Foam
- Pink Fresh: Detail Black Ink
- Misc: Kraft Cardstock and Black Cardstock

I hope that my card has inspired you to recreate your own version of my Ooh LaLa This is For You Card.

- Katelyn


Saturday, August 21, 2021

Collect Moments Mason Jar

   Happy Saturday! 

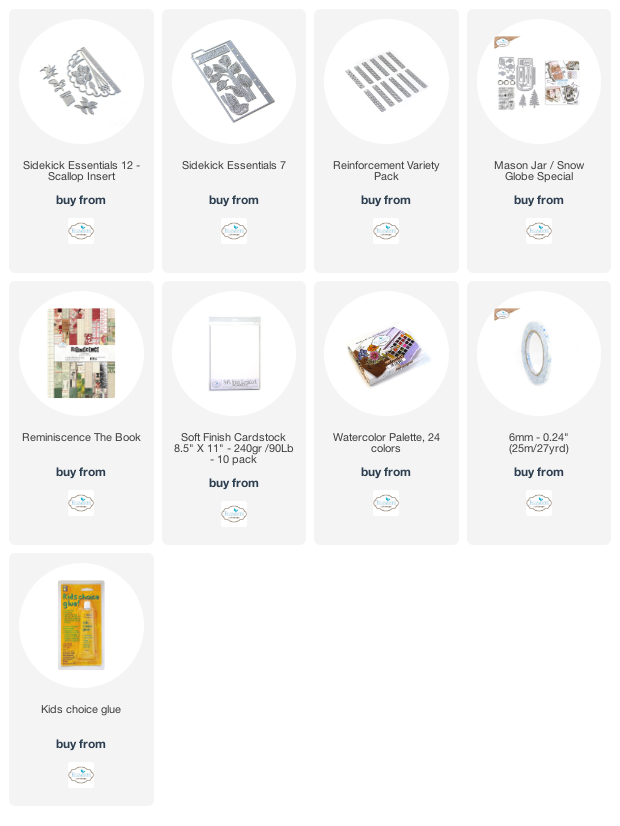
Today's post, is all about this Collect Moments Mason Jar. My mason jar uses the Mason Jar/Snowglobe Special as well as other dies from the Planner Essentials and Sidekick Essentials Collections. You'll want to grab a cup of your favourite beverage and learn how to recreate my mason jar at home. 


To start, choose a piece of patterned paper out of the Reminiscence the Book. 

The next three steps use the Mason Jar/Snowglobe Special die.
Die cut the mason jar out of the patterned paper. Ink the edges of the jar using Walnut Stain Distress Ink and a blending tool with foam.


Die cut the lid and label out of a piece of kraft cardstock. Ink the edges of both pieces using Walnut Stain Distress Ink and a blending tool with foam.


Apply Detail Black Ink to the collect moment stamp and stamp onto a piece of White Soft Finish Cardstock. Cut the words into a strip. Ink the edges of the strip using Walnut Stain Distress Ink and a blending tool with foam.


From the Sidekick Essentials 7 die, die cut the leaf branch twice out of a piece of White Soft Finish Cardstock.


From the Sidekick Essentials 12 - Scallop Insert, you'll need the pot and two of the leaves. Die cut the pot three times out of White Soft Finish Cardstock. Die cut one of the leaves once out of White Soft Finish Cardstock. Die cut the other leaf twice out of White Soft Finish Cardstock. Colour the pots and leaves using a waterbrush and the Watercolour Palette.


Choose one of the reinforcements out of the Variety Reinforcement Pack. Die cut the reinforcement once out of White Soft Finish Cardstock. Colour three of the reinforcements using a waterbrush and the Watercolour Palette. Ink the edges of the three reinforcements using Walnut Stain Distress Ink and a blending tool with foam.


Adhere the reinforcements over top of the holes on the mason jar.


Adhere the mason jar top to the top of the jar. Adhere the label to the middle of the jar as desired.


Adhere on the leaf branches to the bottom left side of the jar. Adhere the other leaf branch to the right side of the jar.


Adhere the pots and leaves together.


Use foam squares and adhesive to adhere two of the pots to the bottom left side of the leaf branch. Foam square the other leaf pot to the bottom right side of the leaf branch.


To finish the jar, adhere the Collect Moments word strip to the bottom left side of the pots and leaves.


Here are a few closeup photos of the finish mason jar.


Here is the finished Collect Moments Mason Jar.


Elizabeth Craft Designs Supplies Used:

Other Supplies Used:

- Tim Holtz for Ranger Ink: Distress Ink - Walnut Stain and Blending Tool with Foam
- Pink Fresh: Detail Black Ink
- Misc: Kraft Cardstock 

Thanks so much for joining me today and I hope that I have inspired you to recreate your own version of my Collect Moments Mason Jar.

- Katelyn


Friday, August 13, 2021

Thinking of You Gift Tag

 Happy Friday!

For today's project I'm sharing this quick and easy Thinking of You Gift Tag perfect for adding to a gift. To create my tag, I've used dies from the Planner Essentials Collection as well as stamps from the Beautiful Blooms Collection and Joset Designs. You'll want to read below as I have a full tutorial on how to recreate my tag at home.


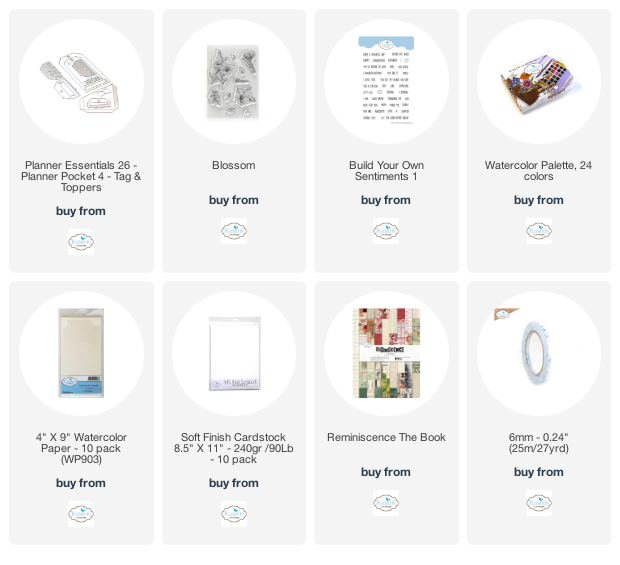
To start, choose a piece of patterned paper out of the Reminiscence the Book. Die cut the small tag from the Planner Essentials 26 - Planner Pocket 4 - Tag & Toppers die. Ink the edges of the tag using Black Soot Distress Ink and a blending tool with foam.


Apply Detail Black Ink to the flower branch stamp from the Beautiful Blooms - Blossom stamp set. Stamp onto a piece of watercolour cardstock. Colour the flower branch in using a waterbrush and the watercolour palette. Fussy cut the flower branch out. Ink the edges of the flower branch using Black Soot Distress Ink and a blending tool with foam.


Apply Detail Black Ink to the Thinking of You sentiment from the Build Your Own Sentiments stamp set. Stamp onto a piece of White Soft Finish Cardstock. Cut the sentiment into two word strips. Ink the edges of each word strip using Black Soot Distress Ink and a blending tool with foam.


Foam square the flower branch to the left hand side of the tag.


Adhere the Thinking of You sentiment to the right of the flower branch as desired.


To finish the tag, tie a piece of twine through the hole at the top of the tag.


Here are a few closeup photos of the finished tag.


Here is the finished Thinking of You Gift Tag.


Elizabeth Craft Designs Supplies Used:

Other Supplies Used:

- Tim Holtz for Ranger Ink: Distress Ink - Black Soot and Blending Tool with Foam
- Pink Fresh: Detail Black Ink
- Misc: Twine

I hope that my notecard has inspired you to recreate your own version of my Thinking of You Card.

- Katelyn