Happy Tuesday!
For today's project I have this Here For You Card. To create my card, I've used a variety of the new dies from the Paper Flower Collection as well as stamps and dies from Jost Designs and stamps from the Planner Essentials Collection. You'll want to read below as I have a full tutorial on how to recreate my card at home.

To start, die cut a 4" Stitched Rounded Rectangle out of a piece of kraft cardstock. Choose a piece of patterned paper out of the Reminiscence the Book. Die cut a 3 3/4" Fitted Rounded Rectangle out of the patterned paper. Distress the edges of both rectangles. Ink the edges of both rectangles using Walnut Stain Distress Ink and a blending tool with foam.

Die cut a 3 1/2" Stitched Rounded Rectangle out of a piece of White Soft Finish Cardstock. From the Pure Spring Stamp Set, you'll need the hexagon stamp. Apply Jet Black Archival Ink to the stamp and stamp on the left hand side of the rectangle as desired. Reapply ink as needed to the stamp.

Die cut a 3/4" Diagonal Stitched Fishtail out of a piece of kraft cardstock. Cut the fishtail down to 4". Distress the edges of the fishtail. Apply Jet Black Archival Ink to the Here For You Sentiment from the Build Your Own Sentiments Stamp and stamp on the right hand side of the fishtail. Ink the edges of the fishtail using Walnut Stain Distress Ink and a blending tool with foam.

From the Ferns die, die cut the one fern twice and die cut the other fern once out of a piece of White Soft Finish Cardstock. Using a blending tool with foam, blend Shabby Shutters Distress Ink over the entire surface of the two matching ferns. Using a blending tool with foam, blend Forest Moss Distress Ink over the entire surface of the other fern. Shape the ferns as desired.

Adhere the 3 3/4" rectangle to the 4" rectangle. Foam square the 3 1/2" rectangle to the 3 3/4" rectangle.

Adhere the fishtail banner 3/4" from the bottom and all the way to the left hand side of the 4" rectangle.

Adhere the ferns as desired to the left of the Here for You sentiment.

Cut a cardbase out of White Soft Finish Cardstock that measures 4" x 10 1/2", score at 5 1/4". Adhere the cardfront to the cardbase.

Here are a few closeup photos of the finished card.


Here is the finished Here For You Card.

Elizabeth Craft Designs Supplies Used:
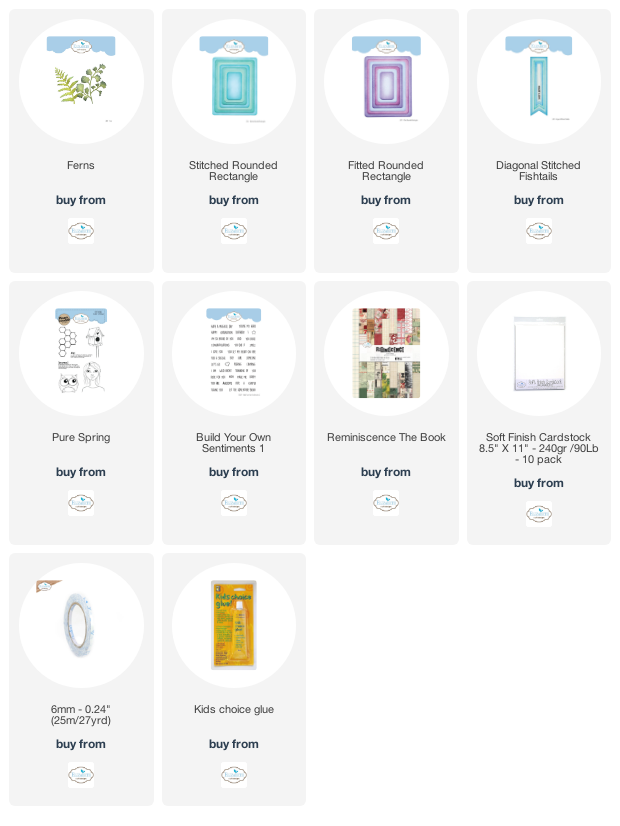
Other Supplies Used:
- Tim Holtz for Ranger Ink: Distress Ink - Walnut Stain, Forest Moss & Shabby Shutters and Blending Tool with Foam
- Ranger Ink: Jet Black Archival Ink
- Misc: Kraft Cardstock
I hope that my tag has inspired you to recreate your own version of my Here For You Card.
- Katelyn
Such a beautiful, fresh design!
ReplyDeleteThank you!
Delete