Thursday, October 29, 2020

Moments Planner Insert

 Happy Thursday! 

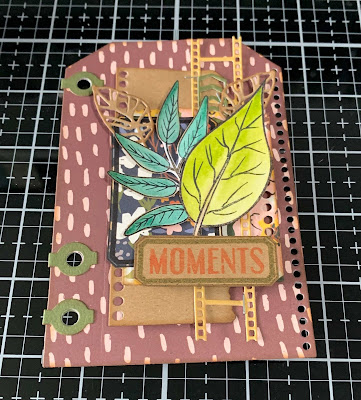
For today's post, I've created this Fall Moments Planner Insert which features dies and stamps the Planner Essentials, dies from the Sidekick Essentials Collection as well as stamps from Charlene. You'll want to grab a cup of your favourite beverage and learn how to recreate my planner insert at home. 


Choose a piece of Fall themed patterned paper and a coordinating cardstock piece. From the Planner Essentials 7 die, die cut the small tag out of the patterned paper. Die cut the reinforcements out of the coordinating cardstock. You will need a total of three reinforcements. Ink the edges of the tag and reinforcements using Walnut Stain Distress Ink and a blending tool with foam.


Choose another piece of coordinating patterned paper. From the Planner Essentials 21 - Note Pieces die, you'll need the 2" note piece and 1 1/2" note piece. Die cut the 2" note piece out of the patterned paper. Die cut the 1 1/2" note piece out of a piece of kraft cardstock. Ink the edges of both note pieces using Walnut Stain Distress Ink and a blending tool with foam.


From the Sidekick Essentials 1 die, die cut the two single leaves out of kraft cardstock. Ink the edges of the leaves using Walnut Stain Distress Ink and a blending tool with foam.


From the Planner Essentials 24 - Photo Frame Pages, you'll need the filmstrip, slotted arrow and other arrow. You'll need the first coordinating cardstock as well as two others. From one of the cardstock, you'll die cut the film strip. From the second piece of cardstock, die cut the slotted arrow. From the third piece of cardstock, die cut the other arrow. Ink the edges of the arrows and filmstrip using Walnut Stain Distress Ink and a blending tool with foam.


From a third piece of coordinating patterned paper. Apply Jet Black Archival Ink to the 1 1/2" Retro Label from the Retro Label Stamp Set and stamp onto the patterned paper. Apply Forest Moss Distress ink to the 5/8" retro label and stamp onto a piece of kraft cardstock. From the Winter Words stamp set, you'll need the Moments word. Apply Ripe Persimmon Distress Ink to the word and stamp in the middle of the 5/8" label. Fussy cut the two labels out. Ink the edges of the labels using Walnut Stain Distress Ink and a blending tool with foam.


Flip two of the patterned papers over. You'll now need the one of the banners from the Bullet Journaling 1 Stamp Set. Apply Jet Black Archival Ink to the banner and stamp once on one of the patterned papers. Reapply ink to the banner and stamp twice on the other patterned paper. Fussy cut the banners out. Ink the edges of all three banners using Walnut Stain Distress Ink and a blending tool with foam.


From the Garden Flowers stamp set, you'll need two of the leaf stamps. Apply Jet Black Archival Ink to each stamp and stamp onto a piece of watercolour cardstock. Colour the leaves in using the watercolour palette. Once the leaves have dried, fussy cut the leaves out. Ink the edges of the leaves using Walnut Stain Distress Ink and a blending tool with foam.


Adhere the reinforcements over top of the holes on the page.


Foam square the 1 1/2" note piece 7/8" from the right and 1/2" from the bottom of the page. Use adhesive and foam squares to adhere the 2" note piece 1/4" from the right and 7/8" from the bottom of the page.


Staple the film strip and slotted arrow as desired. I stapled them about 1/2" from the left of the 1 1/2" note piece. 


Use foam squares to adhere the patterned paper label 3/4" from the left and 1 1/4" from the bottom of the page. Adhere the coloured leaves as desired in the middle of the page.


Adhere the single leaves as desired in amongst the coloured leaves. Foam square the Moment label 3/8" from the right and 7/8" from the bottom of the page.


Adhere the remaining arrow underneath the moments label. Staple the single banners to the top of the page as desired.


Here are a few closeup photos of the insert.


Here is the finished Moments Planner Insert.


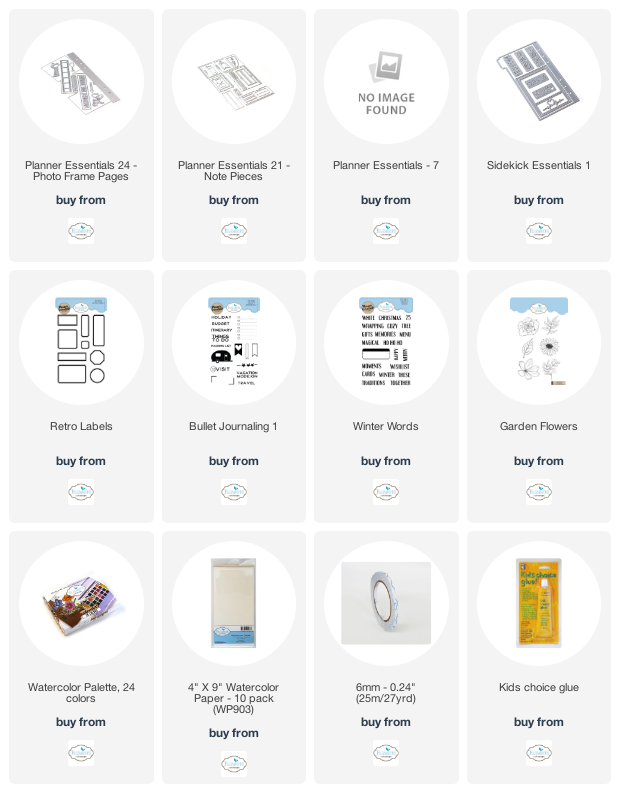
Elizabeth Craft Designs Supplies Used:


 Other Supplies Used:

- Tim Holtz for Ranger Ink: Distress Ink - Forest Moss, Ripe Persimmon & Walnut Stain and Blending Tool with Foam
- Ranger Ink: Jet Black Archival Ink
- Simple Stories: Cozy Days Paper Pack
- Misc: Kraft Cardstock and Mini Stapler

Thanks so much for joining me today and I hope that I have inspired you to recreate your own version of my Moments Planner Insert.

- Katelyn


Wednesday, October 28, 2020

Happy Thanksgiving Card

  Happy Wednesday!

I'm up on the Elizabeth Craft Designs blog today, where I'm sharing a project that features the Paper Flower Release designed by Anita Izendoorn. To create my Happy Thanksgiving,  I've used a variety of dies from the Paper Flower Collection and Joset Designs. 


For a full tutorial on my Happy Thanksgiving Card, you'll want to head over to the Elizabeth Craft Designs blog for all the details. 

- Katelyn


Tuesday, October 27, 2020

Sea Salt Tag Pocket

 Happy Tuesday!

For today's post, I've created this Sea Salt Tag Pocket for inside my junk journal. To create the tag pocket, I've used the Summer Journal Special and stamps from the Art Journal Specials Collection. You'll want to read below as I have a full tutorial on how to recreate my tag pocket at home. 


The next three steps use the Summer Journal Special Die.

Start by choosing one of the wood patterned papers out of the Worn Wood Paper Pack. From the Summer Journal Special die, die cut the pocket twice out of the patterned paper. Ink the edges of both pockets using Walnut Stain Distress Ink and a blending tool with foam.


Die cut the two palm leaves out of White Soft Finish Cardstock. Use a waterbrush and the watercolor palette to colour both palm leaves in. Once the palm leaves have dried, ink the edges of the palm leaves using Walnut Stain Distress Ink and a blending tool with foam.


Die cut the van out of a piece of White Soft Finish Cardstock. Use a waterbrush and the watercolor palette to colour the van in. Once the van has dried, ink the edges of the van using Walnut Stain Distress Ink and a blending tool with foam.


From the Journal Words Stamp Set, you'll need the Sea Salt definition. Apply Jet Black Archival Ink to the Sea Salt definition stamp and stamp onto a piece of White Soft Finish Cardstock. Cut the definition into four strips. Ink the edges of the strips using Walnut Stain Distress Ink and a blending tool with foam.


Adhere the sides and the bottom of your pocket together.


Adhere the two palm leaves as desired on the left hand side of the pocket. Foam square the van to the bottom of the palm leaves as desired.


Adhere the Sea Salt definition strips to the bottom right portion of the van as desired.


Adhere the pocket to one of the pages in your junk journal.


With your pocket adhered, add a tag to your pocket.


Here are a few closeup photos of the finished tag pocket.


Here is the finished Sea Salt Tag Pocket.


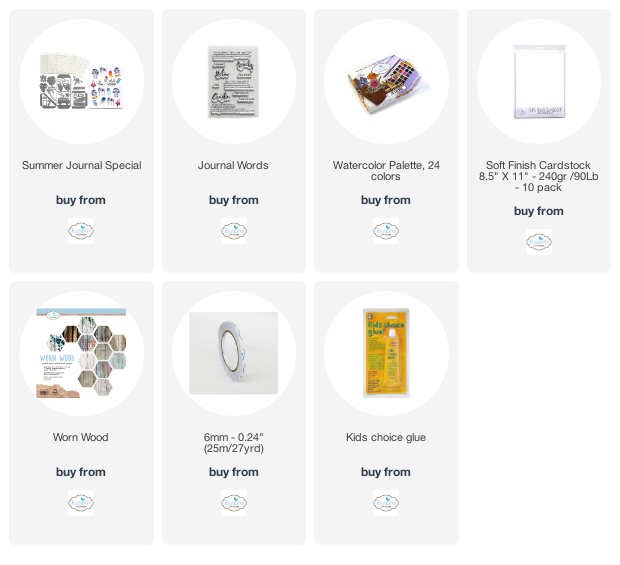
Elizabeth Craft Designs Supplies Used:


Other Supplies Used:

- Tim Holtz for Ranger Ink: Distress Ink - Walnut Stain and Blending Tool with Foam
- Ranger Ink: Jet Black Archival Ink 

I hope that my tag pocket has inspired you to recreate your own version at home.

- Katelyn


Monday, October 26, 2020

Have a Cozy Day Wall Hanging

 Happy Monday! 

I'm back on Creative Scrapbooker Magazine's Blog today as a monthly blogger sharing my Have a Cozy Day Wall Hanging. My wall hanging features the Cozy Days Collection from Simple Stories, dies from Elizabeth Craft Designs, ink from Ranger Ink and adhesive from Scrapbook Adhesives by 3L.


You'll want to make sure to stop by the Creative Scrapbooker Blog to learn how to recreate my Have a Cozy Day Wall Hanging at home.

Thanks for stopping by!
- Katelyn


Sunday, October 25, 2020

You Are Awesome Gift Tag

   Happy Sunday!

For today's project, I created this fun You Are Awesome Gift Tag. To create my gift tag, I've used a variety of dies from the Paper Flower Collection, the Planner Essentials Collection and stamps from Joset Designs. You'll want to read below as I have a full tutorial on how to recreate my gift tag at home.


To start, die cut the large tag from the Planner Essentials - 2 die out of White Soft Finish Cardstock.


Die cut a 2" Fitted Circle out of White Soft Finish Cardstock. From the Build Your Own Sentiments 1 stamp set, you'll need the You Are & Awesome Words. Apply Worn Lipstick Distress Ink to the words and stamp on the circle as desired.


Choose a piece of patterned paper from the Worn Wood Paper Pack. Die cut the Elegant Ornament die out of the patterned paper. Cut the ornament down to 4".


From the Florals 3 die, die cut two medium flowers, three small flowers and the centres. Using a blending tool with foam, blend Worn Lipstick Distress Ink over the entire surface of the centres. Using a blending tool with foam, blend Worn Lipstick Distress Ink in the centres of the five die cut flowers.


From the Florals 3 die, die cut one large palm leaf and two medium palm leaves out of Olive Twist Soft Finish Cardstock.


Adhere the ornament to the circle. Adhere one of the medium palm leaves to the top right portion of the ornament.


Foam square the ornament to the right hand side of the tag. Part of the ornament will hang over the right side of the tag.


Adhere the flowers together.


Adhere the small flower to the top right corner of the ornament by where the palm leaf is. Adhere the two flowers to the left hand side of the ornament. Adhere the remaining two palm leaves underneath the flowers.


To finish the tag, tie a piece of twine through the top of the tag.


Here are a few closeup photos of the finished tag.


Here is the finished You Are Awesome Gift Tag.


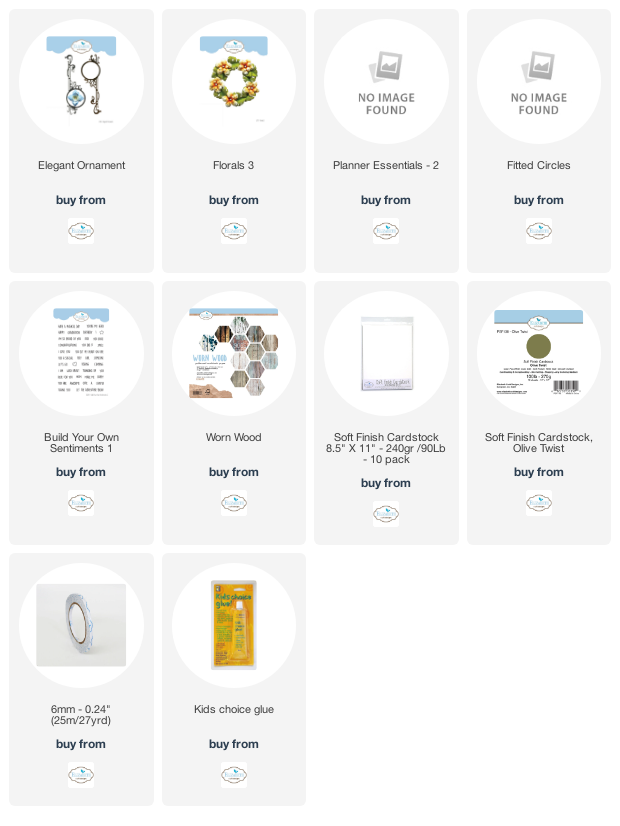
Elizabeth Craft Designs Supplies Used:


Other Supplies Used:

- Tim Holtz for Ranger Ink: Distress Ink - Worn Lipstick and Blending Tool with Foam
- Misc: Twine

I hope that my card has inspired you to recreate your own version of my You Are Awesome Gift Tag.

- Katelyn