Happy Friday!
For today's blog post, I've created this Bloom Planner Insert. To create my insert, I've combined a variety of dies and stamps from the Planner Essentials Collection as well as dies from Joset Designs and stamps from Charlene van der Vorst. You'll want to grab a cup of your favourite beverage and learn how to recreate my Planner Insert at home.

To start, die cut the planner insert from the Planner Essentials 15 - Bookmark 2 out of White Soft Finish Cardstock. Sprinkle Magenta Nuance in Ocean, Jade and Cerulean Blue in the middle of the insert. Spritz the powder with water. Dry the insert with a heat tool. Place the Story Telling Stencil to the middle of the page insert. Use a palette knife and put Texture Paste Opaque Matte through the stencil as desired. Remove the stencil and allow the insert to dry.

From the Planner Patterns die, die cut the letters pattern out of kraft cardstock.

From the Planner Essentials 21 - Note Pieces die, die cut the medium note piece out of White Crinkle Abstract Digital paper by Pam Bray. Ink the edges of the note piece using Black Soot Distress Ink and a blending tool with foam.

From a piece of book page, die cut a 3/4" Diagonal Stitched Fishtail out of it. Ink the edges of the fishtail using Black Soot Distress Ink and a blending tool with foam.

Die cut a 3/4" Diagonal Stitched Fishtail out of White Soft Finish Cardstock. Apply Jet Black Archival Ink to the Bloom stamp from the A Field of Flowers stamp set and stamp onto the fishtail. Trim the fishtail down to 2 3/8". Choose one of the flowers from the same stamp set. Apply Jet Black Archival Ink to the flower stamp and stamp onto a piece of watercolour paper. Colour the flower in using the Watercolor Palette. Once the flower has dried, fussy cut it out. Ink the edges of the fishtail and flower using Black Soot Distress Ink and a blending tool with foam.

From the Planner Essentials 25 - Double Heart Insert, die cut the leaf out of a piece of White Soft Finish Cardstock. From the same die, die cut the heart branch out of Olive Twist Soft Finish Cardstock.

From the Planner Essentials 24 - Photo Frame Pages die, die cut the film strip out of White Soft Finish Cardstock. From the same die, die cut the arrow out of Spring Green Soft Finish Cardstock. Ink the edges of the arrow using Black Soot Distress Ink and a blending tool with foam.

Die cut the banner die from the Planner Essentials 26 - Planner Pocket 3 - Tag & Toppers die out of black cardstock.

Choose one of the reinforcements from the Reinforcement Variety Pack. Die cut the chosen reinforcement out of White Soft Finish Cardstock. You'll need a total of six reinforcements. Ink the edges of all the reinforcements using Black Soot Distress Ink and a blending tool with foam.

Cut a piece of cheesecloth to your desired length and size.

Adhere the reinforcements over top of the circles on the page insert. Adhere the letter pattern 2 1/4" from the bottom and 1/4" from the right of the insert.

Foam square the note piece 2 1/4" from the top and 1/2" from the right of the insert. Adhere the fishtail to the middle of the note piece. Staple the filmstrip to the banner. Staple the arrow to the filmstrip. Adhere the filmstrip, banner and arrow over top of the fishtail.

Adhere the cheesecloth to the middle of the filmstrip and banner. Adhere the heart branch and leaf as desired to the middle of the cheesecloth.

Foam square the flower to the middle of the leaf and heart branch. Add a staple to the left hand side of the fishtail. Use adhesive and foam squares to adhere the bloom fishtail 2 3/8" from the bottom and 3/4" from the left of the insert.

Here are a few closeup photos of the insert.


Here is the finished Bloom Planner Insert.


Elizabeth Craft Designs Supplies Used:
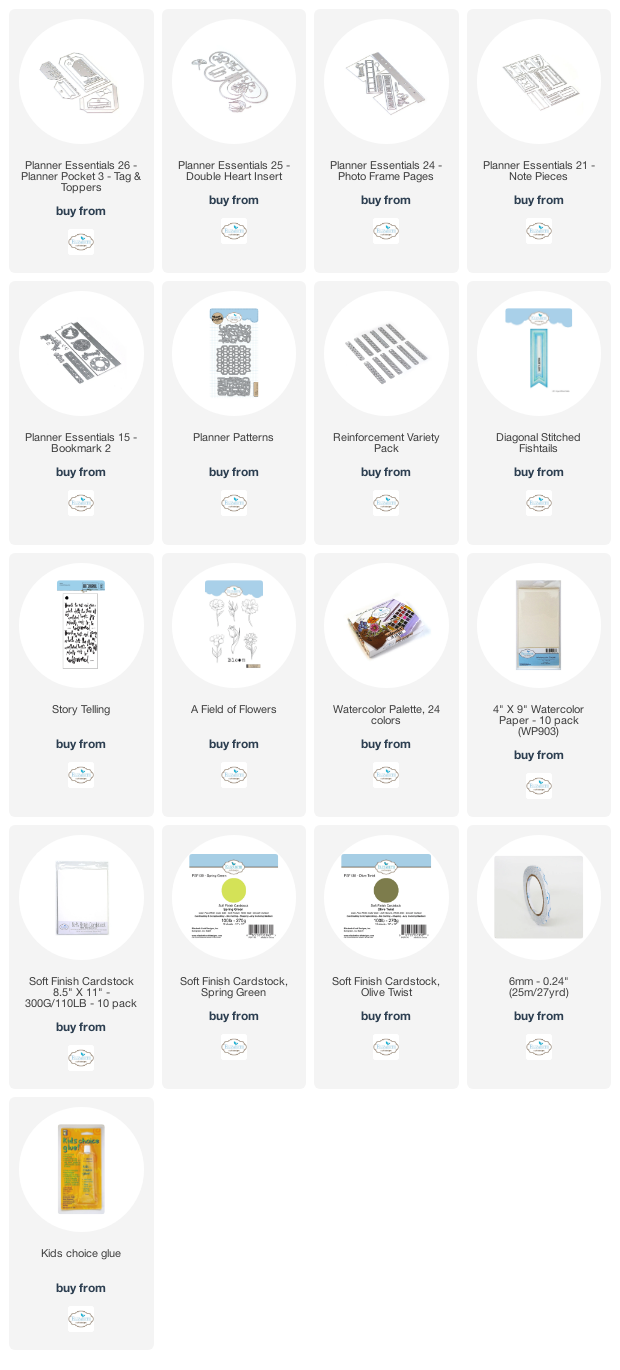
Other Supplies Used:
- Tim Holtz for Ranger Ink: Distress Ink - Black Soot and Blending Tool with Foam
- Ranger Ink: Jet Black Archival and Texture Paste Opaque Matte
- Magenta Nuance: Ocean, Jade and Cerulean Blue
- Tim Holtz/Ideaology: Tiny Attacher Stapler
- Emerald Creek Craft Supplies: Pam Bray Digital Paper - White Crinkle Abstract Paper
- Misc: Kraft Cardstock, Black Cardstock and Book page
Thanks so much for joining me today and I hope that I have inspired you to recreate your own version of my Bloom Planner Insert.
- Katelyn