Tuesday, April 28, 2020

You Will Never Know the Value Planner Page

I have one more post to share with you today. I'm up over on the Elizabeth Craft Designs blog today, where I'm sharing my You Will Never Know the Value Planner Page. My planner page features a variety of dies from the Planner Essentials Collection as well as dies from Joset Designs.


For a full tutorial on my planner page, you'll want to head over to the Elizabeth Craft Designs blog for all the details. 

- Katelyn

Everyday is a Journey Notecard

Happy Tuesday!

I'm up on the Quietfire Design blog today, where I'm sharing my Everyday is a Journey Notecard. My notecard features a variety of Quietfire stamps, dies and the new Modern Gilding Powder.


For a full tutorial and a few more photos of my project, you'll want to head over to Quietfire Design blog for all the details. 

- Katelyn


Monday, April 27, 2020

Live Fully In the Season You're In Wall Hanging

Happy Monday! 

I'm back on Creative Scrapbooker Magazine's Blog as a monthly blogger sharing my Live Fully In the Season You're In Wall Hanging. My project features the Fanciful Florals Collection by Nicole Wright Designs and stamps from Wild Whisper Designs, dies from Elizabeth Craft Designs, ink from Ranger Ink, embossing powder from Emerald Creek Craft Supplies, cardstock from Creative Scrapbooker Magazine and adhesive from Scrapbook Adhesives by 3L.


You'll want to make sure to stop by the Creative Scrapbooker Blog to learn how I created my Live Fully In the Season You're In Wall Hanging.

Thanks for stopping by!
- Katelyn


Friday, April 24, 2020

Collect Moments Not Things Planner Insert

Happy Friday! 

I have been busy playing with the planner dies and created this Collect Moments Not Things Planner Insert. To create my insert, I've combined a variety of dies and stamps from the Planner Essentials Collection as well as dies from Joset Designs. You'll want to grab a cup of your favourite beverage and learn how to recreate my Planner Insert at home.


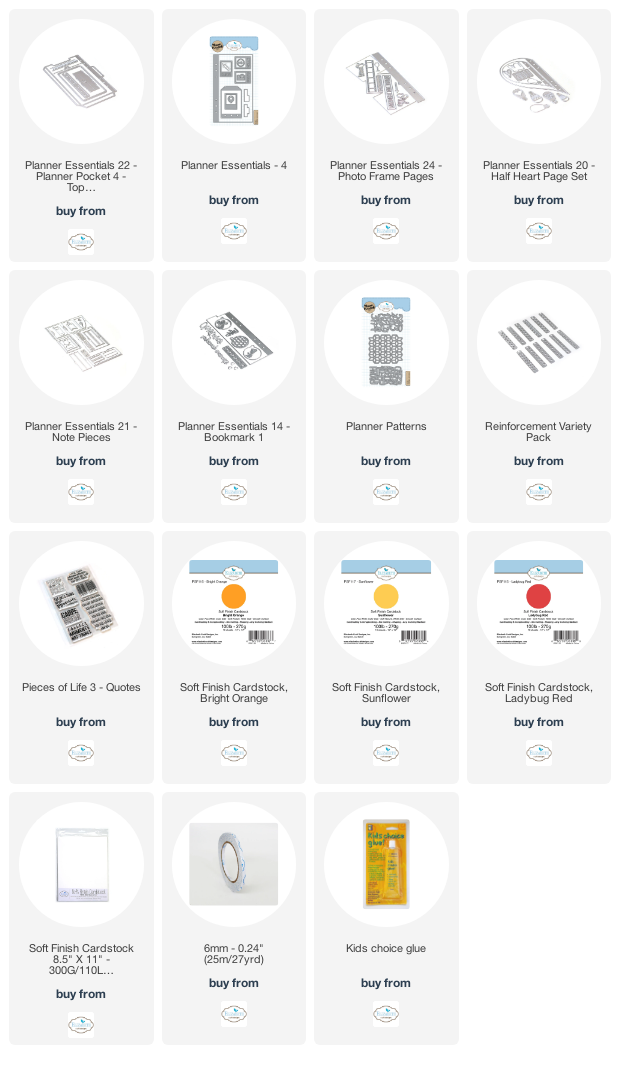
To start, die cut the insert from the Planner Essentials 14 - Bookmark 1 die out of White Soft Finish Cardstock. Sprinkle Magenta Nuance in Raspberry and Rosebud down the middle of the page. Spritz the powder with water. Allow the page to dry. Once the insert has dried, ink the edges of the insert using Black Soot Distress Ink and a blending tool with foam.


Choose one of the reinforcements from the Reinforcement Variety Pack. Die cut the reinforcements out of kraft cardstock. You'll need a total of six. Ink the edges of the reinforcements using Black Soot Distress Ink and a blending tool with foam.


From the Planner Patterns die, die cut the numbers out of White Soft Finish Cardstock.


Next, you'll need the large note piece from the Planner Essentials 21 - Note Pieces die and die cut out of a piece of book page. Ink the edges of the note piece using Black Soot Distress Ink and a blending tool with foam.


From the Planner Essentials 24 - Photo Frame Pages, die cut the filmstrip out of Kraft Cardstock and die cut the small arrow strip out of White Soft Finish Cardstock. Ink the edges of both pieces using Black Soot Distress Ink and a blending tool with foam.


Die two arrows from the Planner Essentials - 4 die out of Sunflower Soft Finish Cardstock and Bright Orange Soft Finish Cardstock.


From the Planner Essentials 22 - Planner Pocket 3 - Top Loading die, you'll need the arrow strip. Die cut the arrow strip using Bright Orange Soft Finish Cardstock. Ink the edges of the arrow using Black Soot Distress Ink and a blending tool with foam.


From the Planner Essentials 20 - Half Heart Page Set, you'll need to die cut the heart and lightbulb out of White Soft Finish Cardstock. Die cut the heart lightbulb out of Ladybug Red Soft Finish Cardstock. Ink the edges of the red heart, red lightbulb and white lightbulb using Black Soot Distress Ink and a blending tool with foam.


Apply Dusty Concord Distress Ink to the Collect Moments Not Things Quote from the Pieces of Life 3 - Quotes stamp. Stamp the quote onto a piece of White Soft Finish Cardstock. Cut the quote into three strips. Ink the edges of the strips using Black Soot Distress Ink and a blending tool with foam.


Adhere the reinforcements overtop of each of the circles on the insert. Adhere the number pattern to the middle of the insert. 


Foam square the note piece 5/8" from the right and 1 3/4" from the top of the insert. Adhere the filmstrip to the right side of the note piece, making sure the dots are still showing.


Staple the two arrows together as desired. Adhere the arrow strips 1" from the right and 2" from the top of the insert. Adhere the orange arrow to the bottom right side of the note piece. Adhere the yellow arrow to the top left side of the note piece. 


Adhere the red heart underneath the top right corner of the note piece. Adhere the lightbulbs together. Foam square the lightbulb 7/8" from the right and 3 5/8" from the bottom of the insert. Adhere the quote strip as desired at the bottom of the lightbulb as desired. 

To finish the insert, add staples to three areas of the number pattern.


Here are a few closeup photos of the insert.


Here is the finished Collect Moments Not Things Planner Insert.


Elizabeth Craft Designs Supplies Used:

Other Supplies Used:

- Tim Holtz for Ranger Ink: Distress Ink - Black Soot & Dusty Concord and Blending Tool with Foam
- Magenta Nuance: Raspberry and Rosebud
- Misc: Kraft Cardstock, Book page and Stapler

Thanks so much for joining me today and I hope that I have inspired you to recreate your own version of my Collect Moments Not Things Planner Insert

- Katelyn


Tuesday, April 21, 2020

Hello Tag

Happy Tuesday!

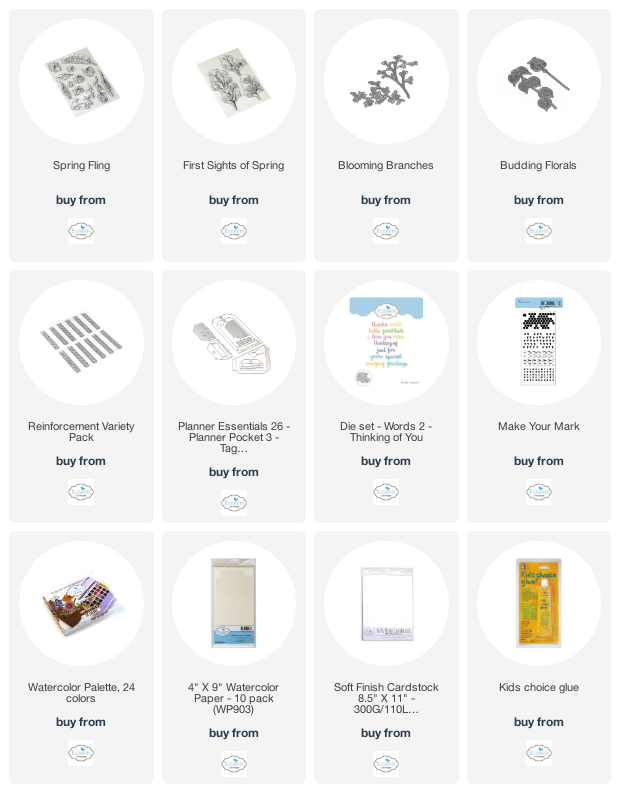
 For today's project I'm sharing with you my Hello Tag which features some dies and stamps from Charlene & Ilse's new Art Journal Specials Collection from Elizabeth Craft Designs as well as dies from the Planner Essentials Collection. You'll want to read below as I have a full tutorial on how to recreate my Hello Tag at home.


To start, die cut a small tag from the Planner Essentials 26 - Planner Pocket 3 - Tag & Toppers die out of White Soft Finish Cardstock. Sprinkle Magenta Nuance Aquamarine powder over the middle of the tag. Spritz the powder with water. Dry the colour. Place the hexagon portion of the Make Your Mark Stencil in the middle of the tag. Put Texture Paste Opaque Matte through the stencil as desired with a palette knife. Once the texture paste has dried, ink the edges of the tag using Black Soot Distress Ink and a blending tool with foam.


Choose one of the reinforcements out of the Reinforcement Variety Pack. Die cut the reinforcement out of White Soft Finish Cardstock. Ink the edges of the reinforcement using Black Soot Distress Ink and a blending tool with foam.


From the Planner Essentials 26 - Planner Pocket 3 - Tag & Toppers, die cut the label out of kraft cardstock. Ink the edges of the label using Black Soot Distress Ink and a blending tool with foam.


From the Budding Florals die, die cut the flower bulb out of kraft cardstock. Ink the edges of the bulb using Black Soot Distress Ink and a blending tool with foam.


From the Blooming Branches die, die cut the heart branch out of White Soft Finish Cardstock.


From the First Sights of Spring Stamp set, you'll need the flower stamp. Apply Jet Black Archival Ink to the flower stamp and stamp onto a piece of watercolour paper. Colour the flower image in using the Watercolor Palette and a waterbrush. Once the image has dried, fussy cut the image out.


From the Spring Fling Stamp set, choose one of the leaf stamps. Apply Jet Black Archival Ink to the leaf stamp and stamp onto a piece of watercolour paper. Colour the leaf image in using the Watercolor Palette and a waterbrush. Once the image has dried, fussy cut the image out.


Die cut the hello word from the Words 2 - Thinking of You die out of White Soft Finish Cardstock.


Adhere the reinforcement to the hole at the top of the tag. Adhere the flower bulb to the middle of the tag. Adhere the heart branch overtop of the flower bulb.


Adhere the leaf image as desired overtop of the heart branch. Foam square the flower image as desired overtop of the leaf image.


Adhere the hello word to the label. Foam square the label to the bottom of the tag as desired.


To finish the tag, tie a piece of twine through the top of the tag.


Here are a few closeup photos of the finished tag.


Here is the finished Hello Tag.


Elizabeth Craft Designs Supplied Used:


Other Supplies Used:

- Tim Holtz for Ranger Ink: Distress Ink - Black Soot and Blending Tool with Foam
- Ranger Ink: Texture Paste Opaque Matte and Jet Black Archival Ink
- Magenta Nuance: Aquamarine
- Misc: Kraft Cardstock and Twine

I hope that my tag has inspired you to recreate your own version at home.

- Katelyn


Sunday, April 19, 2020

I Think You're S'Whale

Happy Sunday!

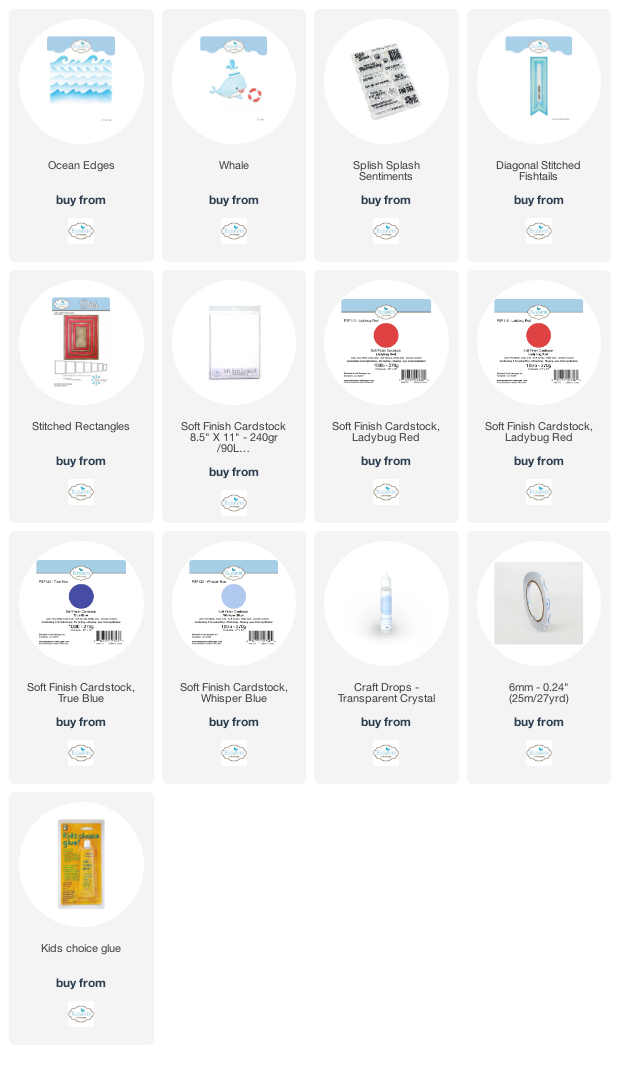
I've been busy playing with Joset Designs newest collection of adorable sea themed dies. So, for today's project, I created this cute I Think You're S'Whale Card. To create my card, I've used a variety of dies from Joset Designs and Els van de Burgt Studio. You'll want to read below as I have a full tutorial on how to recreate my I Think You're S'Whale Card at home.


To start, die cut a 5 1/4" Stitched Rectangle out of White Soft Finish Cardstock.


From a piece of nautical patterned paper, die cut a 5 3/4" Stitched Rectangle out of the paper.


Choose two of the Ocean Edges from Ocean Edges Die. Cut a piece from the Whisper Blue Soft Finish Cardstock that measures 1 1/4" x 6". Cut a second piece from the True Blue Soft Finish Cardstock that measures 1 3/4" x 6". Die cut one of the ocean edges out of Whisper Blue cardstock. Die cut the other ocean edge out of the True Blue cardstock.  Cut both ocean edges to 5 1/4" wide. 


Die cut the 3/8" Diagonal Stitched Fishtail out of White Soft Finish Cardstock. Apply Blueprint Sketch Distress Ink to the I Think You're S'Whale sentiment from the Splish Splash Sentiment and stamp onto the fishtail. Cut the fishtail down to 2 3/4".


The next four steps use the Whale Die.

Die cut the life saver out of White Soft Finish Cardstock. Die cut the four piece life saver out of Ladybug Red Soft Finish Cardstock.


Die cut the water splashes out of True Blue Soft Finish Cardstock.


Die cut the body and fins out of Whisper Blue Soft Finish Cardstock.


Die cut the bottom of the whale out of White Soft Finish Cardstock. Die cut the bottom of the whale a second time out of Ladybug Red Soft Finish Cardstock. Cut the top of portion of the red body, this will create the mouth.


Adhere the red life saver pieces to the white life saver.


Adhere the mouth to the bottom of the whale. Adhere the top of the whale to the bottom of the whale. Adhere the fins to the whale. Colour in the eye of the whale using a black gel pen.


Add foam squares to the sides of the 1 3/4" tall ocean edge and adhere 1/4" from the bottom of the 5 1/4" stitched rectangle. Add adhesive to the sides of the 1 1/4" ocean edge and adhere to the bottom of the 5 1/4" stitched rectangle. 


Adhere the whale in behind the waves as desired. Foam square the water splashes at the top of the whale.


Adhere the life saver to the bottom right side of waves. Adhere the fishtail 1/4" from the bottom and all the way to the right hand side of the 5 1/4" rectangle. 


Adhere the 5 1/4" rectangle to the 5 3/4" rectangle. Wrap a piece of twine three times along the bottom edge of the sentiment. Knot the twine of the left hand side of the cardfront. Cut a cardbase out of White Soft Finish Cardstock that measures 5 3/4" x 9", score at 4 1/2". Adhere the cardfront to the cardbase. To finish the card, add Transparent Crystal Craft Drops to the water splashes.


Here are a few closeup photos of the finished card.


Here is the finished I Think You're S'Whale Card.


Elizabeth Craft Supplies Used:


Other Supplies Used:

- Tim Holtz for Ranger Ink: Distress Ink - Blueprint Sketch and Blending Tool with Foam
- Misc: Nautical Patterned Paper and Twine

I hope that my card has inspired you to recreate your own version of my I Think You're S'Whale Card.

- Katelyn