Happy Saturday!
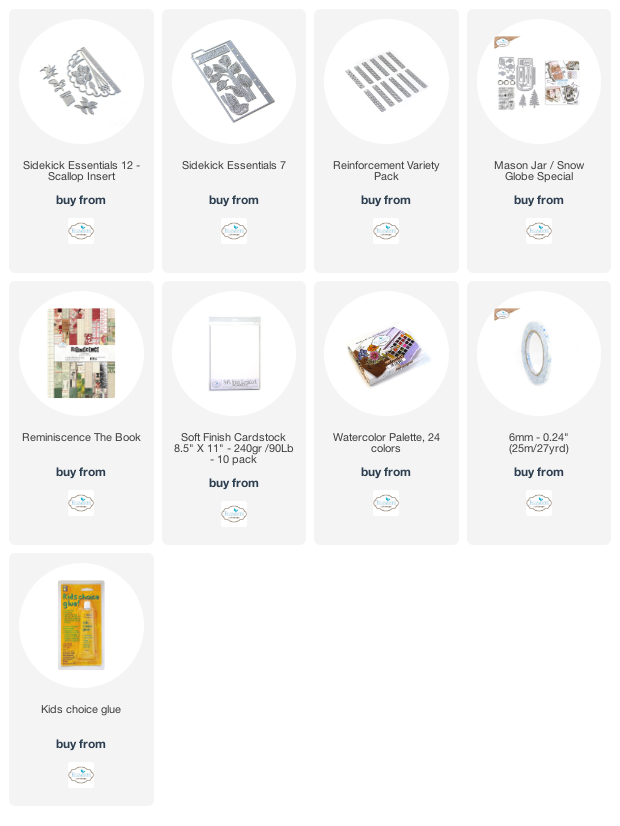
Today's post, is all about this Collect Moments Mason Jar. My mason jar uses the Mason Jar/Snowglobe Special as well as other dies from the Planner Essentials and Sidekick Essentials Collections. You'll want to grab a cup of your favourite beverage and learn how to recreate my mason jar at home.
To start, choose a piece of patterned paper out of the Reminiscence the Book.
The next three steps use the Mason Jar/Snowglobe Special die.
Die cut the mason jar out of the patterned paper. Ink the edges of the jar using Walnut Stain Distress Ink and a blending tool with foam.
Die cut the lid and label out of a piece of kraft cardstock. Ink the edges of both pieces using Walnut Stain Distress Ink and a blending tool with foam.
Apply Detail Black Ink to the collect moment stamp and stamp onto a piece of White Soft Finish Cardstock. Cut the words into a strip. Ink the edges of the strip using Walnut Stain Distress Ink and a blending tool with foam.
From the Sidekick Essentials 7 die, die cut the leaf branch twice out of a piece of White Soft Finish Cardstock.
From the Sidekick Essentials 12 - Scallop Insert, you'll need the pot and two of the leaves. Die cut the pot three times out of White Soft Finish Cardstock. Die cut one of the leaves once out of White Soft Finish Cardstock. Die cut the other leaf twice out of White Soft Finish Cardstock. Colour the pots and leaves using a waterbrush and the Watercolour Palette.
Choose one of the reinforcements out of the Variety Reinforcement Pack. Die cut the reinforcement once out of White Soft Finish Cardstock. Colour three of the reinforcements using a waterbrush and the Watercolour Palette. Ink the edges of the three reinforcements using Walnut Stain Distress Ink and a blending tool with foam.
Adhere the reinforcements over top of the holes on the mason jar.
Adhere the mason jar top to the top of the jar. Adhere the label to the middle of the jar as desired.
Adhere on the leaf branches to the bottom left side of the jar. Adhere the other leaf branch to the right side of the jar.
Adhere the pots and leaves together.
Use foam squares and adhesive to adhere two of the pots to the bottom left side of the leaf branch. Foam square the other leaf pot to the bottom right side of the leaf branch.
To finish the jar, adhere the Collect Moments word strip to the bottom left side of the pots and leaves.
Here are a few closeup photos of the finish mason jar.
Here is the finished Collect Moments Mason Jar.
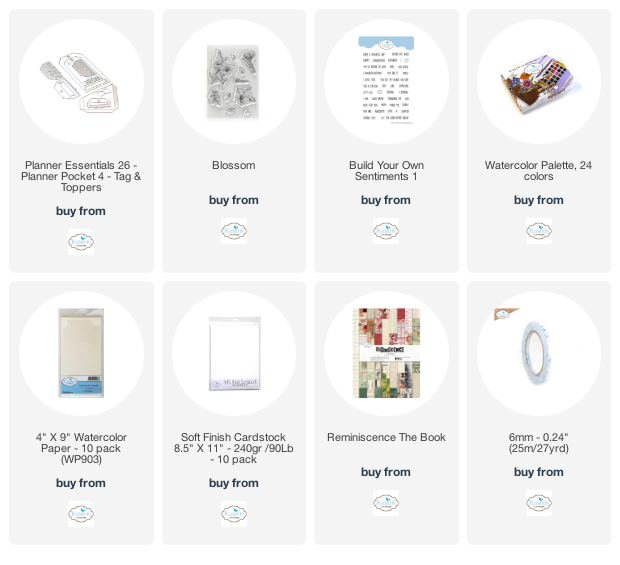
Elizabeth Craft Designs Supplies Used:
Other Supplies Used:
- Tim Holtz for Ranger Ink: Distress Ink - Walnut Stain and Blending Tool with Foam
- Pink Fresh: Detail Black Ink
- Misc: Kraft Cardstock
Thanks so much for joining me today and I hope that I have inspired you to recreate your own version of my Collect Moments Mason Jar.
- Katelyn