Happy Wednesday! Halloween is only 6 days away, so I thought I would create a fun little Halloween card to give to that special little ghoul in your life. My Witch way to the Candy? card, feature a variety of dies from Joset Designs Halloween collection. Grab a cup of your favourite fall beverage and enjoy as I walk you through how to recreate my Witch way to the Candy? card at home.
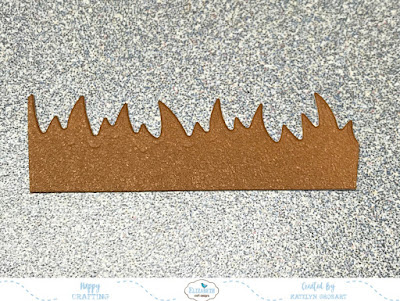
To start, grab the grass die from the Adventure Edges and die cut it out of Brown Soft Finish Cardstock. Trim the border down to 1" wide and 2 3/8" long.
From the Trick-or-Treat Bag die, die cut the treat bag out of White Soft Finish Cardstock. Blend Vintage Photo Distress Oxide Ink over the entire bag. Let the ink dry. Apply Jet Black Archival Ink to the Witch way to the Candy? sentiment from the Spooky Sentiments Clear Stamp Set. Stamp the sentiment onto the front of the treat bag. Ink the edges of the bag using Black Soot Distress Oxide Ink.
Using the same Trick-or-Treat Bag die, die cut the three different candies twice out of White Soft Finish Cardstock. Choose two of the candies and blend Seedless Preserves Distress Oxide Ink over the entire surface. Ink the edges of the candies using Black Soot Distress Oxide Ink.
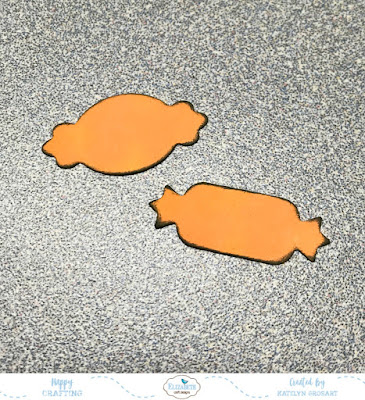
Next, you'll need the two die cut candy corns. Ink the entire surface of the candy corns with Fossilized Amber Distress Oxide Ink. Blend the Spiced Marmalade Distress Oxide Ink at the bottom of each candy corn. Ink the edges of the candy corns using Black Soot Distress Oxide Ink.
Take the last two candies and blend Spiced Marmalade Distress Oxide Ink over the entire surface. Ink the edges of the candies using Black Soot Distress Oxide Ink.
From the Halloween Scenery die, die cut the bats and spiders three times out of White Soft Finish Cardstock. With the bats and spiders cut out, blend Black Soot Distress Oxide Ink over each piece.
Cut a cardbase out of White Soft Finish Cardstock that measures 3 1/2" x 9 1/2". Score the cardbase at 4 3/4".
Cut a pice of diamond paper that measures 2 3/4" x 4". Distress the edges of the paper using an edge distressor. Ink the edges of the paper using Black Soot Distress Oxide Ink.
Use the 3" Stitched Rectangle die to die cut a stitched rectangle out of black patterned paper. Use the 3 1/2" Stitched Rectangle die to die cut a stitched rectangle out of orange patterned paper. Distress the edges of each paper using an edge distressor. Ink the edges of each paper using Black Soot Distress Oxide Ink.
Adhere the purple diamond patterned paper to the black word patterned paper. Adhere the black word patterned paper to the orange patterned paper.
Adhere the brown grass die cut to the top and in behind the trick or treat bag. Adhere three of the candies in behind of the brown grass.
In the bottom right hand corner of the treat bag, adhere the other three candies as well as a spider.
Foam square the trick or treat bag to the middle of the diamond patterned paper.
With the bag adhered, adhere another spider as well as the three bats as desired on the card front.
To finish off you're card, adhere your card front to your cardbase.
Here are a few closeup shots of the finished card.
And here's the finished With way to the Candy? card.
Elizabeth Craft Designs Products Used:
Other Products Used:
- Tim Holtz for Ranger Ink: Distress Oxide Ink - Vintage Photo, Black Soot, Spiced Marmalade, Seedless Preserves and Fossilized Amber
- Ranger Ink: Jet Black Archival Ink
- Graphic 45: Eerie Tale - Grand Illusion, Unsolved Mystery and Captivating Characters
Thanks for stopping by and checking out my Witch way to the Candy? Card. I hope that I've inspired you to recreate it at home.
- Katelyn


No comments:
Post a Comment