Happy Saturday!
For today's project, I created this pretty Hello Card. To create my card, I've used a variety of dies from the Paper Flower Collection and Joset Designs. You'll want to read below as I have a full tutorial on how to recreate my card at home.

To start, die cut a 4 1/4" Fitted Indented Rectangle out of a piece of kraft cardstock. Die cut a 4" Stitched Indented Rectangle out of piece of patterned paper from the Worn Wood Paper Pack. Distress the edges of both rectangles. Ink the edges of both rectangles using Walnut Stain Distress Ink and a blending tool with foam.

From the Pizza Box die, die cut the stitched circle out of kraft cardstock. Distress the edges of the circle. Ink the edges of the circle using Walnut Stain Distress Ink and a blending tool with foam.

Die cut the Elegant Ornament frame out of kraft cardstock. Trim the frame down to your desired length.

The next four steps use the Strawberries die.
Die cut two of one of the swirly pieces out of White Soft Finish Cardstock. Die cut the other swirly piece out of White Soft Finish Cardstock. Using a blending tool with foam, blend Shabby Shutters Distress Ink over the entire surface of all three swirly pieces.

Die cut two large leaves, three small strawberry toppers and one large strawberry topper. Using a blending tool with foam, blend Mowed Lawn Distress Ink over the entire surface of all the leaves and toppers. Using a blending tool with foam, blend Forest Moss Distress Ink on the edges and tops of the strawberry toppers.

Die cut three small strawberries and one large strawberry out of White Soft Finish Cardstock. Using a blending tool with foam, blend Candied Apple Distress Ink over the entire surface of the strawberries.

Die cut the flowers four times out of White Soft Finish Cardstock. Using a blending tool with foam, blend Fossilized Amber Distress Ink over the entire surface of the four flower centers. Using a blending tool with foam, ink the edges of all four flowers using Tumbled Glass Distress Ink.

From the Words 2 - Thinking of You die, die cut the Hello word out of White Soft Finish Cardstock.

Adhere the toppers to the top of the strawberries.

Adhere the centers to the middle of the flowers.

Foam square the 4" stitched indented rectangle to the 4 1/4" fitted indented rectangle.

Adhere the elegant ornament to the stitched circle. Adhere the elegant ornament 1" from the left and to the top of the 4" rectangle.

Adhere two of the swirly pieces to the top left portion of the elegant ornament. Adhere the other swirly piece to the bottom left portion of the elegant ornament. Shape the large leaves as desired. Adhere the two large leaves as desired overtop of the swirly pieces.

Use adhesive and foam squares to adhere the one large strawberry and two small strawberries in amongst the two leaves. Foam square the last small strawberry to the bottom left side of the leaf as desired.

Adhere the flowers in amongst the strawberries and swirly pieces as desired. Adhere the Hello word in amongst the leaves and circle as desired.

To finish the card, cut a cardbase out of White Soft Finish Cardstock that measures 4 1/4" x 11", score at 5 1/2". Adhere the cardfront to the cardbase.

Here are a few closeup photos of the finished card.


Here is the finished Hello Card.

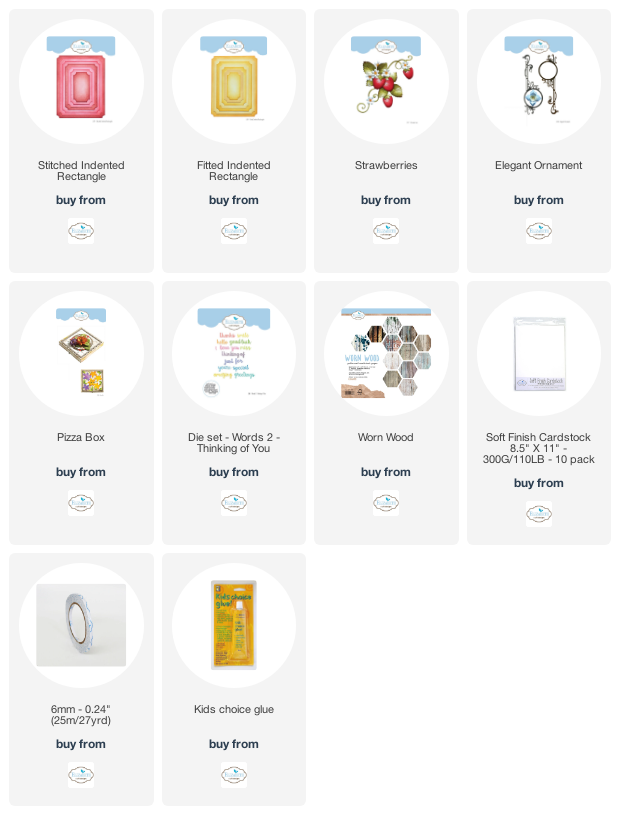
Elizabeth Craft Designs Supplies Used:
Other Supplies Used:
- Tim Holtz for Ranger Ink: Distress Ink - Mowed Lawn, Tumbled Glass, Shabby Shutters, Forest Moss, Fossilized Amber, Candied Apple & Walnut Stain and Blending Tool with Foam
- Misc: Kraft Cardstock
I hope that my card has inspired you to recreate your own version of my Hello Card.
- Katelyn
Tremendously lovely design. I'm smitten with the marriage of classic woodgrain paper and charming red strawberries. It instantly calls to mind sunny weather picnics and fun summertime days in general.
ReplyDeleteAutumn Zenith 🎃 Witchcrafted Life
Thank you!
ReplyDelete