Happy Sunday!
For today's project I have this You Rock Tag. To create my tag, I've used a variety of dies from the Paper Flower Collection and the Planner Essentials Collection as well as stamps from Jost Designs. You'll want to read below as I have a full tutorial on how to recreate my tag at home.
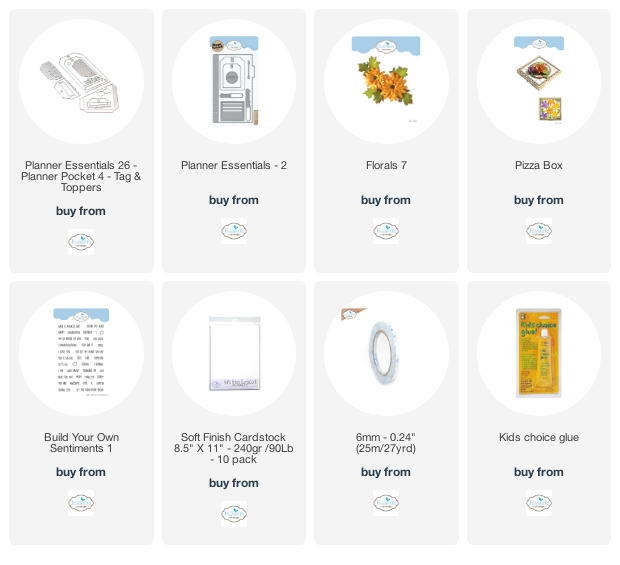
From the Planner Essentials -2 Die, you'll need the large tag. Die cut the tag out of a piece of White Soft Finish Cardstock. Ink the edges of the tag using Walnut Stain Distress Ink and a blending tool with foam.
From the Pizza Box die, you'll need the stitched circle and the smaller fitted circle. Die cut the stitched circle out of a piece of kraft cardstock. Die cut the smaller fitted circle out of a piece of White Soft Finish Cardstock. Ink the edges of both circles using Walnut Stain Distress Ink and a blending tool with foam.
From the Planner Essentials 26 - Planner Pocket 4 - Tag & Toppers Die, you'll need the stitched banner. Next you'll need the You Rock sentiment from the Build Your Own Sentiments Stamp Set. Apply Detail Black Ink to the sentiment and stamp onto the banner. Ink the edges of the banner using Walnut Stain Distress Ink and a blending tool with foam.
The next two steps use the Florals 7 die. Die cut the small and medium leaves twice out of a piece of olive cardstock. Ink the edges of the leaves using Walnut Stain Distress Ink and a blending tool with foam.
Die cut the large, medium and small flowers two times out of Sky Textured Cardstock. Die cut the large, medium and small flowers three times out of Blush Textured Cardstock. Die cut the centres three times out of Mustard Textured Cardstock. You'll need a total of five centres. Shapes the flowers as desired.
Adhere the fitted circle to the stitched circle. Foam square the stitched circle to the middle of the tag. Foam square the stitched banner to the middle of the circles as desired.
Adhere two of the leaves in the bottom right side of the circles. Adhere the remaining two leaves in the top left side of the circles.
Adhere the flowers together, making sure each flower bunch has a centre.
Adhere a blue and blush flower in the top left side of the circles, making sure it covers the bottom portion of the leaves. Adhere the remaining three flowers in the bottom right side of the circles, making sure it covers the bottom portion of the leaves.
To finish the tag, tie a piece of twine through the top of the tag.
Here are a few closeup photos of the finished tag.
Other Supplies Used:
- Tim Holtz for Ranger Ink: Distress Ink - Walnut Stain and Blending Tool with Foam
- Simple Stories: Textured Cardstock - Blush, Olive, Mustard and Sky
- Pink Fresh: Detail Black Ink
- Misc: Kraft Cardstock, Flower Shaping Tools and Twine
I hope that my tag has inspired you to recreate your own version of my You Rock Tag.
- Katelyn


No comments:
Post a Comment