Happy Thursday!
Today, I'm excited to share this beautiful Winter Floral Tag perfect for adding to a gift or writing a note on the back to send to a friend or loved one. My tag features the Winter Days Collection from Simply Stated Design.
Choose a piece of patterned paper out of the Winter Days Paper Pack. Die cut a 2 3/4" x 4 3/4" tag out of the patterned paper. Sand the edges of the tag.
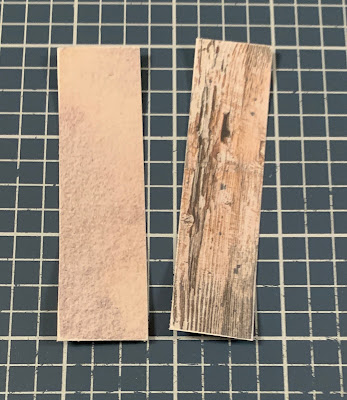
Out of the patterned paper pack, choose two more patterned papers. Cut one piece of patterned paper to 3/4" x 2 7/8". Cut the other piece of patterned paper to 3/4" x 3". Sand the edges of both papers.
Choose one of the tags out of the Winter Days Tags Ephemera. Cut the top of the tag off. Sand the edges of the tag.
Out of the Winter Days Essentials Ephemera, you'll need a circle label, two banners and a pennant. Sand the edges of all of the elements.
Choose one of the florals out of the Winter Days Bouquet Ephemera. Fussy cut around the floral image.
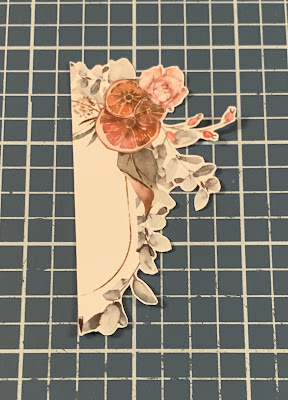
Choose one of the frames out of the Winter Days Frames Ephemera. Cut the frame in half. Fussy cut around the image.
Adhere the pennant 3/8" from the top and 1/4" from the right of the cut down tag. Adhere the half frame to the top right side of the tag.
Adhere the two banners to the bottom right side of the cut down tag as desired.
Staple the two patterned paper pieces 1/4" from the left of the cut down tag as desired. Foam square the tag piece 1/4" from the left and 3/8" from the bottom of the die cut tag.
Adhere the circle label 3/8" from the bottom and 1 5/8" from the left of the cut down tag. Foam square the floral element to the left hand side of the circle label.
To finish the tag, tie a piece of twine through the hole at the top of the tag.
Here are some closeups of the finished tag.
Supplies Used:
- Simply Stated Design: Winter Days 12x12 Paper Pack, Winter Days Bouquet Ephemera, Winter Days Frames Ephemera, Winter Days Essentials Ephemera and Winter Days Tags Ephemera
- Elizabeth Craft Designs: Nested Tags
Misc: Mini Stapler and Sander
I hope that my Winter Floral Tag have inspired you to recreate your own at home!
- Katelyn


No comments:
Post a Comment