We're kicking off a new Die Cut and Colouring Team Designer Challenge on the Elizabeth Craft Designs blog today. For August it's all about Gift Giving. With the challenge in mind, I set out to decorate a paper box perfect to give to that special someone with a special gift inside for them. Make sure to read below as I have a tutorial for you so that you can re-create my Happy Birthday Gift Box at home. Read all the way down to the bottom as I have some information at the end of the post on how to get in on a fabulous giveaway from Elizabeth Craft Designs.

Start by trimming four strips of patterned paper that measure 3/8" x 3 7/8" from one of the Butterfly Dreams patterned papers. Distress the edges of each strip. Using a blending tool with foam, ink the edges of the strips using Black Soot Distress Ink.

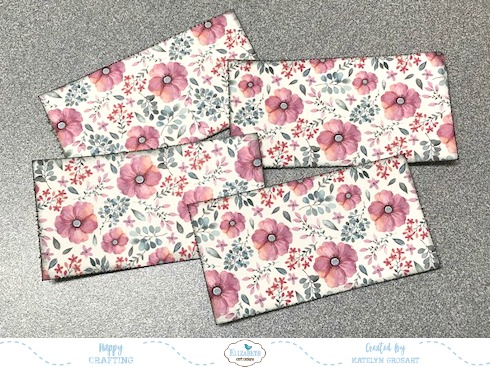
Next, you'll want to cut four pieces from the same patterned paper as you used in the previous step that measure 2" x 3 5/8". Distress the edges of each patterned paper piece. Using a blending tool with foam, ink the edges of the patterned paper pieces using Black Soot Distress Ink.

Using the same piece of patterned paper, die cut two 3 3/4" stitched squares. Distress the edges of each square. Using a blending tool with foam, ink the edges of each square using Black Soot Distress Ink.

Die cut the 3 1/4" Stitched Square out of another patterned paper from the Butterfly Dreams pack. Distress the edges of the square. Using a blending tool with foam, ink the edges of the square using Black Soot Distress Ink.

Cut four pieces that measure 1 3/4" x 3 3/8" from another piece of patterned paper from the Butterfly Dreams pack. Distress the edges of each patterned paper pieces. Using a blending tool with foam, ink the edges of the patterned paper pieces using Black Soot Distress Ink.
Die cut four 1 1/2" Dotted Scallop Circles out of White Soft Finish Cardstock.

Die cut four Dragonflies out of the Thinking about you - Polinesia paper pack.

Die cut a Dancing Butterfly out of the Thinking of You - Polinesia paper pack.

Using the Bunch of Flowers 3 die cut, die cut the circle flower from the Thinking about - Polinesia paper pack. Using the Bunch of Flowers 4 die cut, die cut the circle flower with a notch twice from two different colours of paper from the Thinking About - Polinesia paper pack.

To finish off the centres of the flowers, add a large Transparent/Gold Glitter Dot to the centre of each flower.

Die cut the 3/4" Stitched Fishtail Banner out of White Soft Finish Cardstock. Cut the banner down to 2 1/2" long. Apply Jet Black Archival Ink to the Happy Birthday sentiment. Stamp the Happy Birthday sentiment onto the banner. Ink the edges of the banner using Black Soot Distress Ink and a blending tool.

Cut six branches from the Leafy Branch 4 out of White Soft Finish Cardstock. Using a blending tool and Faded Jeans Distress Oxide Ink, ink all six branches. Set the branches aside to dry.

Now it's time to start to decorate your box.
Start by inking the edges of the box using Black Soot Distress Ink. Adhere the strips of patterned paper to the top of the box on all four sides.

Adhere the 3 1/4" stitched square to the 3 3/4" stitched square. Adhere the 3 3/4" stitched square to the top of the box lid.

On the top of the box lid, adhere the six branches as desired.

Adhere the flowers to the top of the box, making sure that the flowers cover where the branches meet.

Adhere the Happy Birthday Banner underneath the flowers. Adhere the butterfly to the top of the Happy Birthday banner.

Adhere the other stitched square to the bottom of the box.

Adhere the 2" patterned paper pieces to all four sides of the box. Adhere the 1 3/4" patterned paper pieces overtop of the 2" patterned paper pieces.

Foam square the dotted scallop circles to the middle of the 1 3/4" patterned paper piece on all four sides of the box. Adhere a dragonfly on each dotted scallop circles.

Here are a few close up photos of my Happy Birthday Gift Box.


And here's my finished Happy Birthday Gift Box.

*****************
For today's challenge Elizabeth Craft Designs are giving away a $20 Gift Card to use on our website to 3 winners.
To enter simply leave a comment on the Elizabeth Craft Designs Challenge post and tell us "What are some homemade and crafty gifts you have created over the years?”
We will select 3 lucky winners in a random drawing
The winners will be announced on Friday, August 18 on the Elizabeth Craft Designs blog.
*************************

Elizabeth Craft Designs Products Used:
- Beacon - Kids Choice Glue
Other Products Used:
- Tim Holtz for Ranger Ink: Distress Oxide Ink - Faded Jeans, Distress Ink - Black Soot, Blending Tool & Foam
- Ranger Ink: Jet Black Archival Ink
- Misc: Paper Box
- Katelyn
Hi. I dont think this is the right place to post my question but im a little lost. I would like to sign up for your blog but cannot find where to do so. Please help Thank you. Joan
ReplyDeleteHi Joan,
ReplyDeleteAre you looking to sign up for Elizabeth Craft Designs blog?