Showing posts with label ModaScrap. Show all posts

Monday, October 28, 2019

Trick or Treat Altered Candle Holder

I have one more post to share with you today!

I'm excited to be back on Creative Scrapbooker Magazine's Blog as a monthly blogger sharing my Trick or Treat Altered Candle Holder. My project features patterned paper from Wild Whisper Designs, dies from Elizabeth Craft Designs, ink from Ranger Ink, and adhesive from Scrapbook Adhesives by 3L.


You'll want to make sure to stop by the Creative Scrapbooker Blog to learn how I created my Trick or Treat Altered Candle Holder.

Thanks for stopping by!
- Katelyn

Saturday, September 21, 2019

Born with Greatness Card

Happy Saturday!
I'm excited to have a be over on the Elizabeth Craft Designs blog today, where I'm sharing my Born with Greatness Card. My card features a variety of A Way With Words dies and stamps.


For a full tutorial on my card, you'll want to head over to the Elizabeth Craft Designs blog for all the details. 

- Katelyn

Thursday, September 19, 2019

Joyful Wishes Card

Happy Thursday! 
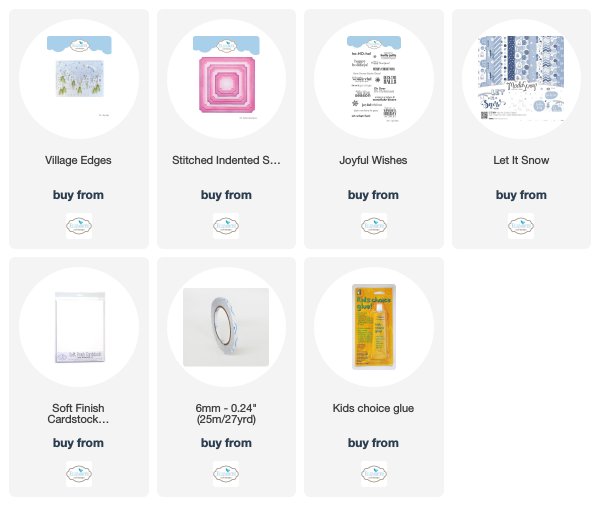
I'm thrilled to be sharing with you today my Joyful Wishes Card which features dies from Joset Designs. This card is perfect to create for your Christmas Cards this year. You'll want to read below to learn how to recreate my Joyful Wishes Card at home.


The first four steps use the Village Edges die.

Die cut two large trees, two medium trees and one small tree out of White Soft Finish Cardstock. Using a blending tool with foam, blend Shabby Shutters Distress Ink over the top portion of the trees.


Die cut the stars five times out of White Soft Finish Cardstock. Cut off extra piece on the star, leaving you with the five single stars.


Die cut the first village edge out of a piece of White Soft Finish Cardstock. Cut the village down to 2 1/8". Die cut the other village out from a piece of White Soft Finish Cardstock. Cut that village down to 1 5/8". Apply Stormy Sky Distress Ink to the Joyful Wishes stamp from the Joyful Wishes Stamp set and stamp at the bottom of the 1 5/8" village.


Die cut the fence out of piece of White Soft Finish Cardstock. Cut the fence down to 1 1/2", you will need the other piece you cut off.


Choose a piece of patterned paper from the ModaScrap: Let It Snow Paper Pack. Die cut the 4 3/4" Stitched Indented Square from the patterned paper. 


Die cut the 5 1/4" Stitched Indented Square from a piece of White Soft Finish Cardstock.


Adhere the 4 3/4" square to the 5 1/4" square.


Foam square the 2 1/8" village 2" from the top of the 4 3/4" square. Use adhesive and foam squares to adhere the 1 5/8" village to the bottom of the 4 3/4" square. 


Adhere the five stars at the top of the village. Adhere the five trees as desired around the Joyful Wishes sentiment.


Adhere the 1 1/2" fence to the bottom right side of the 1 5/8" village. Adhere the other fence piece to the bottom left side of the 1 5/8" village. To finish the card, cut a cardbase that measures 5 1/4" x 10 1/2", score at 5 1/4". Adhere the cardfront to the cardbase.


Here's a few closeup photos of the the finished Joyful Wishes Card.


Here is the finished Card.


Elizabeth Craft Designs Supplies Used:


Other Supplies Used:

- Tim Holtz for Ranger Ink: Distress Ink - Shabby Shutters & Stormy Sky and a Blending tool with foam

- Katelyn


Saturday, August 31, 2019

Just For You - Birthday Notecard

Happy Saturday! I'm up on the Elizabeth Craft Designs blog today sharing my Just For You Birthday Notecard, which features stamps and dies from Krista Schneider as well as a variety of dies Els van de Burgt Studio, Joset Designs. To finish the card, I used a couple of patterned papers from ModaScrap.


I would love for you to go and check out the full tutorial on how to create my Just For You Birthday Notecard over on the Elizabeth Crafts Designs Blog

- Katelyn

Monday, August 12, 2019

Elizabeth Craft Designs August Group Post - Summer Projects

Happy Monday!

We are switching things up on the Elizabeth Craft Designs blog this year and instead of having a designer challenge, we are having group posts each month. Each month the group post will have a theme and some or all of the design team members will participate. For August's theme it's all about Summer! 

 For this month's group post, I created this Tropical Vibes card, the perfect summer card. To create my card, I've used dies from Joset Designs and patterned paper from ModaScrap. Grab your favourite summertime beverage and read below as I have a tutorial for you so that you can re-create my card at home. You'll also want to make sure to stop by the Elizabeth Craft Designs Blog to check out the rest of the team's projects. 


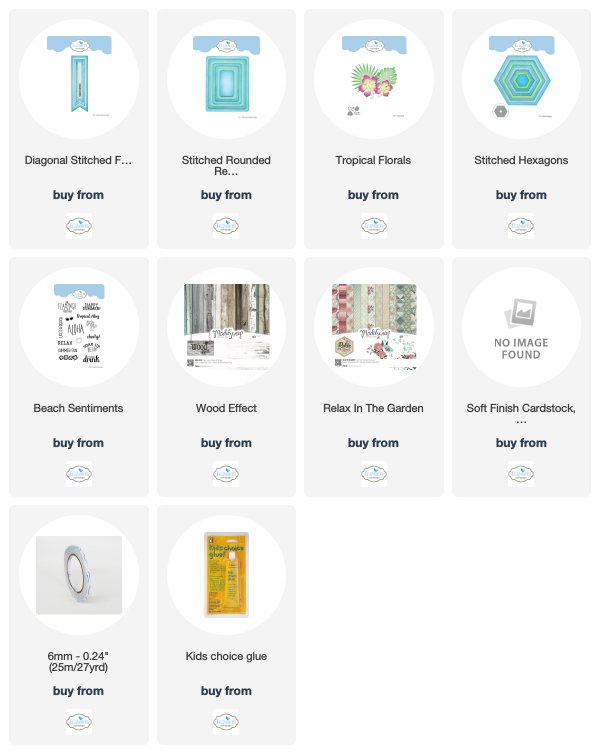
The first five steps are die cut from the Tropical Florals die.

To start, die cut two tropical leaves out of White Soft Finish Cardstock. Using a blending tool with foam, blend Mowed Lawn Distress Ink over the entire surface of both leaves.


Die cut the other leaf out of White Soft Finish Cardstock. Using a blending tool with foam. blend Twisted Citron Distress Ink over the entire surface of the leaf.


Die cut two of the large stamens and one small stamen out of White Soft Finish Cardstock. Using a blending tool with foam, blend Squeezed Lemonade Distress Ink over the entire surface of all three stamens.


Next, die cut the small flower and two large middles out of White Soft Finish Cardstock. Using a blending tool with foam, blend Worn Lipstick Distress Ink over the entire surface of the flower and middles.


Die cut two large flowers, one small flower and one small middle out of White Soft Finish Cardstock. Using a blending tool with foam, blend Picked Raspberry Distress Ink over the entire surface of all the flowers and middles.


Die cut the 3/4" Diagonal Stitched Fishtails out of a piece of White Soft Finish Cardstock. Apply Picked Raspberry Distress Ink to the Tropical Vibes stamp from the Beach Sentiments stamp set and stamp on the fishtail. Trim the fishtail down to 2 1/2". Ink the edges of the fishtail using Vintage Photo Distress Ink and a blending tool with foam.


Choose a piece of wood paper out of the Wood Effect Paper Pack. Die cut the 4 3/4" Stitched Hexagon out of the patterned paper. Place the 4 1/4" Stitched Hexagon in the middle of the 4 3/4" Stitched Hexagon and run it through your die cutting machine. Ink the edges of both pieces using Vintage Photo Distress Ink and a blending tool with foam.


Choose a patterned paper piece out of the Relax in Garden Paper Pack. Once the patterned paper has been chosen, die cut the 4 1/2" and 4" Stitched Rounded Rectangle out of the patterned paper. Flip the 4" rectangle over, showing the plain side. Ink the edges of both rectangles using Vintage Photo Distress Ink and a blending tool with foam.


Adhere the 4" rounded rectangle to the 4 1/2" rounded rectangle. Adhere the two hexagons together as desired. Foam square the hexagons to the middle of the 4" rounded rectangle. 


Shape your flowers and leaves as desired. Adhere the leaf and palm leaf to the top right side of the hexagon. Foam square the two large flowers slightly overtop of the leaves. Foam square the small flower to the bottom middle of the two large flowers. Adhere a palm leaf to the right of the small flower.


Foam square the tropical vibes sentiment to the bottom left of the small flower and leaf. Cut a cardbase from White Soft Finish Cardstock that measures 5 3/4" x 9", score at 4 1/2". Adhere the cardfront to the cardbase.


Here are a few closeups of the card.


Here's the finished Tropical Vibes Card.


Elizabeth Craft Designs Products Used:


Other Products Used:

- Tim Holtz for Ranger Ink: Distress Ink - Squeezed Lemonade, Twisted Citron, Mowed Lawn, Worn Lipstick, Picked Raspberry & Vintage Photo and Blending Tool with Foam

- Katelyn


Saturday, August 10, 2019

August Planner Post #1 - August Title Page

Happy Saturday! I've been getting my planner set up for August and while I was creating, I created this August Title Page as a marker for the start of a new month. To create my page, I've used a variety of the dies from the Planner Essentials line and Joset Designs. You'll want to read below to learn how to recreate my August Title Page at home.


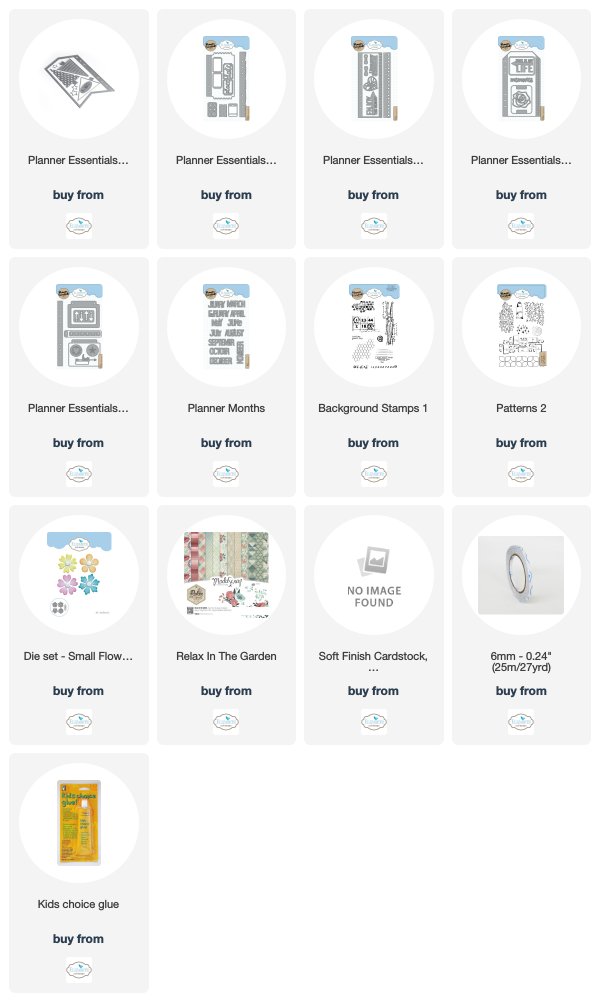
To start, die cut the fishtail page from the Planner Essentials - 12 die out of White Soft Finish Cardstock. Place your favourite stencil on the arrow as desired and use a blending tool with foam to blend Pick Raspberry Distress Ink over certain parts of the stencil. Apply Potting Soil Archival Ink to the dot stamp from the Background Stamps 1 and stamp as desired on the page. Reapply ink to the stamp as needed. I stamped the dot stamp eight times. Apply Jet Black Archival Ink to the diamond stamp from the Patterns 2 stamp set and stamp as desired on the page. Reapply ink to the stamp as needed. I stamped the diamond stamp five times. Distress the edges of the page. Ink the edges of the page using Walnut Stain Distress Oxide Ink and a blending tool with foam.


Choose two patterned paper pieces from the ModaScrap - Relax in the Garden Paper Pack. From one of the patterned papers, die cut the square edge from the Planner Essentials - 8 die. From the other patterned paper, die cut the torn edge from the Planner Essentials - 11 die. Distress the edges of each edge. Ink the edges of both edge pieces using Walnut Stain Distress Oxide Ink and a blending tool with foam.


Choose another piece of patterned paper from ModaScrap's - Relax in the Garden Paper Pack. Die cut the large rectangle from the Planner Essentials - 6 out of the patterned paper. Distress the edges of the rectangle. Ink the edges of the rectangle using Walnut Stain Distress Oxide Ink and a blending tool with foam.


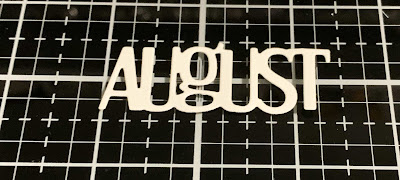
From the Planner Months die, die cut the August month out of White Soft Finish Cardstock.


You'll need one of the patterned papers that you used to die cut an edge from. Die cut the rose from the Planner Essentials - 6 die out of the patterned paper. Ink the edges of the rose using Walnut Stain Distress Oxide Ink and a blending tool with foam.


From the Planner Essentials - 5 die, die cut the large rectangle with holes out of kraft cardstock. Distress the edges. Ink the edges of the rectangle using Walnut Stain Distress Oxide Ink and a blending tool with foam.


Choose two patterned paper pieces from the ModaScrap - Relax in the Garden Paper pack. Choose three flowers from the Small Flower set. Die cut the one of the flowers six times out of the one patterned paper along with a set of centers. Die cut the other two flowers four times out of the other patterned paper along with a set of centers. Ink the edges of the flowers and centers using Walnut Stain Distress Oxide Ink and a blending tool with foam.


Adhere the square edge piece to the middle of the page. Adhere a piece of Cherry Blossom washi tape to the righ of the square edge. Adhere the torn edge slightly overtop of the square edge.


Adhere the patterned paper rectangle to the kraft rectangle. Foam square the kraft rectangle to the middle of the page. Adhere the rose to the middle of the patterned paper rectangle. Adhere the August title overtop of the rose.


To finish off your page, shape and adhere the flowers and centers together. Adhere two of the same style flowers to the top left corner of the rectangles. Adhere the other three flowers to the bottom right corner of the rectangles. 


Here are a few closeup photos of the finished page.


Here is the finished August Title Page.


Elizabeth Craft Designs Supplies Used:


Other Supplies Used:

- Tim Holtz for Ranger Ink: Distress Ink - Picked Raspberry, Distress Oxide Ink - Walnut Stain and a Blending tool with foam
- Tim Holtz for Stampers Anonymous: Stitched Layering Stencil
- Ranger Ink: Jet Black Archival Ink and Potting Soil Archival Ink
- Alexandre Renke: Cherry Blossom Washi Tape
- Misc: Kraft Cardstock

- Katelyn