I've been a little behind getting my planner set up for September. So while I was working in my planner, I created this September Title Page as a marker for the start of the month. To create my page, I've used a variety of the dies from the Planner Essentials line and Joset Designs. You'll want to read below to learn how to recreate my September Title Page at home.

From the Cozy Evening patterned paper, I used the blue woodgrain paper. Die cut the page from the Planner Essentials - 1 die out of the woodgrain paper. Flip the left over paper over and die cut a 1 1/2" Diagonal Stitched Fishtail and one of the Celebration Flags. Cut the celebration flag down to 4". Distress the edges of the page and fishtail. Ink the edges of all of the elements using Walnut Stain Distress Ink and a blending tool with foam.

Die cut the 1 7/8" Diagonal Stitched Fishtail out of a piece of kraft cardstock. Distress the edges of the fishtail. Ink the edges of the fishtail using Walnut Stain Distress Ink and a blending tool with foam.

From the patterned paper with the cut aparts, cut one of the 3" x 4" frame as well as fussy cut two of the frames. Distress the edges of the two frames and the 3" x 4" frame. Ink the edges of all of the pieces using Walnut Stain Distress Ink and a blending tool with foam.

From the leaf paper, cut a piece that measures 3 1/4" x 4 1/4". Die cut the reinforcement circles from the Planner Essentials - 5 die out of the paper. Die cut the celebration flags out of the same paper. Cut the flags down to 3 1/2". From the Planner Essentials - 6 die, die cut the small rectangle out of the patterned paper.
Flip the remaining patterned over. From the Planner Months die, die cut the September month from the paper. Die cut a label from the Planner Labels die out of the paper. Cut the label in half. From the Planner Essentials - 6 die, die cut the large rectangle out of the paper. Distress the edges of the 3 1/4" rectangle and both smaller rectangles. Ink the edges of the reinforcement circles, label, flags, September word and rectangle pieces using Walnut Stain Distress Ink and a blending tool with foam.

Apply Emboss It Ink to two of the mushrooms from the Autumn Surprise stamp set and stamp onto a piece of White Soft Finish Cardstock. Sprinkle Burnt Copper Leaves embossing powder over the mushrooms. Tap off the excess powder and emboss with a heat tool. Use a waterbrush and Tombow Markers 912, 296 & 990 to colour the mushrooms in. Fussy cut the mushrooms out. Ink the edges of the mushrooms using Walnut Stain Distress Ink and a blending tool with foam.

Adhere the patterned paper reinforcement circles over top of the circles on the page. Adhere the 1 1/2" fishtail to the 1 7/8" fishtail. Foam square the 1 7/8" fishtail to the middle of the page.

Use adhesive and foam squares to adhere the 3 1/4" rectangle to the middle of the fishtails. Adhere the 3" rectangle to the 3 1/4" rectangle. Adhere a half label to the top right portion of the 3" rectangle. Adhere the other half label to the bottom left portion of the 3" rectangle.

Adhere the small rectangle to the large rectangle. Use foam squares to adhere the large rectangle to the middle of the 3" rectangle. Adhere one of the frames on an angle. Adhere the other frame straight on overtop of the first frame. Use foam squares and adhesive to adhere the two mushrooms to the middle of the frame. Adhere the September word to the middle of the mushrooms.

To finish off the page, in the top right corner of the page, adhere the two celebration flags as desired.

Here are a few closeup photos of the finished page.


Here is the finished September Title Page.

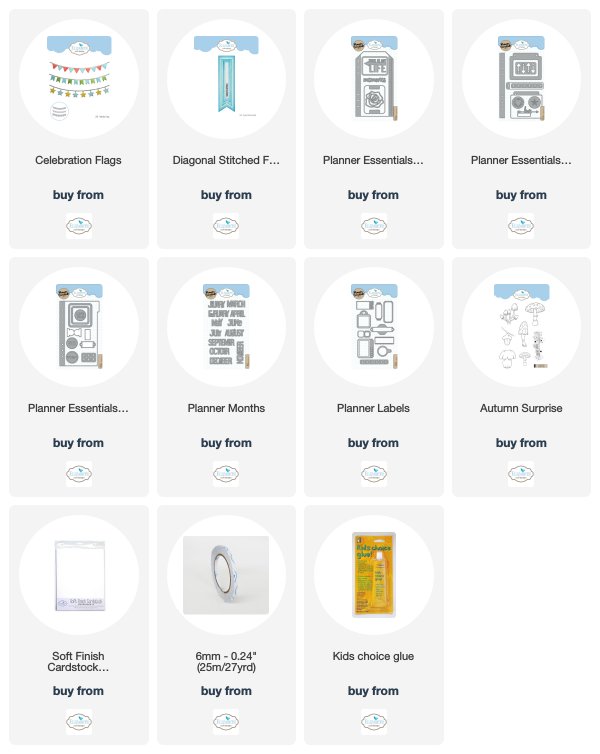
Elizabeth Craft Designs Supplies Used:
Other Supplies Used:
- Tim Holtz for Ranger Ink: Distress Ink - Walnut Stain and a Blending tool with foam
- Ranger Ink: Emboss It Ink
- Emerald Creek Craft Supplies: Burnt Copper Leaves Embossing Powder
- Tombow Markers: 912, 296 & 990
- Mintay: Cozy Evening Paper Pack
- Misc: Kraft Cardstock and Waterbrush
- Katelyn
No comments:
Post a Comment