Happy Wednesday!
For March's Group Post it's all about Projects for the First Day of Spring. For this month's group post, I'm sharing my Bloom Card. To create my card, I've used dies from Els van de Burgt Studio, Suzanne Cannon - A Way With Words, Joset Designs as well as stamps from Joset Designs and the Planner Essentials Collection. Grab a cup of your favourite Spring beverage and read below as I have a tutorial for you so that you can re-create my Bloom Card at home. You'll also want to make sure to stop by the Elizabeth Craft Designs Blog to check out the rest of the projects.

To start, die cut a 3" Stitched Rectangle out of White Soft Finish Cardstock.

Apply Cracked Pistachio, Peacock Feathers and Squeezed Lemonade Distress Oxide Ink on a 3" x 4" clear block. Spritz the ink with water and then placed the inked block onto the 3" rectangle. Dry the rectangle with a heat tool.

Apply Mermaid Lagoon Distress Ink to the chicken wire stamp from the Background Stamps 1 stamp set and stamp randomly on the 3" rectangle. Reapply ink as needed to the stamp. You'll want to stamp a total of five times. Distress the edges of the rectangle. Ink the edges of the rectangle using Black Soot Distress Ink and a blending tool with foam.

Die cut two medium butterflies from the Butterfly Flourish die out of vellum. Apply Mermaid Lagoon Distress Ink to the chicken wire stamp and stamp onto one of the vellum butterflies. You'll need to stamp the chicken wire twice on the butterfly. Apply Cracked Pistachio Distress Ink to the dots stamp from the Background Stamps 1 and stamp onto the other vellum butterfly. You'll need to stamp the dots twice on the butterfly. Dry the ink on the butterflies with a heat tool.

Die cut two medium butterflies from the Butterfly Flourish die out of White Soft Finish Cardstock.

Die cut a 5/8" Fitted Fishtail out of White Soft Finish Cardstock. Cut the fishtail down to 2 5/8". Place the notched side of the fitted fishtail onto the straight edge of the banner and die cut the notch portion out of the right hand side. Apply Mermaid Lagoon Distress Ink to the Bloom stamp from the Spring Sentiments stamp set and stamp in the middle of the banner. Ink the edges of the banner using Black Soot Distress Ink and a blending tool with foam.

Die cut a 3 1/2" Stitched Rectangle out of White Soft Finish Cardstock. Distress the edges of the rectangle. Ink the edges of the rectangle using Black Soot Distress Ink and a blending tool with foam.

Adhere the 3" rectangle to the 3 1/2" rectangle.

Adhere one of the vellum butterflies to one of the white soft finish cardstock butterfly. Adhere the other vellum butterfly to the other white soft finish cardstock butterfly. Adhere one of the butterflies 1/4" from the top and 3/8" from the right of the 3" rectangle. Adhere the other butterfly 1 1/8" from the bottom and 3/8" from the right of the 3" rectangle. Adhere the Bloom banner 1/4" from the bottom and 1/4" from the right of the 3" rectangle.

Cut a cardbase out of White Soft Finish Cardstock that measures 3 1/2" x 9 1/2", score at 4 3/4". Adhere the cardfront to the cardbase.

To finish the card, splatter Picket Fence Distress Spray Stain using a paint brush over the cardfront as desired.

Here are a few closeup photos of the card.


Here is the finished Bloom Card.

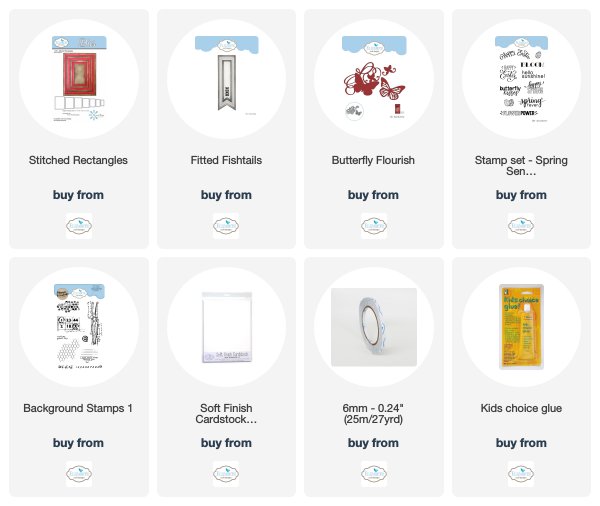
Elizabeth Craft Designs Supplies Used:
Other Supplies Used:
- Tim Holtz for Ranger Ink: Distress Oxide Ink - Cracked Pistachio, Peacock Feathers & Squeezed Lemonade, Distress Ink - Cracked Pistachio, Mermaid Lagoon & Black Soot, Distress Spray Stain - Picket Fence and Blending Tool with Foam
- Misc: Vellum
Thanks so much for joining me today and I hope that I have inspired you to recreate your own version of my Bloom Card.
- Katelyn
No comments:
Post a Comment