Happy Monday!
For January's Group Post it's all about 12x12 Scrapbook Pages. For this month's group post, I'm sharing this nature inspired Moments Scrapbook Layout. To create my layout, I've used dies from Suzanne Cannon's A Way With Words Collection, Els van de Burgt Studio, the Planner Essentials Collection and the Paper Flower Collection. Grab a cup of your favourite beverage and read below as I have a tutorial for you so that you can re-create my Moments Scrapbook Layout at home. You'll also want to make sure to stop by the Elizabeth Craft Designs Blog to check out the rest of the projects.

To start, choose one of the patterned papers out of the Rusty Weathered Paper Pack. Distress the edges of the paper. Ink the edges of the paper using Walnut Stain Distress Ink and a blending tool with foam.

Choose a piece of patterned papers out of the Rusty Weathered Paper Pack. Tear down a bit of the paper at the top right, right side at the bottom and bottom left of the paper. Distress the edges of the paper. Ink the edges of the paper using Walnut Stain Distress Ink and a blending tool with foam.

Choose two pieces of patterned paper from the Rusty Weathered Paper Pack. Die cut a 3 1/2" Stitched Rectangle out of each patterned paper. Distress the edges of both rectangles. Ink the edges of both rectangles using Walnut Stain Distress Ink and a blending tool with foam.

Die cut two of your photos out of a 3" Stitched Rectangle. Die cut your third photo out of a 2 3/4" Stitched Square.

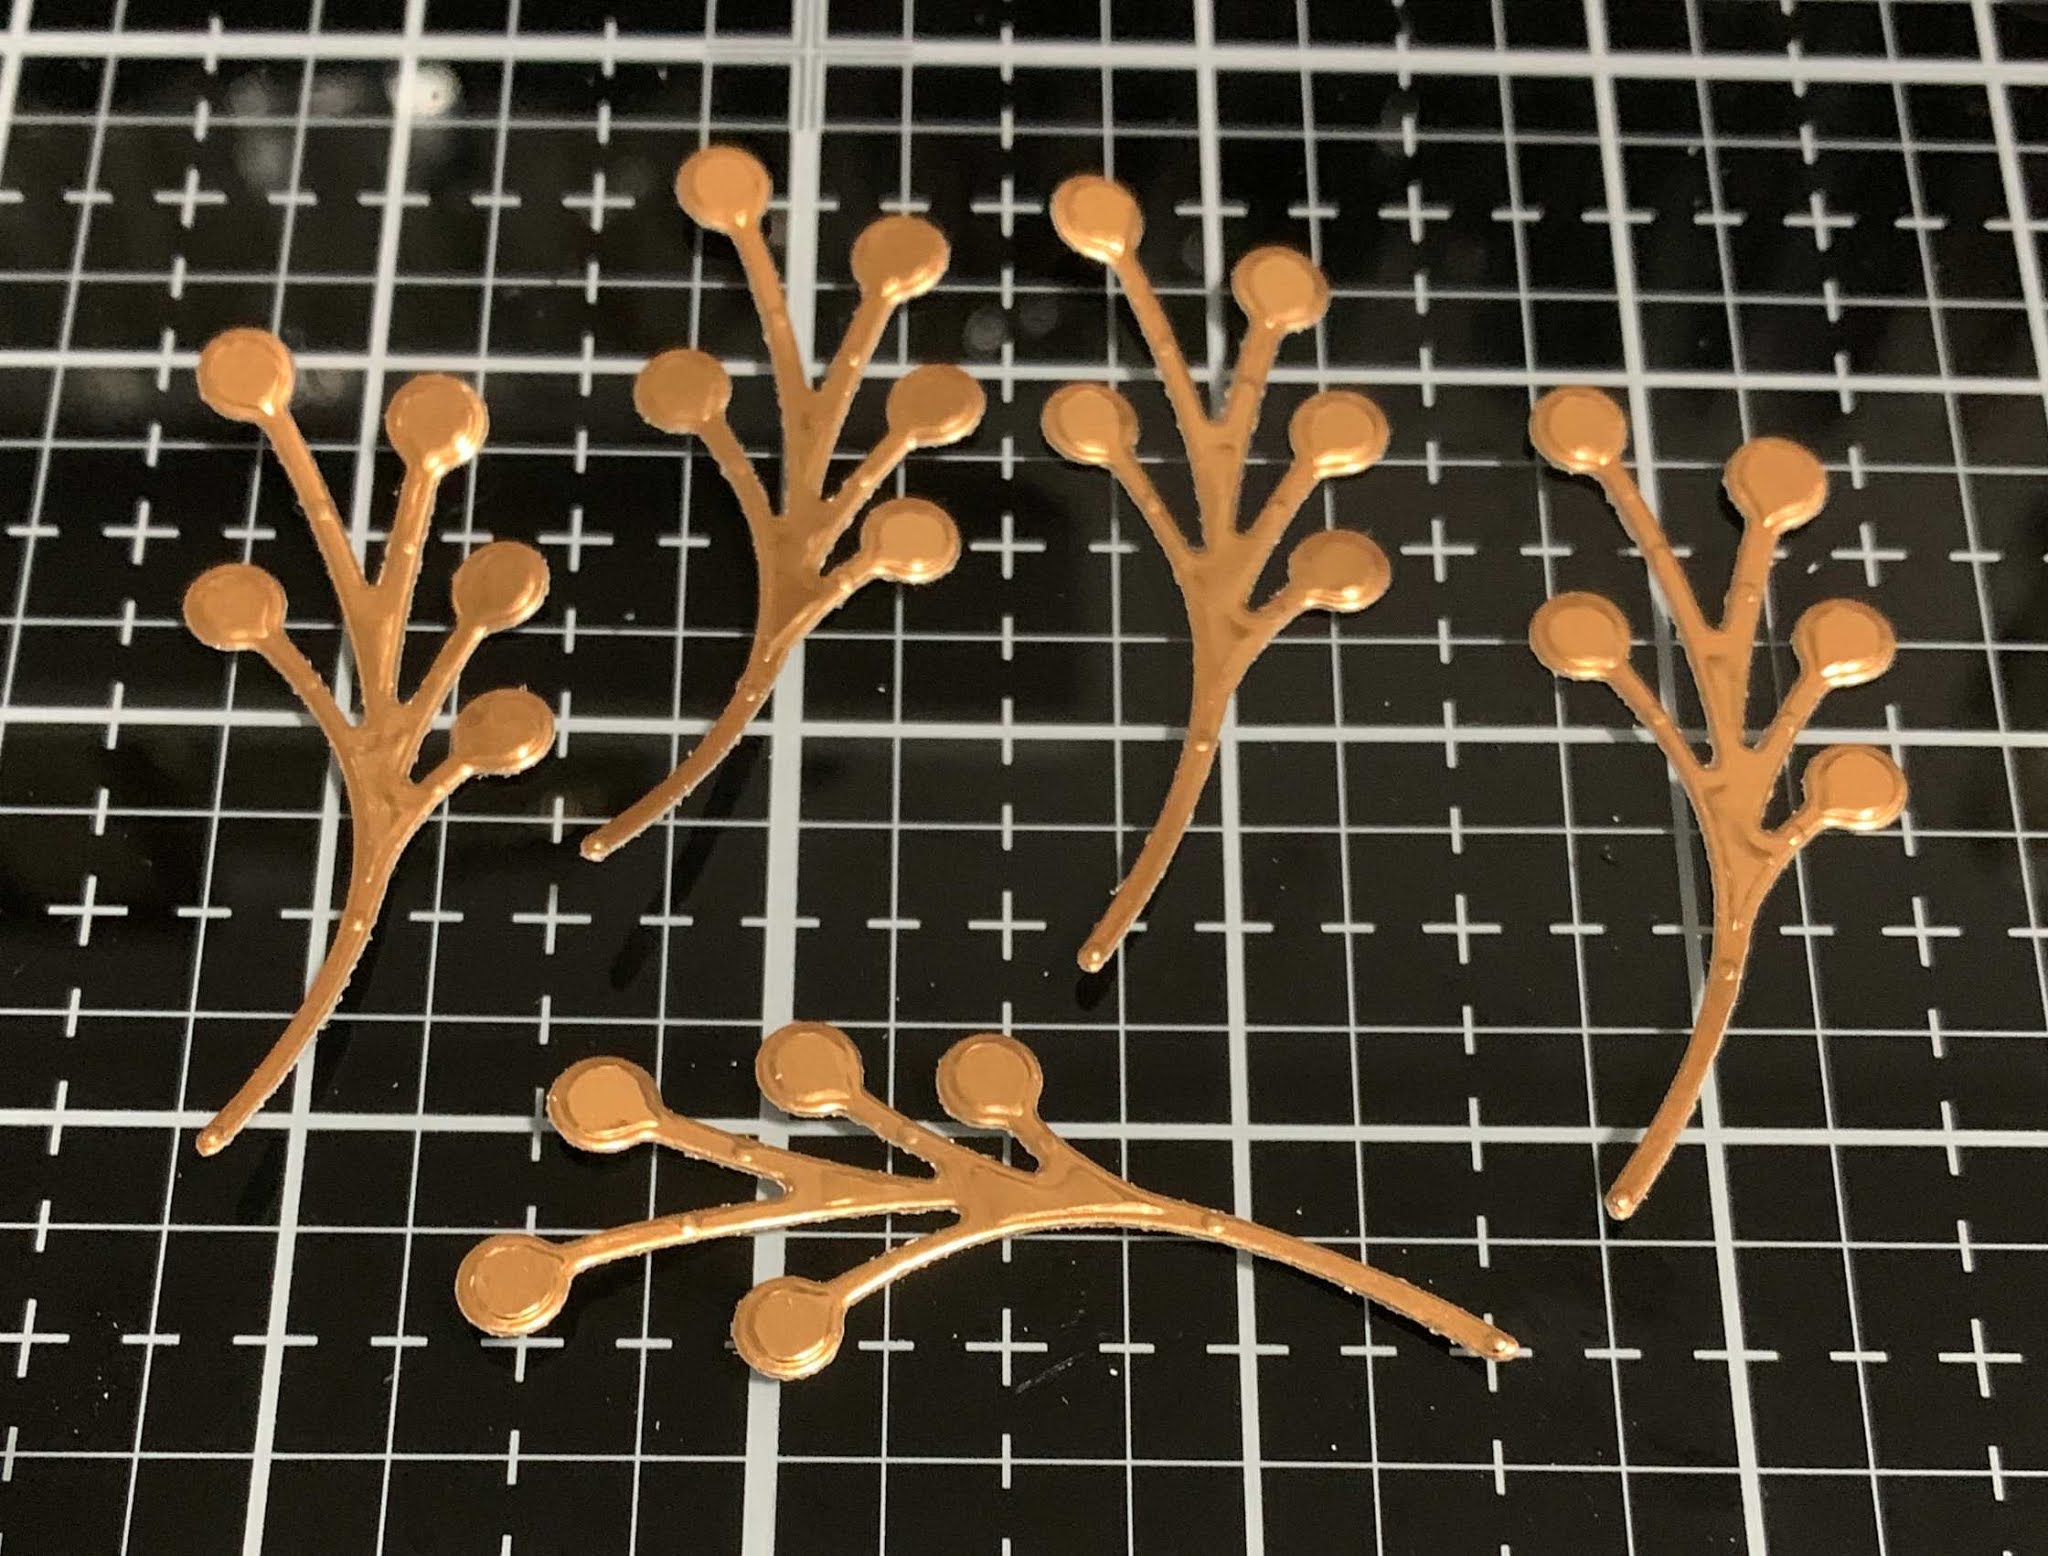
Choose another piece of patterned paper out of the Rusty Weathered Paper Pack. Die cut the Berry Branch twice out of the patterned paper.

From the Special Moments Die, die cut the Moments word out of a piece of kraft cardstock.

From the Planner Essentials - Planner Pocket 2 Die, die cut the circle wreath twice out of White Soft Finish Cardstock.

From the Ginkgo die, die cut two large ginkgos, three medium ginkgos and three small ginkgos. Using a blending tool with foam, blend Rustic Wilderness Distress Ink over the entire surface of both large ginkgos, one of the medium ginkgos and two of the small ginkgos. Using a blending tool with foam, blend Mowed Lawn Distress Ink over the entire surface of the remaining Gingko leaves.

Adhere the wood paper to the patterned paper.

Adhere one of the circle wreaths 1 3/4" from the left and 3" from the bottom of the page. Adhere the other circle wreath 3 7/8" from the right and 2 1/4" from the top of the paper. Adhere the two berry branches 1 5/8" from the bottom and 2 5/8" from the right of the page.

Adhere each rectangle photo to one of the patterned paper rectangles. Foam square the first rectangle 3 3/8" from the right and 3 1/4" from the bottom of the page. Use adhesive and foam squares to adhere the other rectangle 2" from the left and 2 1/4" from the top of the page. Use adhesive and foam squares to adhere the square photo 2 1/2" from the bottom and 2 7/8" from the left of the page.

Apply adhesive just to the bottom portion of the Moments word and adhere to the right of the foam squared rectangle photo.

Now we will work in the bottom left corner.
Adhere one of the large gingko leaves to the corner by where the rectangle and the square photos meet. Use foam squares to adhere one of the rustic wilderness medium gingko leaves and one of the mowed lawn small gingko leaves as desired.

Now we will move on to the top right side.
Adhere the remaining large gingko leaf to the corner by where the two rectangle photos meet. Use foam squares to adhere the remaining gingko leaves as desired.

Here are a few closeup photos of the finished scrapbook layout.


Here is the finished Moments Scrapbook Layout.

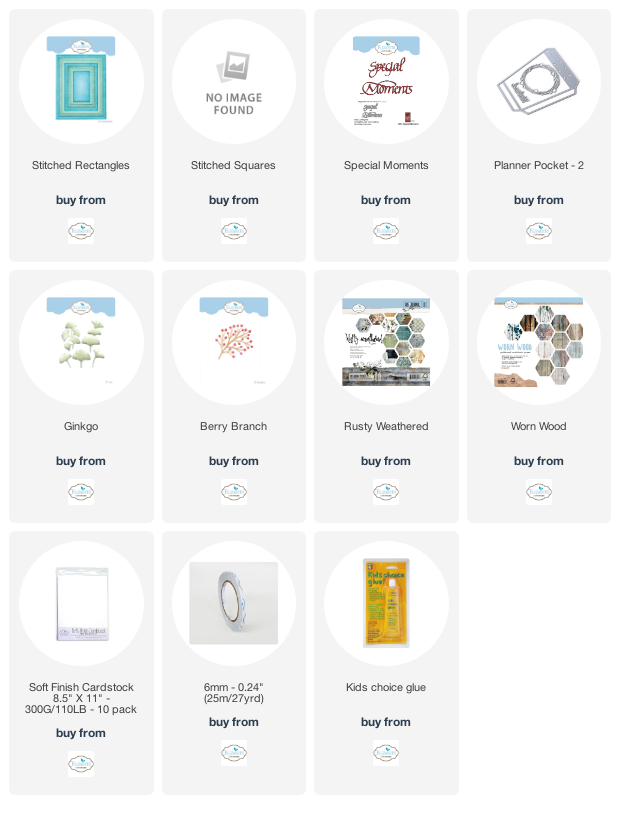
Elizabeth Craft Designs Supplies Used:
Other Supplies Used:
- Tim Holtz for Ranger Ink: Distress Ink - Walnut Stain, Mowed Lawn & Rustic Wilderness and Blending Tool with Foam
- Misc: Kraft Cardstock
Thanks so much for joining me today and I hope that I have inspired you to recreate your own version of my Moments Scrapbook Layout.
- Katelyn