Happy Friday!
For today's project I'm back with a fun and bright Have a Magical Day Card. To create my card, I've used a variety of dies from the Paper Flower Collection as well as dies and stamps from Joset Designs. You'll want to read below as I have a full tutorial on how to recreate my card at home.

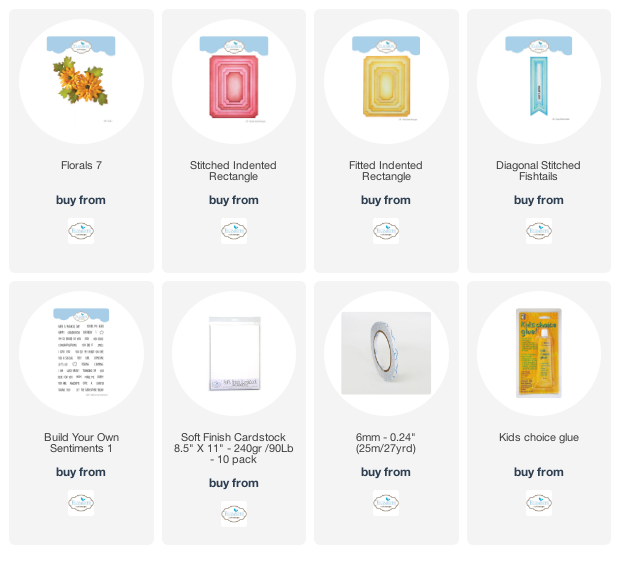
To start, choose two pieces of bright spring patterned paper. Die cut a 3 1/2" Stitched Indented Rectangle out of one of the patterned papers. Die cut a 3" Stitched Indented Rectangle out of the other piece of patterned paper. Ink the edges of both rectangles using Walnut Stain Distress Ink and a blending tool with foam.

Die cut a 3 1/4" Fitted Indented Rectangle out of a piece of White Soft Finish Cardstock. Ink the edges of the rectangle using Walnut Stain Distress Ink and a blending tool with foam.

Die cut a 3/4" Diagonal Stitched Fishtail out of a piece of White Soft Finish Cardstock. Cut the fishtail down to 3". From the Build Your Own Sentiments Stamp Set, you'll need the Have a Magical Day stamp. Apply Detail Black Ink to the sentiment and stamp on the fishtail side of the fishtail. Ink the edges of the fishtail using Walnut Stain Distress Ink and a blending tool with foam.

The next four steps use the Florals 7 die.
Die cut two of the large, one of the medium and two of the small leaves out of a piece of green paper.

Die cut the centres once out of a piece of White Soft Finish Cardstock. You'll need three of the centres.

Die cut the medium flower twice, the small flower twice and the extra small flower twice out of a piece of blue paper.

Die cut the large, medium, small and extra small flowers out of a piece of pink patterned paper.

Adhere the 3" rectangle to the 3 1/4" rectangle. Adhere the 3 1/4" rectangle to the 3 1/2" rectangle.

Adhere the fishtail 1 1/2" from the bottom and 1" from the left of the 3" rectangle. Shape the leaves as desired. Adhere a small and large leaf at the top left corner of the 3" rectangle. Adhere the medium leaf on the left middle side of the 3" rectangle. Adhere the remaining leaves in the bottom middle of the 3" rectangle.

Shape and adhere the flowers. Make sure that you add a centre to each flower. Adhere the pink patterned paper to the middle left side of the 3" rectangle, making sure it sits on the fishtail. Adhere the remaining two blue flowers as desired around the pink flower making sure they cover up the bottom portions of the leaves.

To finish the card, cut a cardbase out of White Soft Finish Cardstock that measures 4 3/4" x 7", score at 3 1/2". Adhere the cardfront to the cardbase.

Here are a few closeup photos of the finished card.


Here is the finished Have a Magical Day Card.

Elizabeth Craft Designs Supplies Used:
Other Supplies Used:
- Tim Holtz for Ranger Ink: Distress Ink - Walnut Stain and Blending Tool with Foam
- Pink Fresh: Detail Black Ink
- Graphic 45: Bird Watcher 12x12 Patterns & Solids and Bird Watcher 12x12 Paper Pack
I hope that my card has inspired you to recreate your own version of my Have a Magical Day Card.
- Katelyn
No comments:
Post a Comment