Happy Tuesday!
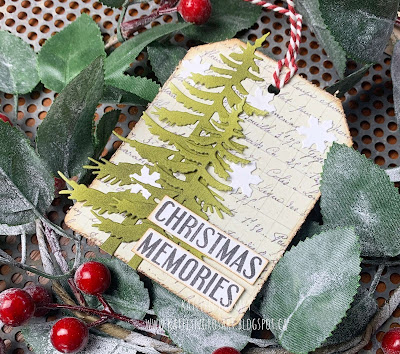
Today's post, is all about this Christmas Memories Tag perfect for adding to a present or inserting into your planner. My tag uses a variety of stamps and dies from the Planner Essentials. You'll want to grab a cup of your favourite beverage and learn how to recreate my Christmas Memories Tag at home.
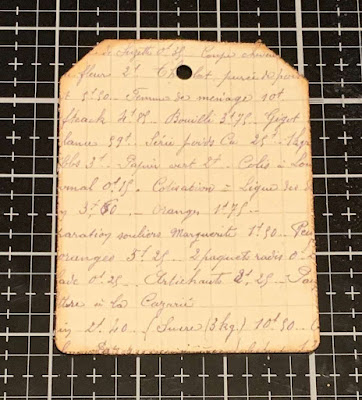
To start, choose a piece of patterned paper out of the Reminiscence the Book 2. From the Planner Essentials - 2 die, die cut the large tag out of the patterned paper piece. Distress the edges of the tag. Ink the edges of the tag using Walnut Stain Distress Ink and a blending tool with foam.
The next two steps use the Mason Jar / Snowflake Globe Special.
Die cut the two trees out of a piece of White Soft Finish Cardstock. Using a blending tool with foam, blend Forest Moss Distress Ink over the entire surface of each tree.
Die cut the snowflakes out of a piece of White Soft Finish Cardstock. You'll need a total of five snowflakes.
From the Winter Words Stamp Set, you'll need the Christmas Memories words. Apply Jet Black Archival Ink to the words and stamp onto a piece of White Soft Finish Cardstock. Cut the two words into two strips. Ink the edges of the words using Walnut Stain Distress Ink and a blending tool with foam.
Adhere the trees to the left hand side of the tag as desired.
Adhere the five snowflakes as desired on the tag. Use foam squares to adhere the Christmas Memories Words to the bottom right side of the tag as desired.
To finish the tag, tie a piece of red and white twine through the hole at the top of the tag.
Here are a few closeup photos of the finished Christmas Memories Tag.
Other Supplies Used:
- Tim Holtz for Ranger Ink: Distress Ink - Walnut Stain & Forest Moss and Blending Tool with Foam
- Ranger Ink: Jet Black Archival Ink
- Misc: Red and White Twine
Thanks so much for joining me today and I hope that I have inspired you to recreate your own version of my Christmas Memories Tag.
- Katelyn


No comments:
Post a Comment