Happy Thursday!
I've been busy lately creating holiday gift tags perfect for adding to gifts this year, so today's post, is all about this Ho Ho Ho Gift Tag. To create my gift tag, I've used dies from the Paper Flower Collection and the Planner Essentials Collection. You'll want to read below as I have a full tutorial on how to recreate my gift tag at home.

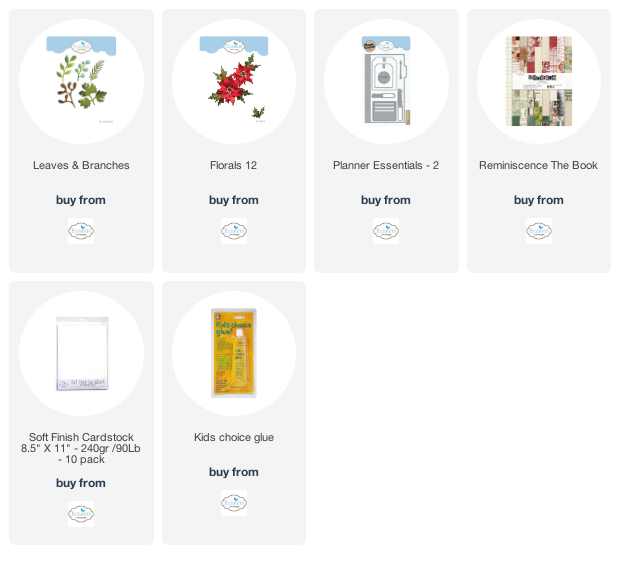
To start, choose a piece of Christmasy patterned paper out of the Reminiscence the Book. Die cut the large tag from the Planner Essentials - 2 die out of the patterned paper. Distress the edges of the tag. Ink the edges of the tag using Walnut Stain Distress Ink and a blending tool with foam.

Out of the Reminiscence the Book you'll need the Ho Ho Ho rectangle from the patterned paper. Distress the edges of the rectangle. Ink the edges of the rectangle using Walnut Stain Distress Ink and a blending tool with foam.

From the Leaves & Branches die, you'll need to choose one of the branches. Die cut the branch out twice from a piece of White Soft Finish Cardstock.

The next two steps use the Florals 12 die.
Die cut the large holly leaf three times and the small holly leaf twice out of a piece of White Soft Finish Cardstock. Using a blending tool with foam, blend Mowed Lawn Distress Ink over the entire surface of all the leaves. Shape the leaves as desired.

Die cut the extra large poinsettia once, the large poinsettia three times, the medium poinsettia three times, the small poinsettia three times and the centre three times out of White Soft Finish Cardstock. Using a blending tool with foam, blend Fired Brick Distress Ink over the entire surface of all the poinsettias and centres. Shape the poinsettias as desired.

Foam square the Ho Ho Ho rectangle to the left hand side of the tag as desired.

Adhere the first poinsettia together which needs a extra large, large, medium, small poinsettia and a centre. Adhere the remaining two poinsettias together which need a large, medium, small poinsettia and a centre. Re-shape the poinsettias as needed.

On the bottom portion of the tag, adhere a branch as well as a large and small holly leaves as desired. In the top portion of the tag, adhere the remaining branch and holly leaves as desired.

Use foam squares to adhere the three poinsettia flowers around the Ho Ho Ho rectangle as well as the leaves and branches as desired.

To finish the tag, tie a piece of twine through the hole at the top of the tag.

Here are a few closeup photos of the finished gift tag.


Here is the finished Ho Ho Ho Gift Tag.

Elizabeth Craft Designs Supplies Used:
Other Supplies Used:
- Tim Holtz for Ranger Ink: Distress Ink - Walnut Stain, Mowed Lawn & Fired Brick and Blending Tool with Foam
- Misc: Twine
I hope that my gift tag has inspired you to recreate your own version at home.
- Katelyn
No comments:
Post a Comment