Saturday, September 19, 2020

Hello Card

  Happy Saturday!

For today's project, I created this pretty Hello Card. To create my card, I've used a variety of dies from the Paper Flower Collection and Joset Designs. You'll want to read below as I have a full tutorial on how to recreate my card at home.


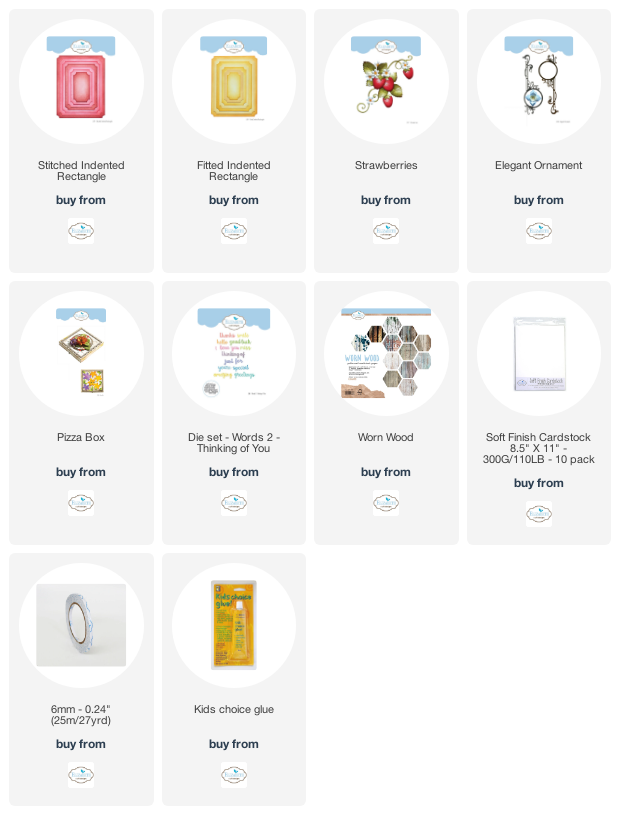
To start, die cut a 4 1/4" Fitted Indented Rectangle out of a piece of kraft cardstock. Die cut a 4" Stitched Indented Rectangle out of piece of patterned paper from the Worn Wood Paper Pack. Distress the edges of both rectangles. Ink the edges of both rectangles using Walnut Stain Distress Ink and a blending tool with foam.


From the Pizza Box die, die cut the stitched circle out of kraft cardstock. Distress the edges of the circle. Ink the edges of the circle using Walnut Stain Distress Ink and a blending tool with foam.


Die cut the Elegant Ornament frame out of kraft cardstock. Trim the frame down to your desired length.


The next four steps use the Strawberries die. 

Die cut two of one of the swirly pieces out of White Soft Finish Cardstock. Die cut the other swirly piece out of White Soft Finish Cardstock. Using a blending tool with foam, blend Shabby Shutters Distress Ink over the entire surface of all three swirly pieces.


Die cut two large leaves, three small strawberry toppers and one large strawberry topper. Using a blending tool with foam, blend Mowed Lawn Distress Ink over the entire surface of all the leaves and toppers. Using a blending tool with foam, blend Forest Moss Distress Ink on the edges and tops of the strawberry toppers.


Die cut three small strawberries and one large strawberry out of White Soft Finish Cardstock. Using a blending tool with foam, blend Candied Apple Distress Ink over the entire surface of the strawberries.


Die cut the flowers four times out of White Soft Finish Cardstock. Using a blending tool with foam, blend Fossilized Amber Distress Ink over the entire surface of the four flower centers. Using a blending tool with foam, ink the edges of all four flowers using Tumbled Glass Distress Ink.


From the Words 2 - Thinking of You die, die cut the Hello word out of White Soft Finish Cardstock.


Adhere the toppers to the top of the strawberries.


Adhere the centers to the middle of the flowers.


Foam square the 4" stitched indented rectangle to the 4 1/4" fitted indented rectangle.


Adhere the elegant ornament to the stitched circle. Adhere the elegant ornament 1" from the left and to the top of the 4" rectangle. 


Adhere two of the swirly pieces to the top left portion of the elegant ornament. Adhere the other swirly piece to the bottom left portion of the elegant ornament. Shape the large leaves as desired. Adhere the two large leaves as desired overtop of the swirly pieces. 


Use adhesive and foam squares to adhere the one large strawberry and two small strawberries in amongst the two leaves. Foam square the last small strawberry to the bottom left side of the leaf as desired.


Adhere the flowers in amongst the strawberries and swirly pieces as desired. Adhere the Hello word in amongst the leaves and circle as desired.


To finish the card, cut a cardbase out of White Soft Finish Cardstock that measures 4 1/4" x 11", score at 5 1/2". Adhere the cardfront to the cardbase.


Here are a few closeup photos of the finished card.


Here is the finished Hello Card.


Elizabeth Craft Designs Supplies Used:
 
Other Supplies Used:

- Tim Holtz for Ranger Ink: Distress Ink - Mowed Lawn, Tumbled Glass, Shabby Shutters, Forest Moss, Fossilized Amber, Candied Apple & Walnut Stain and Blending Tool with Foam
- Misc: Kraft Cardstock

I hope that my card has inspired you to recreate your own version of my Hello Card.

- Katelyn


Thursday, September 17, 2020

Dream Junk Journal Page

Happy Thursday!

For today's post, I've created this Dream Junk Journal Page for inside of my journal. To create the page, I've used a variety of stamps and dies from the Art Journal Specials Collection.  You'll want to read below as I have a full tutorial on how to recreate my junk journal page at home. 


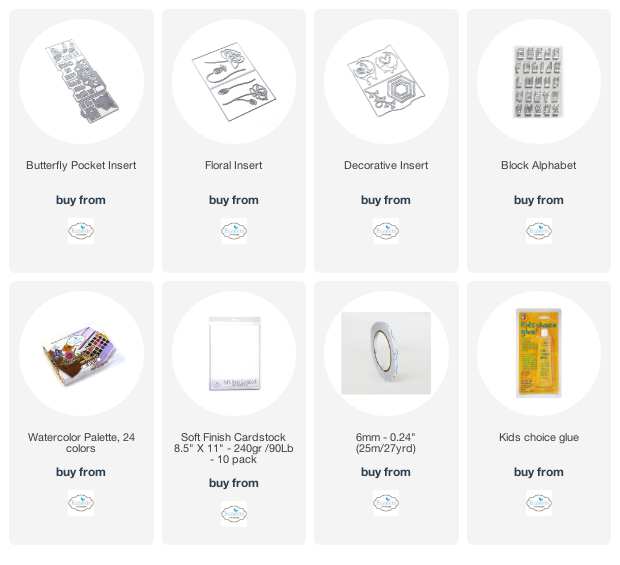
To start, choose two of the flowers from the Floral Insert Die. Die cut the two flowers out of White Soft Finish Cardstock. Colour the flowers using the Watercolor Palette.


From the Decorative Insert, die cut the heart branch out of cream cardstock.


Choose a piece of patterned paper and die cut the page from the Butterfly Pocket Die out of the patterned paper. Die cut the small butterfly from the same die out of a piece of book page. Ink the edges of the small butterfly and page using Black Soot Distress Ink and a blending tool with foam.


From the Butterfly Pocket die, die cut the tag once out of vellum and a second time out of a piece of book page. Ink the edges of the book page tag using Black Soot Distress Ink and a blending tool with foam.


From the Block Alphabet stamp, you'll need the letters to spell out dream. Apply Jet Black Archival Ink to the letters and stamp onto a piece of White Soft Finish Cardstock. Colour the letters in using the Watercolor Palette. Once the letters have dried, fussy cut the letters out. Ink the edges of the letters using Black Soot Distress Ink and a blending tool with foam.


Adhere the pocket together.


Adhere the flowers and heart branch as desired on the right hand side of the pocket.


Adhere the Dream word to the left of the flowers as desired.


Staple the vellum tag to the book page tag. Tie a piece of twine through the top of the tag.


To finish the pocket, slide the tag into the pocket.


Here are a few closeup photos of the finished page.


Here is the finished Dream Junk Journal Page.


Elizabeth Craft Designs Supplies Used:


Other Supplies Used:

- Tim Holtz for Ranger Ink: Distress Ink - Black Soot and Blending Tool with Foam
- Ranger Ink: Jet Black Archival Ink
- Misc: Patterned Paper, Vellum, Book Page, Cream Cardstock, Twine and Mini Stapler

I hope that my tag has inspired you to recreate your own version at home.

- Katelyn


Tuesday, September 15, 2020

Thankful Sidekick Essentials Page

Happy Tuesday! 

For today's post, I've created this fall like Thankful Sidekick Essentials Page Noted which features the Planner Essentials, the Sidekick Essentials Collection, stamps from Charlene and stamps from the Art Journal Specials Collection. You'll want to grab a cup of your favourite beverage and learn how to recreate my Page at home. 


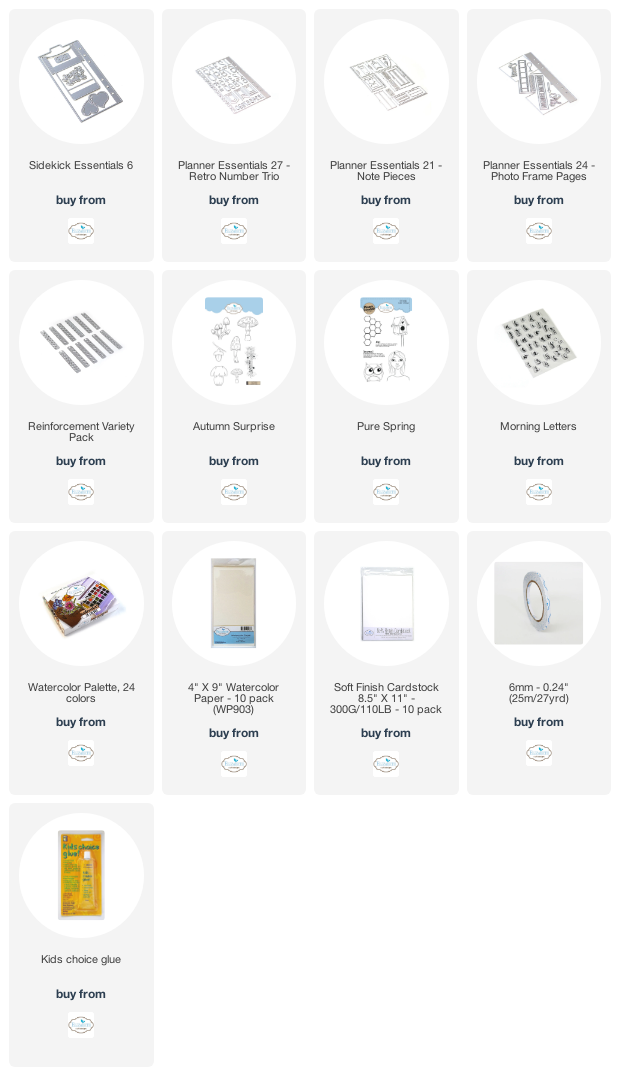
To start, die cut the page from the Sidekick Essentials 6 die out of White Soft Finish Cardstock. Sprinkle Magenta Nuance in Jade, Olive and Orange on the page as desired. Spritz the powder with water. Once the powder has dried, apply Jet Black Archival Ink to the hexagon stamp from the Pure Spring stamp and stamp randomly on the page. Reapply ink to the stamp as needed. You'll need to stamp the stamp on the page a total of seven times. Distress the edges of the page. Ink the edges of the page using Walnut Stain Distress Ink and a blending tool with foam.


Choose one of the reinforcements from the Reinforcement Variety Pack. Die cut the reinforcements out of kraft cardstock. You'll need a total of six reinforcements. Ink the edges of the reinforcements using Walnut Stain Distress Ink and a blending tool with foam.


From the Planner Essentials 24 - Photo Frame Pages you'll need the filmstrip and arrow die. Die cut the arrow die out of a piece of vellum. Die cut the filmstrip die out of a piece of kraft cardstock.


Choose one of the medium sized banners from the Planner Essentials 27 - Retro Number Trio. Choose two pieces of fall themed patterned paper and die cut the medium sized banner once out of each of the patterned papers. Ink the edges of both banners using Walnut Stain Distress Ink and a blending tool with foam.


Choose two more coordinating fall themed patterned papers. You will also need one of the papers you just used to die cut the banners out. From the Planner Essentials 21 - Note Pieces die, you'll need the 2 7/8" note piece, the 1 1/2" note piece and the 2" note piece. Die cut the 2 7/8" note piece out of the first patterned paper. Die cut the 1 1/2" note piece out of the second piece of patterned paper. Die cut the 2" note piece out of the third patterned paper. Distress the edges of all of the note pieces. Ink the edges of all the note pieces using Walnut Stain Distress Ink and a blending tool with foam.


Choose three of the mushrooms from the Autumn Surprise stamp set. Apply Jet Black Archival Ink to each of the mushrooms and stamp onto a piece of watercolour cardstock. Colour the mushrooms in using the Watercolor Palette. Once the mushrooms have dried, fussy cut them out. Ink the edges of the mushrooms using Walnut Stain Distress Ink and a blending tool with foam.


Using the Morning Letters stamp set, spell out the word Thankful. Apply Jet Black Archival Ink to each letter that spells out Thankful and stamp onto a piece of White Soft Finish Cardstock. Fussy cut around the word. Ink the edges of the word using Walnut Stain Distress Ink and a blending tool with foam.


Adhere the reinforcements over each of the circles on the page.


Adhere the 1 1/2" note piece 5/8" from the right and 1/4" from the top of the 2 7/8" note piece. Adhere the 2" note piece 1/2" from the right and 3/4" from the top of the 2 7/8" note piece.


Staple the filmstrip and arrow as desired on the left hand side of the 2" note piece.


Foam square the 2 7/8" note piece 1 1/8" from the bottom and have the note piece hang over the right hand side by a 1/4".


Use adhesive and foam squares to adhere the mushrooms as desired on the note pieces. Adhere the thankful word to the right hand side of the 2" note piece.


To finish the page, staple the two banners at the top right corner of the page as desired.


Here are a few closeup photos of the page.


Here is the finished Thankful Sidekick Essentials Page.


Elizabeth Craft Designs Supplies Used:

 
 Other Supplies Used:

- Tim Holtz for Ranger Ink: Distress Ink - Walnut Stain and Blending Tool with Foam
- Ranger Ink: Jet Black Archival Ink
- Magenta Nuance: Olive, Jade and Orange
- Creative Memories: Painted Harvest Paper Pack
- Misc: Vellum, Kraft Cardstock and Mini Stapler

Thanks so much for joining me today and I hope that I have inspired you to recreate your own version of my Thankful Sidekick Essentials Page.

- Katelyn