
Are you ready for the holidays?
Do you need some last minute gift ideas?
We invite you to join the Last Minute Gift Ideas blog hop with a great group of talented designers. Hop from blog to blog and find easy, fast and amazing last minute gift ideas!
You can also win a great prize! Visit all the blogs participating in the hop, leave a comment and you can win a $100 Visa gift card!
My project for the Last Minute Gift Idea blog hop is a chocolate gift box which is perfect to give as a host or hostess gift during this busy holiday season. You'll want to grab a cup of your favourite beverage and enjoy the tutorial below so that you'll be able to recreate my layout at home. Make sure to read the entire blog post so that you can head over to the next designer's blog.

To start, you'll need to cut five pieces from the Sweet Tooth paper that measure:
4 1/2" x 9 1/2", 2" x 12", 2" x 4 1/2", & 2 - 3" x 3 7/8". For the 4 1/2" x 9 1/2" piece, make sure the word side is up and score it at 3 3/8" x 5 7/8". For the 2" x 12" piece, make sure the candy side is up and score it at 3, 6 1/8" & 10 3/8". For the 2" x 4 1/2" piece, make sure the candy side is up and score it at 3 1/4" & 7 3/8".


The second piece of paper you'll need to cut is the Be Jolly paper. You'll need to cut two pieces that measure: 2" x 12" and 2" x 8 1/2". On the 2" x 12", you'll need to score it at 3", 6 1/8" & 10 3/8". For the 2" x 8 1/2", you'll need to score it at 3 1/4" & 7 3/8".

The last piece of paper that needs to be cut is the Bells and Bows paper. You'll need to cut a piece to 4 1/2" x 5 7/8", score the paper at 3 3/8".

With all of the patterned paper cut, edge distress all the edges of patterned paper with your edge distressor. Once the edges have been distressed, with a blending tool, ink the edges of all the patterned paper with Walnut Stain Distress Ink.

From the St. Nicholas paper, fussy cut out four holly bunches. Once the holly bunches have been cut out, with a blending tool ink the edges of holly with Walnut Stain Distress Ink.

From the Candy Cane Wishes paper, fussy cut out four candy canes out. Once the candy canes have been cut out, with a blending tool ink the edges of candy canes with Walnut Stain Distress Ink.

From the Season's Greetings paper, fussy cut out five postage stamps out. Once the postage stamps have been cut out, with a blending tool ink the edges of postage stamps with Walnut Stain Distress Ink.

From the same piece as well as a second piece of the Season's greeting paper you'll want to cut out both Do Not Open borders. One of the Do Not Open borders needs to stay whole. From the second border, cut two pieces at 4 1/2". Once the borders have been cut, with a blending tool ink the edges of the border with Walnut Stain Distress Ink.

The last few pieces of paper that will need to be cut is a 4" x 3" piece from the Starry Night paper and a piece that measures 4 1/8" x 3 1/8" piece from the Christmas Cheer paper. You'll also want to trim down the ephemera card with a wreath on it to 2 7/8" x 3 7/8". From the second wreath ephemera card, trim off the green and holly berry borders. Once the papers have been cut, edge distress them with a edge distressor. Once the edges have been distressed, with a blending tool, ink the edges of all the patterned paper with Walnut Stain Distress Ink.

Now it's time for the decorating of the box. To start, apply Tombow liquid glue to the Christmas words paper. Wrap and adhere the paper on the outside of the ATC book box.

Apply Tombow liquid glue to the cream holly paper. Adhere the paper to the inside lid of the ATC book box.

Next, apply the Tombow liquid glue to the 2" x 12" green holly paper. Start wrapping the piece of paper from the back side of the box. Once the first piece is adhered, apply Tombow liquid glue to the second piece of green holly paper. Start wrapping the second piece at the corner on the right hand side and wrap all the way to the back of the box.

Apply Tombow liquid glue to the 12" candy paper and start wrapping it around the inside of the box starting in the top left hand corner. With the first piece of paper wrapped, apply Tombow liquid glue to the second piece of candy paper and start wrapping it in the bottom left hand corner and wrap it up. Adhere one of the 3" x 4" candy piece of paper to the bottom of the inside of the box.

To finish off the inside of the box, start by applying Tombow liquid glue to the 12" border strip and start wrapping it around the bottom at the top left hand corner. Apply Tombow liquid glue to the second border strip and start wrapping it around the bottom of the left hand corner. Once the border has been adhered, adhere the second 3" x 4" piece of candy paper in the bottom of the box.

Once the inside pieces have been adhered to the inside of the box, using Tombow liquid glue to back of the box and adhere the bottom half of the flap to the back of the box. Make sure to hold the back of the box for five minutes to allow the glue to set.


With the back flap adhere to the back of the box, adhere a door pull to the middle front of the box.

To finish the front of the box, adhere two postage stamps in the bottom right hand corner. To finish the stamps, roll down the top right hand corner of one of the stamps and roll down the top left hand corner of the second stamp.

Now it's time to decorate the top of the box. To start, adhere the wreath ephemera card to the gold paper. Adhere the gold paper to the red and cream dot paper. Adhere the red and cream dot paper to the top of the red Christmas word paper. Using foam squares, adhere the cut down wreath ephemera over top of the wreath that's already adhered to the top of the box.

Adhere the last border piece 1/4" from the bottom of red and cream dot paper. Once the border has been adhered, use thin foam squares to adhere the 'Tis The Season greeting to the middle of the border.

In the top left hand corner, adhere one holly bunch, two candy canes and one postage stamp. Once the postage stamp has been adhered, roll down the top left and roll up the bottom right hand corner. In the bottom right hand corner, adhere three holly bunches, two candy canes and two postage stamps over top of the holly bunches. Make sure to roll the top right and top left corners of the postage stamps.

The last element that needs to be added to the top of the box is to adhere a ornate metal key in the top left hand corner, underneath the right hand side of the postage stamp. You'll want to adhere a second ornate metal key in the bottom right hand corner underneath the the left hand side of the holly bunch.

To finish the outside of the box, adhere a pearl bauble in each of the four corners of the box.

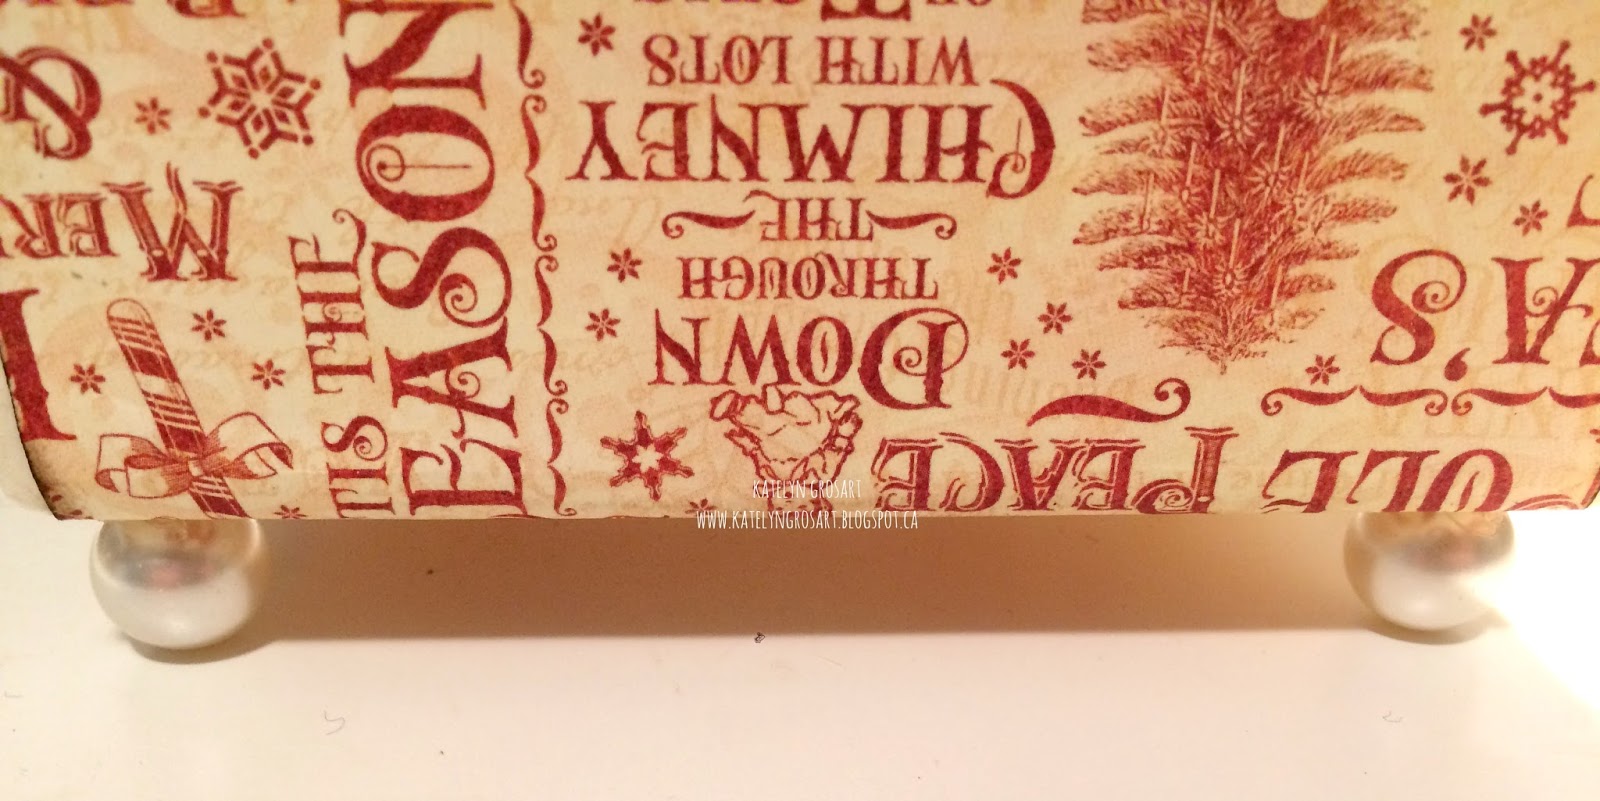
With the box now decorated, here are some close up photos of the box finished.


I was able to add three layers of chocolate inside the box. Just make sure to lay a piece of parchment in between the layers of chocolate so if one melts, it won't damage the box.

Other Supplies Used:
- Graphic 45 - 12"x12" St. Nicholas Paper: Christmas Cheer, Bells & Bows, Sweet Tooth, Candy Cane Wishes, St. Nicholas, Starry Night, Season's Greeting & Be Jolly!, St. Nicholas Ephemera and St. Nicholas Tags & Pockets
- Graphic 45 - Staples: Ornate Metal Keys, Shabby Chic Door Pull & ATC Book Box - Ivory
- Tim Holtz Idea-ology: Baubles
- Tim Holtz for Ranger Ink: Distress Ink - Walnut Stain
- Ranger Ink: Blending Tool
- Sookwang Tape
- Tombow: Aqua Mono Liquid Glue
- Misc: Corner Rounder, Foam Squares (thin and regular), paper trimmer with score tool & scissors
Thanks for taking the time to visit my blog and checking out my project. You'll want to make sure to head over to Einat's blog to check out her fabulous Last Minute Gift Idea.
You have plenty of chances to enter to win $100 Visa gift card on any of the participating blogs.
Here's the hop list:
Everyone is eligible to win, whether you’re in the U.S. or international.
Here's the hop list:
Larissa Pittman
Katelyn Grosart <<You're here
Mahe ZehraEveryone is eligible to win, whether you’re in the U.S. or international.
In order to win leave a comment answering the question – “What is your favourite “can’t live without” craft supply or tool?”
Here is the prize widget to enter:
a Rafflecopter giveaway
The winner of the $100 Visa gift card will be announced on einatkessler.com on Sunday, Dec 25th.
Here is the prize widget to enter:
a Rafflecopter giveaway
The winner of the $100 Visa gift card will be announced on einatkessler.com on Sunday, Dec 25th.
- Katelyn
What is better than a box of chocolates? A HANDMADE box filled with chocolates of course! LOL Thanks for the awesome tutorial!
ReplyDeleteMy can't live without craft supply is glitter and water colors!! Both are necessary for breathing and creating! Even more so than chocolate! LOL TFS!
I agree that you can't beat a box filled with chocolates. Thank you!
DeleteWhat a beautiful box, Katelyn, and a great tutorial. Thanks so much for sharing it. The one thing I can't live without is my Big Shot. Have a great holiday season! And thank you for the chance to win.
ReplyDeleteThanks Carol!
DeleteBeautiful box!!
ReplyDeleteCan't live without stamps and stencils.
Thanks Anat!
DeleteWhat a fabulous box. It would be a gift in itself. Well done.
ReplyDeleteI can't live without my craft knife!
Thanks Jean!
Deletegreat tutorial...scissors
ReplyDeleteThanks Ina!
DeleteOh this is excellent job!
ReplyDeleteI can not live without my stamps
Thank you!
DeleteOooo....that box! A steampunk version would be cool! I can't live without Mod Podge since I'm a decoupager!
ReplyDeleteThanks Cathy!
DeleteWhat beautiful work. Thank you for sharing!
ReplyDeleteThanks Patti!
DeleteVery beautiful!
ReplyDeleteThanks Ola!
Deletefill this beautiful box with homemade ornaments and or tags, a lovely gift.
ReplyDeleteThanks Pattie!
DeleteMy Martha Stewart paper cutter. Beautiful box
ReplyDeleteThanks Margie!
DeleteWOWZERS Katelyn, this is gorgeous. Oh,and YES Please, to the chocolates! LOL
ReplyDeleteI cannot live without my Tonic paper trimmer!
Thanks Teresa! Definitely can't forget to add the chocolates. LOL
DeleteThanks for this great tutorial.
ReplyDeletei can't live without design paper, basically since i'm new in the filed ans don't got all the tools. so starting with the basic :)
Thanks Metal
DeleteMy paper cutter. your box is beautiful
ReplyDeleteThanks Margie!
Deletebeautiful box!! love it!!
ReplyDeleteThanks Keren!
DeleteYou did an amazing job on this gift box Katelyn!! I would keep it on display all year long!
ReplyDeleteMy can't live without craft supply is my Emerald Creek embossing powders!
Thanks Cathy!
DeleteBeautiful box!
ReplyDeleteI can't live without beautiful paper
I love it. I can't live without gesso and matte medium. Seems to be the base of everything I do. Thanks for the inspiration!
ReplyDeleteThanks Suzanne!
DeleteFantastic way of embellishing! Happy holidays to you and your family Katelyn!
ReplyDeleteThanks Alexandra!
DeleteBeautiful way to receive a box of chocolates. Love it...Merry Christmas Katelyn to you and your love ones!
ReplyDeleteThanks Pam!
DeleteWhat a wonderful way to receive chocolate! Gorgeous!!! I can't live without my paper cutter or scissors :) Merry Christmas to you!
ReplyDeleteThanks Crafty Chic!
DeleteThat is the prettiest and fanciest box of chocolates I've ever seen! Gorgeous!
ReplyDeleteCan't live without my dies and paper!
Thanks Mitsyana!
Deleteso beatiful!!!!Thank you for sharing..
ReplyDeleteMy “can’t live without” craft supply is beautiful papers and my big shot..
Happy holidays to you and your family!
Thanks Michal! Happy Holidays to you and your family also.
DeleteBeautiful and festive way to give chocolates.
ReplyDeleteThanks Sue!
DeleteWho wouldn't want this as a gift? As a "BOX-oholic" I love this project! Any excuse to make another box just does it for me!
ReplyDeleteI can't live without my WRMK paper trimmer!
Have a very Merry Christmas.
I think so! Thanks Lesley! Merry Christmas
DeleteWhat a yummy project. Great job!
ReplyDeleteThanks Einat!
DeleteOh, thank you so much for the easy step by step instructions! Sometimes I feel so intimidated to try a project, but you make it seem pretty easy to do! Now I just need that ATC book box and I'm ready to go ...
ReplyDeleteMerry Christmas!
Oh yes, and can't live without my stash of papers!
DeleteThanks Rebecca!
DeleteWow! For a craft paper lover like me--my favorite supply--I can't wait to try this, even if I don't need a last minute gift. Thanks!
ReplyDeleteThanks Helen!
DeleteYou made covering a box look oh so easy! My can't live without supply are my cutterbees.
ReplyDeleteThanks Wendy!
DeleteI like it
ReplyDeleteThank you!
DeleteI love gorgeous papers. That's what I can't live without.
ReplyDeleteThanks Sharon!
DeleteLove your Christmas box Katelyn!
ReplyDeleteThanks Sandy!
DeleteKatelyn, this is a chocolate box fit for the Jolly Old Elf himself! It's such an elegant way to present a gift. Your tutorial is great, too! Merry Christmas!
ReplyDeleteThanks Kathy! And Merry Christmas!
Delete