Happy Thursday! I'm excited to be sharing Week #1 in my planner today. To create my week planner spread, I've used a variety of the dies from the Planner Essentials line and Joset Designs. You'll want to read below to learn how to recreate my Week #1 planner spread at home.

To start, you'll need to choose what patterned paper you want to use for your planner spread. The paper collection I used was Graphic 45's Sun Kissed. Choose one of the patterned papers and die cut reinforcements circles from the Planner Essentials - 1 die out. Repeat the previous step again, giving you a total of 12 reinforcement circles. Ink the edges of the reinforcement circles using Walnut Stain Distress Oxide Ink and a blending tool with foam.

Choose two labels from the Retro Labels stamp set. Apply Carved Pumpkin Distress Ink to one of the label stamps and stamp onto a piece of kraft cardstock. Repeat the previous step two more times. Apply Tumbled Glass Distress Ink to the other label stamp and stamp onto the same piece of kraft cardstock. Repeat the previous step three more times. Apply Tumbled Glass Distress Ink to the Tuesday, Thursday and Sunday stamps from the Calendar stamp set and stamp one of the days on each of the orange labels. Apply Carved Pumpkin Distress Ink to the Monday, Wednesday, Friday and Saturday stamps from the Calendar stamp set and stamp one of the days on each of the blue labels. Fussy cut the labels out. Write in each label. Distress the edges of each label. Ink the edges of each label using Walnut Stain Distress Oxide Ink and a blending tool with foam.

Choose another piece of patterned paper. Choose one of the labels from the Planner Labels die and die cut it out of the paper. Cut the label in half. Distress the edges of each half of the label. Ink the edges of each label half using Walnut Stain Distress Oxide Ink and a blending tool with foam.

Choose a third piece of patterned paper. From the Planner Essentials - 2 die, die cut the large tag out of the paper. Distress the edges of each tag. Ink the edges of each tag using Walnut Stain Distress Oxide Ink and a blending tool with foam.

From the patterned paper that you just die cut the large tags out of, flip it over and die cut the torn edge from the Planner Essentials - 11 die twice. Cut one edge down to 6 1/2". Cut the other edge down to 7 1/4". Distress the edges of each edge. Ink the edges of each edge using Walnut Stain Distress Oxide Ink and a blending tool with foam.

From the patterned paper that you used to die cut the label out of, die cut the torn edge from the Planner Essentials - 11 die twice. Cut one edge down to 5 1/2". Cut the other edge down to 7". Distress the edges of each edge. Ink the edges of each edge using Walnut Stain Distress Oxide Ink and a blending tool with foam.

Next, you'll need the 1 1/2" Stitched Fishtail die. Die cut the stitched fishtail twice out of White Soft Finish Cardstock. Distress the edges of the stitched fishtail. Ink the edges of the stitched fishtail using Walnut Stain Distress Oxide Ink and a blending tool with foam.

Die cut a celebration flag twice out of the same patterned paper used for the reinforcement circles. Cut the flags down to 2 5/8". Cut the other flag down to 3 3/4". Ink the edges of both flags using Walnut Stain Distress Oxide Ink and a blending tool with foam.

Choose two of the patterned papers you've already used. You'll also need to choose two flowers from the Small Flower Set. Die cut the one flower eight times out of the patterned paper along with the centers once. Die cut the other flower four times out of the patterned paper along with the centers once. Shape the flowers. Ink the edges of the flowers and centers. Adhere the flowers together.

Choose a fourth piece of patterned paper and die cut the page from the Planner Essentials - 4 die. Distress the edges of the page. Ink the edges of the page using Walnut Stain Distress Oxide Ink and a blending tool with foam.

Using the same piece of patterned paper for the right hand page, die cut the page from the Planner Essentials - 12 die. Distress the edges of the page. Ink the edges of the page using Walnut Stain Distress Oxide Ink and a blending tool with foam.

To start, we will put the left page together.
Start by adhering six reinforcement circles overtop of each circle on the page. Adhere a stitched fishtail 1 1/2" from the left and 1" from the top of the page. Adhere the 6 1/2" torn edge 1 5/8" from the left and 1/8" from the bottom of the page. Adhere the 5 1/2" torn edge 2" from the left and 1/2" from the bottom of the page.

Foam square the large tag 3/4" from the left and 1 3/4" from the top of the page. Adhere one of the half labels 1" from the right and 1 1/4" from the bottom of the page. Adhere the Monday, Tuesday and Wednesday labels to the large tag.

Foam square the 2 3/4" flags to the top left corner of the page. Choose three of the flowers you've adhered together. Foam square one flower to the bottom right side of the Monday label. Foam square the other two flowers to the left of the Tuesday label.

Here's the finished left hand page.

Now, we will put the right page together.
Start by adhering six reinforcement circles overtop of each circle on the page. Adhere a stitched fishtail 1 1/2" from the right and 1" from the top of the page. Adhere the 7 1/4" torn edge 2 1/8" from the right and 5/8" from the bottom of the page. Adhere the 7" torn edge 1 3/4" from the right and 3/4" from the bottom of the page.

Foam square the large tag 3/4" from the right and 1 3/4" from the top of the page. Adhere one of the half labels 1" from the left and 2 1/4" from the bottom of the page. Adhere the Thursday, Friday, Saturday and Sunday labels to the large tag.

Foam square the 3 7/8" flags to the top right corner of the page. Foam square one flower to the bottom right side of the Thursday label. Foam square the next flower to the left of the Friday label. Foam square the last flower to the bottom right side of the Saturday label.

Here is the finished right hand page.

Here are a few closeups of the finished planner spread.


Here is the finished Week #1 Planner Spread.

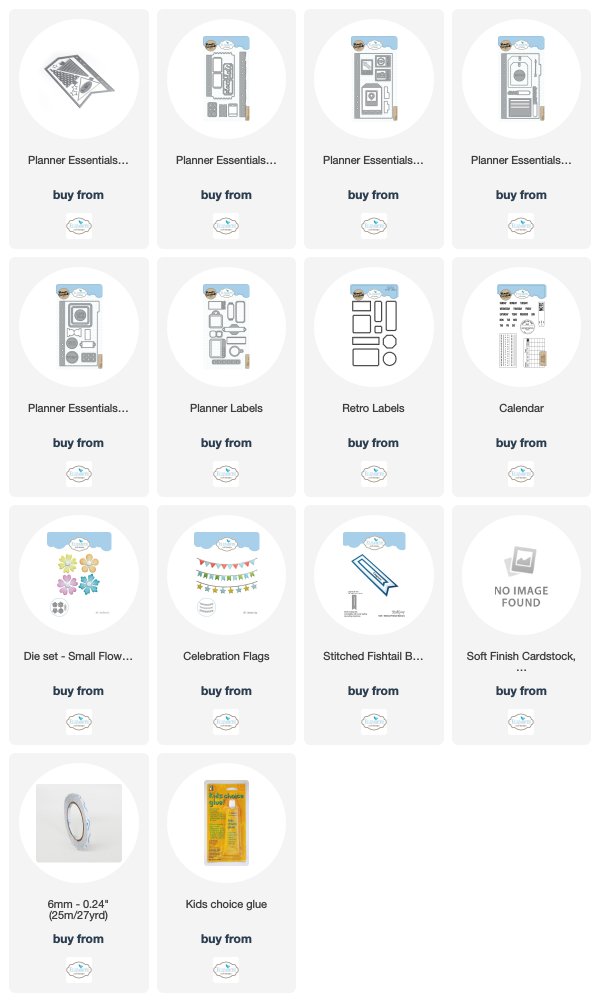
Elizabeth Craft Designs Product Used:
Other Supplies Used:
- Tim Holtz for Ranger Ink: Distress Ink - Carved Pumpkin & Tumbled Glass, Distress Oxide Ink - Walnut Stain and a Blending tool with foam
- Graphic 45: Sun Kissed - Sand Dollars, Under The Sea and Floating Floral
- Misc: Kraft Cardstock
- Katelyn
No comments:
Post a Comment