Happy Thursday! I'm excited to be sharing Week #2 in my planner today. To create my week planner spread, I've used a variety of the dies from the Planner Essentials line. You'll want to read below to learn how to recreate my Week #2 planner spread at home.

Die cut the page from the Planner Essentials - 4 die out of White Soft Finish Cardstock. Die cut the page from the Planner Essentials - 3 die out of White Soft Finish Cardstock. Place the two pages together. Sprinkle Chartreuse, Raspberry and Rosebud Magenta Nuance randomly on the pages. Spritz the pages with water. Dry the pages using a heat tool. Apply Dusty Concord Distress Oxide Ink to the chicken wire stamp from the Background Stamps 1 and start by stamping randomly on the right page. Reapply the ink to the stamp and stamp again seven more times total on the left and right pages. Dry the stamped images with a heat tool. Apply Emboss It Ink to the script stamp from the Background Stamps 2 and start by stamping randomly on the right page. Reapply the ink to the stamp and stamp again eight more times total on the left and right pages. Sprinkle Molten Dimension: Black Magic Embossing Powder to each page. Tap off the excess powder and emboss with a heat tool.

Apply Jet Black Archival Ink to the August Month from the Months stamp set and stamp onto the tab of the right page. Distress the edges of each page. Ink the edges of each page using Black Soot Distress Oxide Ink and a blending tool with foam.

From the Planner Elements die, die cut two of the square strips out of black cardstock.

On a piece of White Soft Finish Cardstock, sprinkle Chartreuse, Raspberry and Rosebud Magenta Nuance. Spritz the paper with water. Dry with a heat tool. From the Planner Essentials - 1 die, die cut the reinforcement circles out of the now coloured White Soft Finish Cardstock. Die cut the reinforcement circles again out of the same piece of cardstock. Ink the edges of each reinforcement circles using Black Soot Distress Oxide Ink and a Blending Tool with Foam.

Apply Dusty Concord Distress Oxide Ink to the rectangle from the Schedule stamp set and stamp onto a piece of White Soft Finish Cardstock. Reapply Dusty Concord Distress Oxide Ink to the stamp and stamp six more times onto the piece of White Finish Cardstock. Apply Jet Black Archival Ink to the stitching stamp from the Schedule stamp set and stamp onto each rectangle. Apply Jet Black Archival Ink to the days of the week stamps from the Calendar stamp set and stamp onto each rectangle. Cut out each rectangle. Distress the edges of the rectangles. Ink the edges of the rectangles using Black Soot Distress Oxide Ink and a Blending Tool with Foam.

Adhere the reinforcement circles over top of each circle on the pages. Adhere one of the square strips to the middle of the left hand page. Adhere the other square strip to the middle of the right hand page.

To finish your spread, use foam squares to adhere Monday to Thursday boxes on the left hand page as desired. Use foam squares to adhere the Friday to Sunday boxes on the right hand page as desired.

Here are the finished pages.


Here are some closeup photos of the finished pages.


Here is the finished Week 2 Planner Spread.

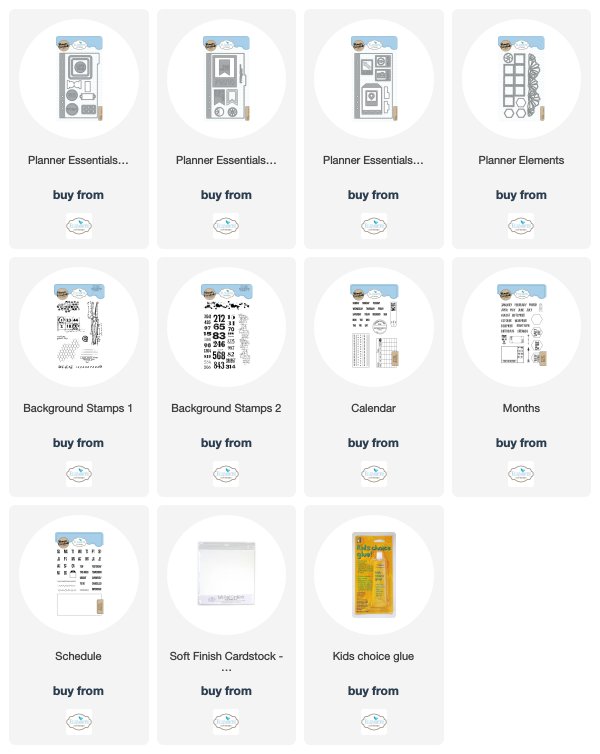
Elizabeth Craft Designs Product Used:
Other Supplies Used:
- Tim Holtz for Ranger Ink: Distress Oxide Ink - Black Soot & Dusty Concord and a Blending tool with foam
- Ranger Ink: Jet Black Archival Ink, Emboss It Ink and a Mister
- Emerald Creek Craft Supplies: Molten Dimensions - Black Magic
- Magenta Nuance: Chartreuse, Raspberry and Rosebud
- Misc: Black Cardstock
- Katelyn
No comments:
Post a Comment