Happy Friday!
I have been busy playing with the planner dies and created this Collect Moments Not Things Planner Insert. To create my insert, I've combined a variety of dies and stamps from the Planner Essentials Collection as well as dies from Joset Designs. You'll want to grab a cup of your favourite beverage and learn how to recreate my Planner Insert at home.

To start, die cut the insert from the Planner Essentials 14 - Bookmark 1 die out of White Soft Finish Cardstock. Sprinkle Magenta Nuance in Raspberry and Rosebud down the middle of the page. Spritz the powder with water. Allow the page to dry. Once the insert has dried, ink the edges of the insert using Black Soot Distress Ink and a blending tool with foam.

Choose one of the reinforcements from the Reinforcement Variety Pack. Die cut the reinforcements out of kraft cardstock. You'll need a total of six. Ink the edges of the reinforcements using Black Soot Distress Ink and a blending tool with foam.

From the Planner Patterns die, die cut the numbers out of White Soft Finish Cardstock.

Next, you'll need the large note piece from the Planner Essentials 21 - Note Pieces die and die cut out of a piece of book page. Ink the edges of the note piece using Black Soot Distress Ink and a blending tool with foam.

From the Planner Essentials 24 - Photo Frame Pages, die cut the filmstrip out of Kraft Cardstock and die cut the small arrow strip out of White Soft Finish Cardstock. Ink the edges of both pieces using Black Soot Distress Ink and a blending tool with foam.

Die two arrows from the Planner Essentials - 4 die out of Sunflower Soft Finish Cardstock and Bright Orange Soft Finish Cardstock.

From the Planner Essentials 22 - Planner Pocket 3 - Top Loading die, you'll need the arrow strip. Die cut the arrow strip using Bright Orange Soft Finish Cardstock. Ink the edges of the arrow using Black Soot Distress Ink and a blending tool with foam.

From the Planner Essentials 20 - Half Heart Page Set, you'll need to die cut the heart and lightbulb out of White Soft Finish Cardstock. Die cut the heart lightbulb out of Ladybug Red Soft Finish Cardstock. Ink the edges of the red heart, red lightbulb and white lightbulb using Black Soot Distress Ink and a blending tool with foam.

Apply Dusty Concord Distress Ink to the Collect Moments Not Things Quote from the Pieces of Life 3 - Quotes stamp. Stamp the quote onto a piece of White Soft Finish Cardstock. Cut the quote into three strips. Ink the edges of the strips using Black Soot Distress Ink and a blending tool with foam.

Adhere the reinforcements overtop of each of the circles on the insert. Adhere the number pattern to the middle of the insert.

Foam square the note piece 5/8" from the right and 1 3/4" from the top of the insert. Adhere the filmstrip to the right side of the note piece, making sure the dots are still showing.

Staple the two arrows together as desired. Adhere the arrow strips 1" from the right and 2" from the top of the insert. Adhere the orange arrow to the bottom right side of the note piece. Adhere the yellow arrow to the top left side of the note piece.

Adhere the red heart underneath the top right corner of the note piece. Adhere the lightbulbs together. Foam square the lightbulb 7/8" from the right and 3 5/8" from the bottom of the insert. Adhere the quote strip as desired at the bottom of the lightbulb as desired.
To finish the insert, add staples to three areas of the number pattern.

Here are a few closeup photos of the insert.


Here is the finished Collect Moments Not Things Planner Insert.

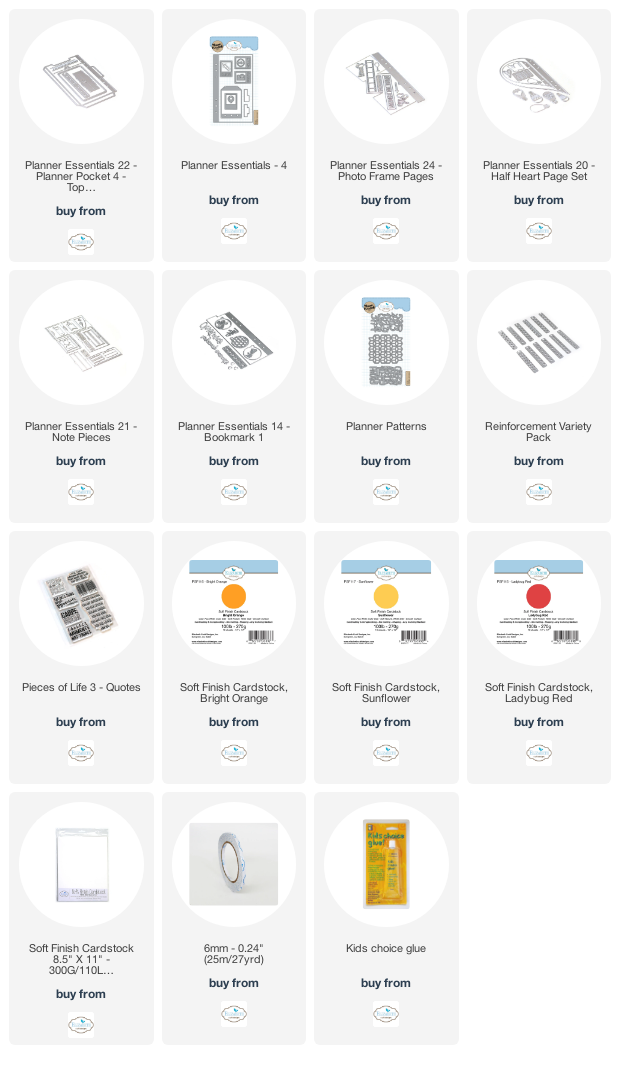
Elizabeth Craft Designs Supplies Used:
Other Supplies Used:
- Tim Holtz for Ranger Ink: Distress Ink - Black Soot & Dusty Concord and Blending Tool with Foam
- Magenta Nuance: Raspberry and Rosebud
- Misc: Kraft Cardstock, Book page and Stapler
Thanks so much for joining me today and I hope that I have inspired you to recreate your own version of my Collect Moments Not Things Planner Insert
- Katelyn
No comments:
Post a Comment