Happy Tuesday!
For April's Group Post it's all about Easter Projects. For this month's group post, I'm sharing my Happy Easter Card. To create my card, I've used dies from Joset Designs. Grab a cup of your favourite Springtime beverage and read below as I have a tutorial for you so that you can re-create my Happy Easter Card at home. You'll also want to make sure to stop by the Elizabeth Craft Designs Blog to check out the rest of the projects.

To start, you'll need to die cut a 3 1/2" Stitched Indented Rectangle out of White Soft Finish Cardstock. Die cut a 4" Stitched Indented Rectangle out of a piece of patterned paper. Ink the edges of both rectangles using Gathered Twigs Distress Ink and a blending tool with foam.

The next five steps are using the Spring Basket die.
Die cut the basket out of White Soft Finish Cardstock. Using a blending tool with foam, blend Gathered Twigs Distress Ink over the entire surface of the basket.

Die cut the large grass patches three times out of White Soft Finish Cardstock. Die cut the small grass patches four times out of White Soft Finish Cardstock. Using a blending tool with foam, blend Forest Moss Distress Ink over the entire surface of the large grass patches and one small grass patch. Using a blending tool with foam, blend Shabby Shutters Distress Ink over the entire surface of the three small grass patches.

Die cut the bow twice out of White Soft Finish Cardstock. Die cut the middle and the tails out of White Soft Finish Cardstock. Using a blending tool with foam, blend Worn Lipstick Distress Ink over the entire surface of the bows, middle and tails.

Die cut two large eggs and two small eggs out of White Soft Finish Cardstock. Using a blending tool with foam, blend Squeezed Lemonade Distress Ink over the entire surface of one of the large egg and one of the small eggs. Using a blending tool with foam, blend Worn Lipstick Distress Ink over the entire surface of the large egg. Using a blending tool with foam, blend Tumbled Glass Distress Ink over the entire surface of the small egg.

Die cut the flower die three times out of White Soft Finish Cardstock. Die cut the middles three times out of White Soft Finish Cardstock. The first set of the flowers, use a blending tool with foam to blend Worn Lipstick Distress Ink over the entire surface of the flowers. The second set of the flowers, use a blending tool with foam to blend Tumbled Glass Distress Ink over the entire surface of the flowers. The third set of the flowers, use a blending tool with foam to blend Shaded Lilac Distress Ink over the entire surface of the flowers.

The next four steps use the Bunny Die.
Die cut the carrot twice out of White Soft Finish Cardstock. Using a blending tool with foam, blend Carved Pumpkin Distress Ink over the entire surface of both carrots. Using a blending tool with foam, blend Forest Moss Distress Ink over the entire surface of the top of the carrots.

Die cut the inside of the ears, mouth, tummy and feet out of White Soft Finish Cardstock. Using a blending tool with foam, blend Spun Sugar Distress Ink over the entire surface of all the pieces.

Die cut the nose and inside of the mouth out of White Soft Finish Cardstock. Using a blending tool with foam, blend Worn Lipstick Distress Ink over the entire surface of both pieces.

Die cut the head, body, arms and tops of the feet out of White Soft Finish Cardstock. Using a blending tool with foam, blend Hickory Smoke Distress Ink over the entire surface of all of the pieces.

From the Words 3 - Happy Holidays Die, die cut the Happy Easter sentiment out of White Soft Finish Cardstock. Using a blending tool with foam, blend Shaded Lilac Distress Ink over the entire surface of the words.

Adhere the carrots together. Adhere the bunny together. Use a black gel pen to colour in the eyes of the bunny.

Adhere the bow together.

Adhere the centers to each of the flowers.

Adhere the 3 1/3" rectangle to the 4" rectangle.

Use foam squares to adhere the basket 3/4" from the bottom and 1/2" from the top of the 3 1/2" rectangle. Adhere the bow to the top of the basket.

Use adhesive and foam squares to adhere a carrot, large egg, small egg and the bunny as desired inside the basket. Adhere three small grass patches and one large grass patch as desired along the inside edges of the basket. Adhere five flowers as desired to the top portion of the basket, covering a bit of the grass.

In the bottom right corner of the basket, use adhesive and foam squares to adhere a large grass patch. Adhere three flowers as desired slightly over top of the grass patch.

In the bottom left corner of the basket, use adhesive and foam squares to adhere the last large grass patch. Use adhesive to adhere a carrot, large egg, small egg, small grass patch and the last flower as desired over top and around the large grass patch.

Adhere the Happy Easter sentiment as desired to the bottom portion of the basket as desired.

To finish the card, cut a cardbase that measures 4" x 10 1/2", score at 5 1/4". Adhere the cardfront to the cardbase.

Here are a few closeup photos of the card.


Here is the finished Happy Easter Card.

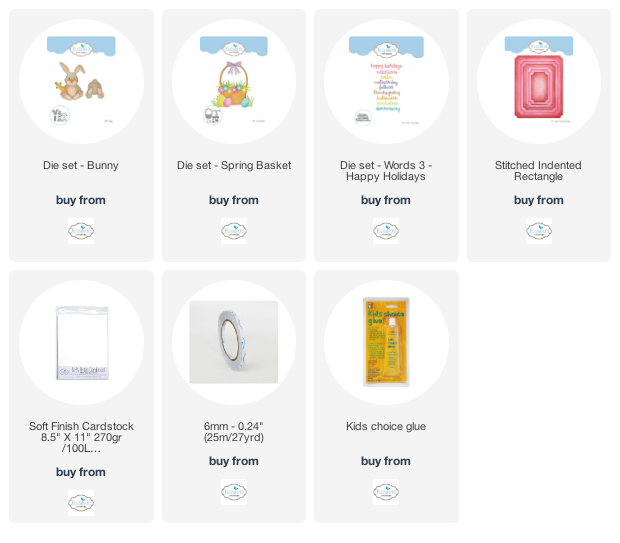
Elizabeth Craft Designs Supplies Used:
Other Supplies Used:
- Tim Holtz for Ranger Ink: Distress Ink - Spun Sugar, Shaded Lilac, Worn Lipstick, Tumbled Glass, Hickory Smoke, Carved Pumpkin, Shabby Shutters, Forest Moss, Gathered Twigs and Squeezed Lemonade
- Misc: Patterned paper and Black Gel Pen
Thanks so much for joining me today and I hope that I have inspired you to recreate your own version of my Happy Easter Card.
- Katelyn
No comments:
Post a Comment