Happy Wednesday!
For today's post, I've created this pretty and simple Beauty Notecard perfect to send to a loved one or a friend with a little note in it. To create the notecard, I've used a variety of stamps and stencils from the new release from the Art Journal Specials Collection as well as Joset Designs. You'll want to read below as I have a full tutorial on how to recreate my notecard at home.

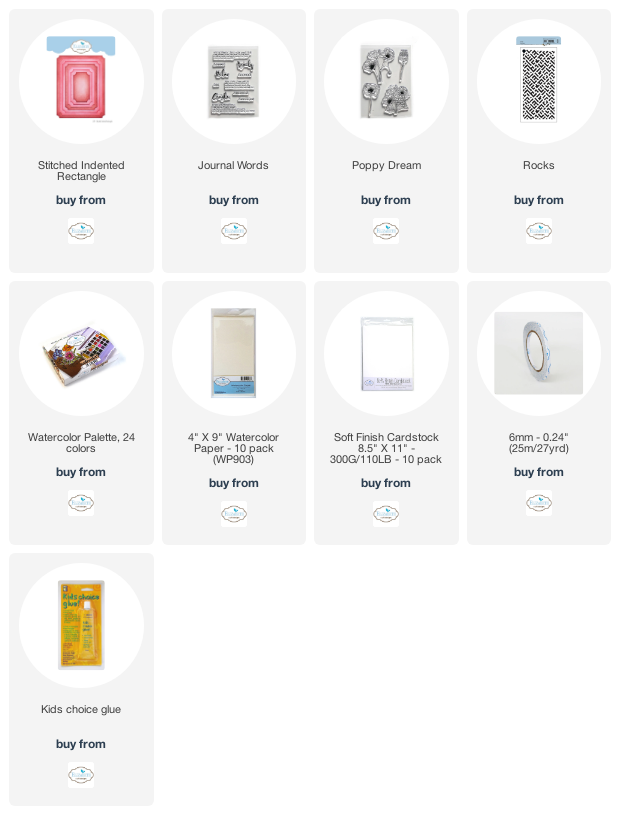
To start, choose a piece of subtle patterned paper. Die cut a 3" Stitched Indented Rectangle out of the patterned paper piece. Distress the edges of the rectangle. Ink the edges of the rectangle using Black Soot Distress Ink and a blending tool with foam.

Die cut a 2 1/2" Stitched Indented Rectangle out of black cardstock. Distress the edges of the rectangle.

Die cut a 2" Stitched Indented Rectangle out of a piece of White Soft Finish Cardstock. Place the Rocks stencil overtop of the rectangle. Mix a bit of black embossing powder in a little bit of Texture Paste Opaque Matte. Using a palette knife, put the mixed Texture Paste Opaque Matte through the stencil. Remove the stencil. Allow the stenciled area to dry. Once the stenciled area is dry, distress the edges of the rectangle. Ink the edges of the rectangle using Black Soot Distress Ink and a blending tool with foam.

Apply Jet Black Archival Ink to the Poppy Bunch stamp from the Poppy Dream Stamp Set and stamp onto a piece of watercolour cardstock. Colour the poppies in using the Watercolour Palette and a waterbrush. Fussy cut the poppy bunch out. Ink the edges of the poppy bunch using Black Soot Distress Ink and a blending tool with foam.

Apply Candied Apple Distress Ink to the beauty stamp from the Journal Words and stamp onto a piece of White Soft Finish Cardstock. Fussy cut the word out. Ink the edges of the word using Black Soot Distress Ink and a blending tool with foam.

Adhere the 2" rectangle to the 2 1/2" rectangle. Foam square the 2 1/2" rectangle to the 3" rectangle.

Use foam squares to adhere the poppy branch to the middle of the poppy branch. Use adhesive and foam squares to adhere the beauty word to the bottom left side of the 2" rectangle.

To finish the card, cut a cardbase out of White Soft Finish Cardstock that measures 3" x 8 1/2", score at 4 1/4". Adhere the cardfront to the cardbase.

Here are a few closeup photos of the finished notecard.


Here is the finished Beauty Notecard.

Elizabeth Craft Designs Supplies Used:
Other Supplies Used:
- Ranger Ink: Texture Paste Opaque Matte and Jet Black Archival Ink
- Tim Holtz for Ranger Ink: Distress Ink - Black Soot & Candied Apple and Blending Tool with Foam
- Emerald Creek Craft Supplies: Midnight Black Embossing Powder
- Prima Marketing Inc.: Georgia Blues - Midnight Blues
- Misc: Black Cardstock
I hope that my tag has inspired you to recreate your own version at home.
- Katelyn
No comments:
Post a Comment