Happy Tuesday!
I know Fall has just arrived, but I've started to create Christmas projects. So, today I'm excited to be sharing with you my Winter Wishes & Snowflake Kisses Card which features dies from Joset Designs and stamps from the Planner Essentials Collection. This card is perfect to create for your Christmas Cards this year. You'll want to read below to learn how to recreate my Winter Wishes & Snowflake Kisses Card at home.

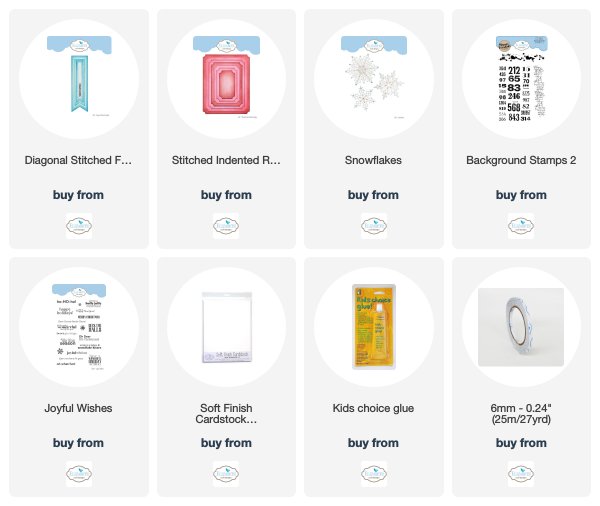
To start, die cut the 3" Indented Stitched Rectangle out of a piece of White Soft Finish Cardstock. Using a blending tool with foam, blend Tumbled Glass, Broken China and Faded Jeans Distress Oxide Ink over the entire surface of the rectangle. Spritz the rectangle with water. Dry the rectangle with a heat tool.

Next, you'll need the splat dot stamp from the Background Stamps 2 set. Apply Faded Jeans Distress Oxide Ink to the stamp and stamp randomly on the rectangle. Reapply ink to the stamp and stamp as desired. Dry the rectangle piece.

From the same Background Stamps 2, you'll need the script stamp. Apply Emboss It Ink to the script stamp and stamp randomly onto the rectangle. Reapply ink to the stamp as needed as stamp on the rectangle as desired. Sprinkle Molten Dimensions - Polished Silver Embossing Powder over the entire surface of the rectangle. Tap off the excess powder and emboss with a heat tool. Distress the edges of the rectangle. Ink the edges of the rectangle using Black Soot Distress Ink and a blending tool with foam.

Die cut a 3/4" Diagonal Stitched Fishtails out of a piece of White Soft Finish Cardstock. Cut the fishtail down to 2 1/2". Using a blending tool with foam, blend Tumbled Glass, Broken China and Faded Jeans Distress Oxide Ink over the entire surface of the fishtail. Spritz the fishtail with water. Dry the fishtail with a heat tool. Apply Faded Jeans Distress Oxide Ink to the winter wishes sentiment from the Joyful Wishes stamp set. Distress the edges of the fishtail. Ink the edges of the fishtail using Black Soot Distress Ink and a blending tool with foam.

Die cut a 3 1/2" Indented Stitched Rectangle out of White Soft Finish Cardstock. Distress the edges of the rectangles. Ink the edges of the rectangle using Black Soot Distress Ink and a blending tool with foam.

Choose one of the snowflakes from the Snowflakes die. Die cut the chosen snowflake twice out of White Soft Finish Cardstock. Cut one snowflake so that it fits in the top right section of the 3 1/2" Indented Stitched Fishtail. Cut the other snowflake in half. Cut one of the halves of the snowflakes so that it fits in the bottom portion of the 3 1/2" rectangle.

Foam square the 3" rectangle to the 3 1/2" rectangle.

Adhere the three snowflakes onto the 3" rectangle.

Adhere the winter wishes sentiment to the bottom right portion of the rectangles.

Cut a cardbase out of White Soft Finish Cardstock that measures 3 3/4" x 10", score at 5". Adhere the cardfront to the cardbase.

Here are a few closeup shots of the finished card.


Here is the finished Winter Wishes & Snowflake Kisses Card.

Elizabeth Craft Designs Supplies Used:
Other Supplies Used:
- Tim Holtz for Ranger Ink: Distress Oxide Ink - Tumbled Glass, Broken China & Faded Jeans, Black Soot Distress Ink, Blending tool with foam and Distress Spritzer
- Ranger Ink: Emboss It Ink
- Emerald Creek Craft Supplies: Molten Dimensions - Polished Silver Embossing Powder
- Katelyn
No comments:
Post a Comment