Happy Sunday!
For May's Group Post it's all about Gifts for Mom! For this month's group post, I'm sharing my For You Gift Box which is the perfect wrapping for giving your mom's gift in. To create my gift box, I've used dies from Joset Designs, A Way With Words and the Planner Essentials Collection. Grab a cup of your favourite beverage and read below as I have a tutorial for you so that you can re-create my For You Gift Box at home. You'll also want to make sure to stop by the Elizabeth Craft Designs Blog to check out the rest of the projects.

To start, die cut the gable box out of the Princess patterned paper from the Princess Collection by Graphic 45. You will also need the two hearts that are cut out from the handle on the box. In the portion of the box where there are the hearts on the handle, you'll need to die cut a 1 3/4" Stitched Rectangle out of each square. Ink the edges of the box and two hearts using Walnut Stain Distress Ink and a blending tool with foam.

From a piece of dotted or plain acetate, cut two pieces that measure 1 7/8" x 1 7/8".

The next three steps use the Trio of Leaves die. Choose two of the leaf dies.
Die cut one of the leaves twice out of White Soft Finish Cardstock. Ink the edges of the leaves using Walnut Stain Distress Ink and a blending tool with foam.

Die cut one of each of the leaves out of the Loveliest of All patterned paper from the Princess Collection by Graphic 45. Ink the edges of the leaves using Walnut Stain Distress Ink and a blending tool with foam.

Die cut one of each of the leaves out of the Beautiful Maiden patterned paper from the Princess Collection by Graphic 45. Ink the edges of the leaves using Walnut Stain Distress Ink and a blending tool with foam.

The next two steps use the Small Flower Set. From the set, you'll need to choose two flowers.
Die cut one of each of the flowers as well as the flower centres out of the Belle of the Ball patterned paper from the Princess Collection by Graphic 45. Ink the edges of the flowers and centres using Walnut Stain Distress Ink and a blending tool with foam.

Die cut one of each of the flowers out of White Soft Finish Cardstock.

The next two steps use the Large Flower Set. From the set, you'll need to choose two flowers.
Die cut one of each of the flowers out of the Your Highness patterned paper from the Princess Collection by Graphic 45. Ink the edges of the flowers and centres using Walnut Stain Distress Ink and a blending tool with foam.

Die cut one of each of the flowers and the centres out White Soft Finish Cardstock.

From the Planner Labels, you'll need the stitched label. Die cut the label out of the Your Highness patterned paper from the Princess Collection by Graphic 45. Ink the edges of the label using Walnut Stain Distress Ink and a blending tool with foam.

From the Words 2 - Thinking of You die, die cut the words for and you out of White Soft Finish Cardstock.

Adhere the acetate rectangles in behind where the rectangles have been die cut from the box.

Assemble the box. This is how the box will look once adhered.

Adhere three of the leaves together, making sure in each bunch there is a different pattern on the yellow paper. Repeat the previous step for the remaining leaves.

For the large flowers, adhere a patterned paper to the coordinating white flower. Adhere the other patterned paper to the other coordinating white flower. Adhere a white centre in the middle of each flower. For the small flowers, adhere a white flower to the coordinating patterned paper flower. Adhere the other white flower to the other coordinating patterned paper flower. Adhere a patterned paper centre in the middle of each flower.

On the left side of the box, adhere a three leaf bunch to the top left hand side of the box. Use foam squares to adhere one of the large flowers and one of the small flowers over top of the leaf bunch as desired.

On the right side of the box, adhere the other three leaf bunch to the top left hand side of the box. Use foam squares to adhere the remaining large flower and small flower over top of the leaf bunch as desired.

Adhere the For You and hearts onto the label as desired.

Use a mini clothespin to add the For You label to one of the sides that has the acetate.

Here are a few closeup photos of the finished gift box.


Here is the finished For You Gift Box.

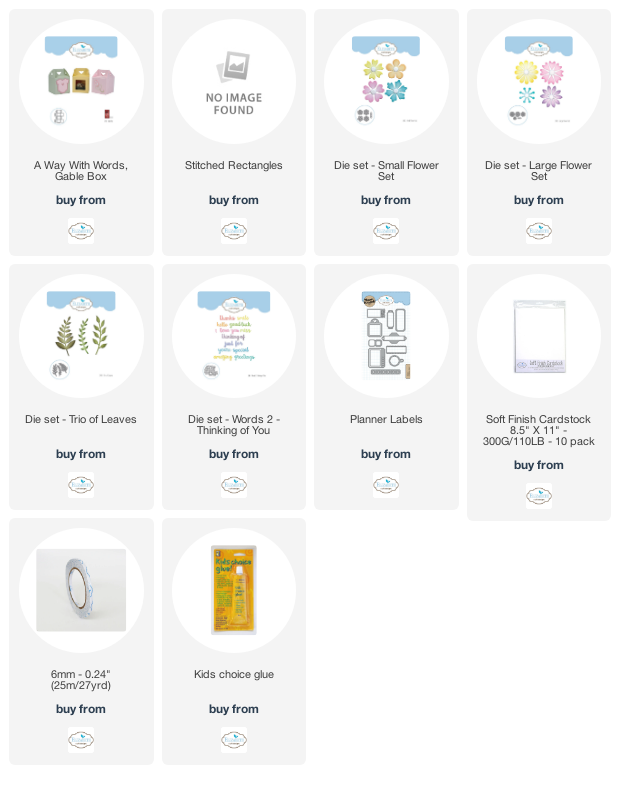
Elizabeth Craft Designs Supplies Used:
Other Supplies Used:
- Tim Holtz for Ranger Ink: Distress Ink - Walnut Stain and Blending Tool with Foam
- Graphic 45: Princess Collection - Your Highness, Belle of the Ball, Loveliest of All, Beautiful Maiden and Princess
- Misc: Acetate and Mini Clothespin
Thanks so much for joining me today and I hope that I have inspired you to recreate your own version of my For You Gift Box.
- Katelyn
No comments:
Post a Comment