Happy Saturday!
Today's post, is all about using the Phone Booth Special from the Planner Essentials Collection and dies from Els van de Burgt Studio to create this modern Hello Phone Booth Planner Insert. You'll want to grab a cup of your favourite beverage and learn how to recreate my planner insert at home.
The next ten steps use the Phone Booth Specials Die.
Die cut the phone booth page and the other phone booth out of a piece of black cardstock.
Die cut the door out of black cardstock.
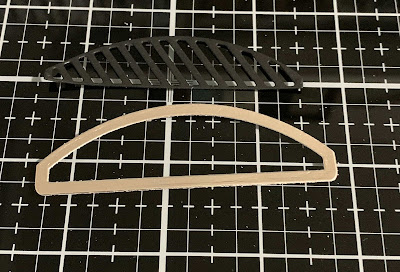
Die cut the top arched trim piece for the phone booth out of Champagne Foil Paper. Die cut the insert for the top arched trim piece out of black cardstock.
Die cut the two trim pieces, the large rectangle and the larger strip out of Champagne Foil Paper.
Die cut the numbers out of black cardstock. Choose six numbers.
Die cut the telephone reinforcements out of Champagne Foil Paper. You'll need a total of five.
Die cut the Hello Word out of Champagne Foil Paper.
Die cut the telephone cord out of Champagne Foil Paper.
Die cut the small telephone out of Champagne Foil Paper. You'll just need the handle of the phone.
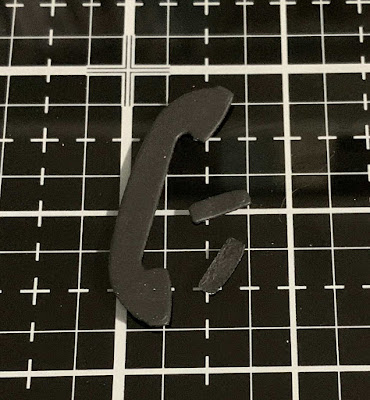
Die cut the large phone out of black cardstock.
Die cut a piece of Pewter Soft Finish Cardstock that measures 2 1/4" x 6 1/8".
Die cut a 1 3/4" Stitched Circle out of a piece of Pewter Soft Finish Cardstock.
Adhere the single phone booth die to the phone booth page.
Adhere the 2 1/4" pewter paper to the back of the phone booth door. Adhere the phone booth door to the middle of the phone booth.
Adhere the telephone reinforcements over the holes on the phone booth page.
Adhere the trim pieces to the top and bottom of the phone booth page. Adhere the champagne foil top trim piece to the top of the booth. Adhere the matching black cardstock trim piece in the middle of the foil piece.
Adhere the 1/4" strip in between the trim and the top arched trim. Adhere the rectangle to the bottom portion of the door.
Adhere the numbers to the 1/4" strip at the top of the phone booth. Adhere the champagne foil paper telephone to the door for the phone booth.
Adhere the stitched circle to the bottom right side of the door. Adhere the Hello word to the middle of the circle.
Adhere the cord to the inside of the phone booth. Adhere the phone to the bottom of the cord.
Here are a few closeup photos of the planner insert.
Here is the finished Hello Phone Booth Planner Insert.
Elizabeth Craft Designs Supplies Used:
- Planner Essentials - Phonebooth Special
Other Supplies Used:
- Misc: Champagne Foil Paper and Black Cardstock
Thanks so much for joining me today and I hope that I have inspired you to recreate your own version of my Hello Phone Booth Planner Insert.
- Katelyn


No comments:
Post a Comment