Happy Tuesday!
Today's post, I'm sharing this fun and bright Bloom Tag. To create my tag, I've used stamps, stencils and dies from the Art Journal Collection. You'll want to read below as I have a full tutorial on how to recreate my tag at home.

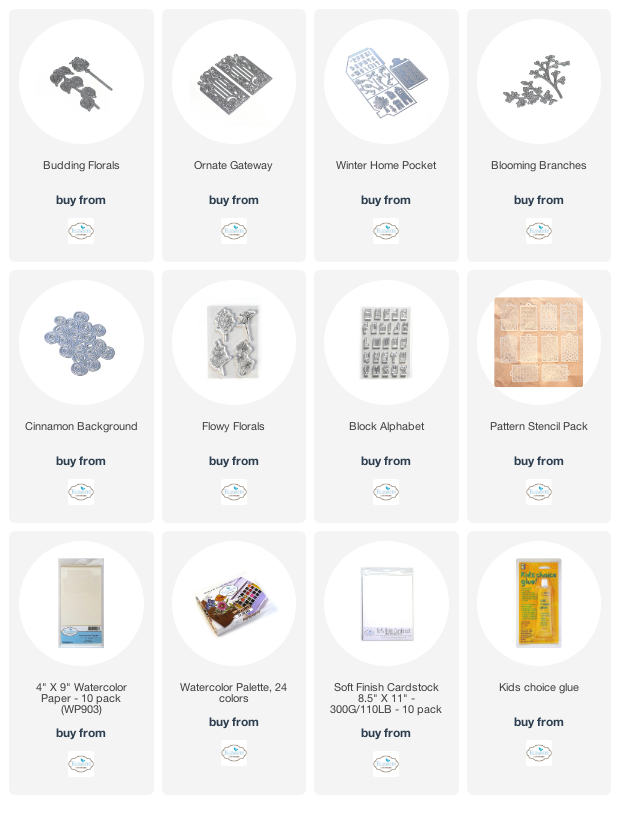
Die cut the tag from the Winter Home Journal Pocket die out of White Soft Finish Cardstock. On a 6x6 or bigger Gel Plate, put a few dots of Dina Wakley - Heavy Body Acrylic Paint in Lime, Lemon, Turquoise and White. To move the paint around on the plate to cover the plate, you'll need to use a brayer. Once the paint covers the plate, put the tag over the paint. Allow the tag to dry. To pick up the remaining paint on the plate, use a white piece of cardstock.

Choose one of the stencils from the Pattern Stencil Pack. Once the paint has dried, put the stencil randomly on the tag and trace around the stencil using a Black Posca Paint Pen. I stenciled in five areas of the tag. Ink the edges of the tag using Black Soot Distress Ink and a blending tool with foam.

Die cut the Cinnamon Background die out of White Soft Finish Cardstock.

Die cut the right hand side of the Ornate Gateway die out of kraft cardstock. Ink the edges of the gate using Black Soot Distress Ink and a blending tool with foam.

Die cut the Cotton branch from the Budding Florals die out of a piece of White Soft Finish Cardstock. Using a waterbrush and the Watercolour Palette, colour the cotton branch. Ink the edges of the cotton branch using Black Soot Distress Ink and a blending tool with foam.

From the Blooming Branches die, you'll need to die cut one branch out of book page and die cut the other branch out of black cardstock.

Apply Jet Black Archival Ink to the Bloom letters from the Block Alphabet Stamp Set and stamp onto a piece of watercolour cardstock. Colour the letters in using a waterbrush and the Watercolour Palette. Cut the Bloom word into a strip. Ink the edges of the bloom word strip using Black Soot Distress Ink and a blending tool with foam.

Apply Jet Black Archival Ink to the fluffy flower and circle flower from the Flowy Florals Stamp Set and stamp onto a piece of watercolour cardstock. Use a waterbrush and the Watercolour Palette to colour in the circle flower. Fussy cut both flowers out. Ink the edges of the flowers using Black Soot Distress Ink and a blending tool with foam.

Adhere the cinnamon background to the tag. Adhere the gate to the left hand side of the tag as desired.

Foam square the cotton branch to the middle of the gate. Adhere the two branches as desired to the cotton branch.

Adhere the fluffly flower and the circle flower over top of the branches as desired. Use adhesive and foam squares to adhere the bloom word strip to the bottom right side of the tag.

To finish the tag, tie a bow at the top of the tag using black twine.

Here are a few closeup photos of the finished tag.


Here is the finished Bloom Tag.

Elizabeth Craft Designs Supplies Used:
Other Supplies Used:
- Tim Holtz for Ranger Ink: Distress Ink - Black Soot and Blending Tool with Foam
- Ranger Ink: Jet Black Archival Ink
- Dina Wakley for Ranger Ink: Heavy Body Acrylic Paint - Lime, Lemon, Turquoise and White
- Gel Press: 6x6 Gel Plate
- Posca: Black Paint Pen
- Misc: Book Page, Kraft Cardstock, Black Cardstock, Brayer and Black Twine
I hope that my tag has inspired you to recreate your own version at home.
- Katelyn
Eye-catchingly terrific tag. I love the upbeat hits of lemon and lime set against the cool blues of this project.
ReplyDeleteAutumn Zenith 🧡 Witchcrafted Life
Thanks Autumn! Our weather on the west coast has been a bit rainy, so I wanted to create something that was a bit brighter.
Delete