Happy Thursday!
Today's project, is all about this cute Have a Magical Day Mushroom Card which I created using dies and from Joset Designs. You'll want to read below as I have a full tutorial on how to recreate my card at home.
The next seven steps use the Mushroom House Folding Card Die.
Die cut the Mushroom Die out of a piece of White Soft Finish Cardstock.
Die cut the large plain mushroom top and the small mushroom plain top out of a piece of White Soft Finish Cardstock. Die cut the large cut out mushroom top and the small mushroom cut out top out of a piece of Ladybug Red Soft Finish Cardstock.
Die cut the bottom of the small mushroom out of a piece of White Soft Finish Cardstock.
From a piece of Rust Soft Finish Cardstock, die cut the chimney, door and window frames.
From a piece of Golden Rod Soft Finish Cardstock, die cut the inside of the window and key hole.
Die cut the grass out of a piece of White Soft Finish Cardstock. Using a blending tool with foam, blend Forest Moss Distress Ink over the entire surface of the grass.
Die cut the small flowers out of a piece of Pink Peach Soft Finish Cardstock.
The next two steps use the Once Upon a Time Accessories.
Die cut the two flower stems out of a piece of Spring Green Soft Finish Cardstock.
Die cut the large flower out of a piece of White Soft Finish Cardstock. Using a blending tool with foam, blend Worn Lipstick Distress Ink over the entire surface of the flower. I didn't use the die cut flower centre.
Fold the mushroom in half to create the mushroom card.
Adhere the chimney to the top right side of the plain mushroom as desired. Adhere the plain mushroom top to the mushroom card. Adhere the large cut out mushroom top to the plain mushroom top.
Adhere the door 3/4" from the left and 1 1/2" from the right of the sides of the mushrooms. Adhere the key hole to the door as desired. Adhere the small window frame to the window on the door. Adhere the other window frame to the plain golden rod window. Adhere the other window 3/8" from the right and 1 1/4" from the bottom of the mushroom.
Adhere the small mushroom top to the small mushroom bottom. Adhere the small cut out mushroom top to the small plain mushroom top. Adhere the small mushroom to the bottom right hand side of the mushroom as desired.
Adhere one of the flower stems to the left of the small mushroom. Adhere a small flower to the stem. Adhere the other flower stem to the left of the door. Foam square the large flower to the stem.
Foam square the grass to the bottom of the mushroom card. Adhere the remaining small pink flowers in amongst the grass as desired.
To finish the card, apply Festive Berries Distress Ink to the Have a Magical Day sentiment from the Once Upon a Time Sentiments Stamp and stamp in the inside middle of the mushroom card.
Here are a few closeup photos of the finished card.
Here is the finished Have a Magical Day Card.
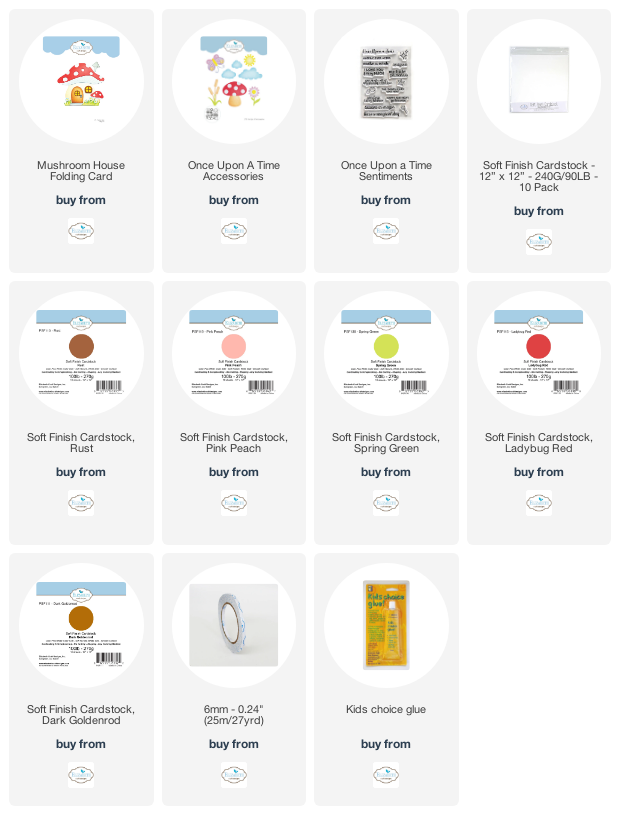
Elizabeth Craft Designs Supplies Used:
Other Supplies Used:
- Tim Holtz for Ranger Ink: Distress Ink - Worn Lipstick, Forest Moss & Festive Berries and Blending Tool with Foam
I hope that my card has inspired you to recreate your own version of my Have a Magical Day Card.
- Katelyn


No comments:
Post a Comment