Happy Tuesday!
For today's project I'm back with a project that's all about bright colours and wishing for some sunnier days with this Here For You Card. To create my card, I've used a variety of dies from the Paper Flower Collection as well as Els van de Burgt Studio and dies and stamps from Joset Designs. You'll want to read below as I have a full tutorial on how to recreate my card at home.

To start, choose a piece of patterned paper out of the Worn Wood Paper Pack. Die cut a 4 3/4" Stitched Indented Square out of the patterned paper.

From a piece of spring patterned paper, die cut a 4 1/2" Fitted Indented Square out of the patterned paper.

Die cut a 4 1/4" Stitched Indented Square out of a piece of White Soft Finish Cardstock.

From the same piece of wood patterned paper, die cut a 2 3/4" Stitched Circle out of the paper. From a second piece of coordinating paper, die cut a 2 1/4" Stitched Circle.

Die cut a 3/4" Diagonal Stitched Fishtail out of a piece of White Soft Finish Cardstock. Cut the fishtail down to 2 1/2". Apply Jet Black Archival Ink to the Here For You Stamp from the Build Your Own Sentiments 1 stamp and stamp on the fishtail side of the banner.

The next two steps use the Florals 8 Die.
You'll need a light green piece of paper. Die cut the large leaf three times and the small leaf once out of green paper.

Choose a piece of blue, pink and yellow patterned paper with plain on the backside. Die cut a large, medium and small flower out of the pink paper. Die cut two large, two medium and two small flower out of the blue paper. Die cut the centres once out of yellow paper. Shape all of the flowers as desired.

Adhere the 4 1/2" square to the 4 3/4" square. Foam square the 4 1/4" square to the 4 1/2" square.

Adhere the 2 1/4" circle to the 2 3/4" circle. Foam square the 2 3/4" circle to the middle of the 4 1/4" square. Adhere the Here For You Fishtail to the middle of the 2 1/4" circle.

Adhere the flowers together along with a centre in each flower.

Adhere one large leaf at the top of the circles. Adhere one large leaf to the bottom left of the circle. Adhere the remaining two leaves to the bottom right hand side of the circle.

Adhere the pink flower to the middle right side of the circles. Adhere a blue flower above and below the pink flower as desired.

To finish the card, cut a cardbase out of White Soft Finish Cardstock that measures 4 3/4" x 9 1/2", score at 4 3/4". Adhere the cardfront to the cardbase.

Here are a few closeup photos of the finished card.


Here is the finished Here For You Card.

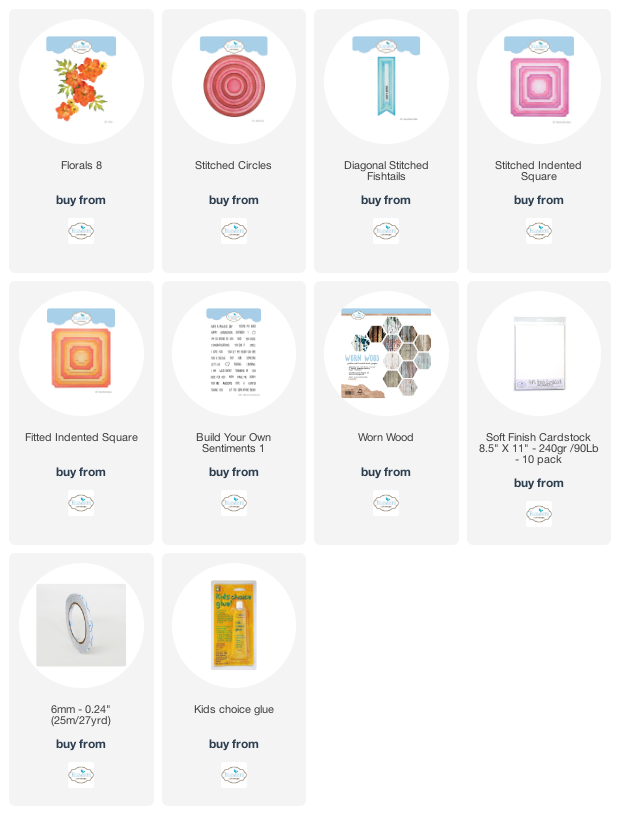
Elizabeth Craft Designs Supplies Used:
Other Supplies Used:
- Ranger Ink: Jet Black Archival Ink
- Graphic 45: Ephemera Queen 12x12 Patterned Paper Pack and Ephemera Queen 12x12 Patterns & Solids Paper Pad
I hope that my card has inspired you to recreate your own version of my Here For You Card.
- Katelyn
No comments:
Post a Comment