Happy Thursday!
Today's post, is all about creating a quick and easy Valentine's Days Card using the Planner Essentials Collection and dies from Joset Designs to create this Love Card. You'll want to grab a cup of your favourite beverage and learn how to recreate my card at home.

To start, die cut a 3 1/4" Stitched Indented Square out of a piece of White Soft Finish Cardstock. Sprinkle Red and Coral Magenta Nuance on the square. Spritz the powder with water.

Once the square has dried, apply Jet Black Archival Ink to the splatter stamp from the Planner Essentials - Background Stamp 2 and stamp randomly on the square. Reapply ink to the stamp and stamp randomly four more times on the square. Distress the edges of the square. Ink the edges of the square using Black Soot Distress Ink and a blending tool with foam.

From the Worn Wood Paper Pack and the Summer Art Paper Pack, choose a piece of patterned paper out of each pack. Die cut a 3 1/2" Fitted Indented Square out of the worn wood patterned paper. Die cut a 3 3/4" Stitched Indented Square out of the patterned paper piece from the summer art paper pack. Distress the edges of both squares. Ink the edges of the two squares using Black Soot Distress Ink and a blending tool with foam.

The next two steps use the Planner Essentials 20 - Half Heart Page Set.
You'll need the plain light bulb and the heart light bulb. Die cut the plain light bulb out of White Soft Finish Cardstock. Die cut the heart light bulb out of Pink Peach Soft Finish Cardstock.

Die cut the Love Word with the heart in the middle of the O out of the same patterned paper you die cut the 3 3/4" square out of. You'll only need the L, V and E.

From the Art Journal - Winter Home Pocket, you'll need to die cut the three hearts out of White Soft Finish Cardstock.

Adhere the 3 1/4" square to the 3 1/2" square. Foam square the 3 1/2" square to the 3 3/4" square.

Adhere the heart light bulb to the plain bulb. Place the L, lightbulb, V and E. Adhere the V and E first. Foam square the lightbulb next. Adhere the L last.

Adhere the three white hearts as desired around the 3 1/4" square.

To finish the card, cut a cardbase out of White Soft Finish Cardstock that measures 3 3/4" x 7 1/2", score at 3 3/4". Adhere the cardfront to the cardbase.

Here are a few closeups of the finished card.


Here is the finished Love Card.

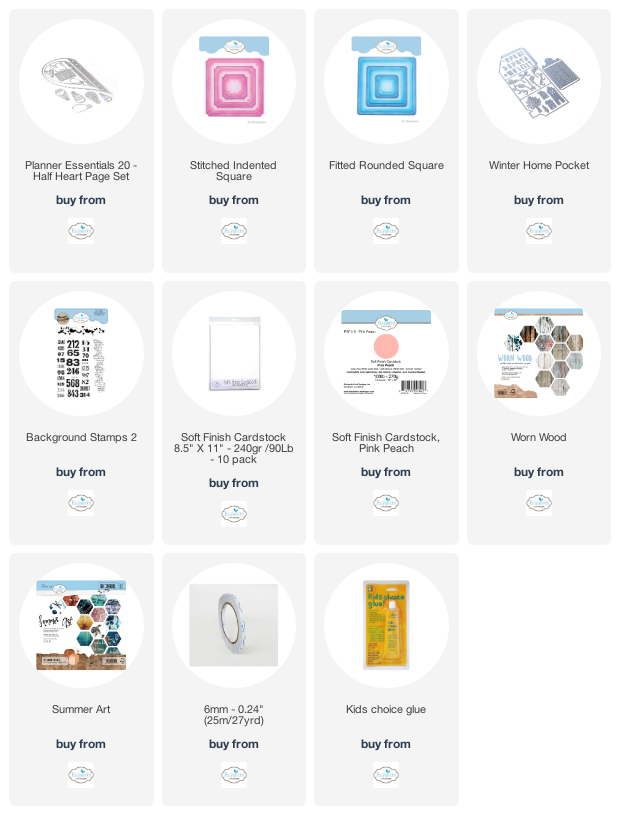
Elizabeth Craft Designs Supplies Used:
Other Supplies Used:
- Tim Holtz for Ranger Ink: Distress Ink - Black Soot and Blending Tool with Foam
- Ranger Ink: Jet Black Archival Ink
- Magenta Nuance: Red and Coral
Thanks so much for joining me today and I hope that I have inspired you to recreate your own version of my Love Card.
- Katelyn
No comments:
Post a Comment