Happy Sunday!
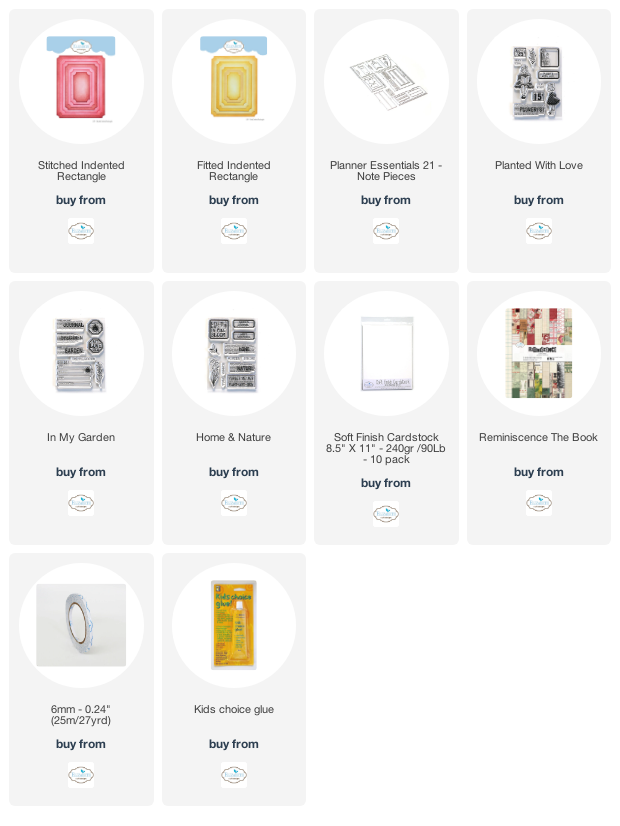
Today's post, is all about this Planted With Love Card. My card uses dies from the Planner Essentials Collection and Joset Designs as well as stamps from the Sidekick Essentials Collection. You'll want to grab a cup of your favourite beverage and learn how to recreate my card at home.

To start, choose two pieces of patterned paper out of the Reminiscence the Book. From the first patterned paper, die cut a 3 1/2" Stitched Indented Rectangle. From the second piece of patterned paper, die cut a 3" Stitched Indented Rectangle. Ink the edges of both rectangles using Walnut Stain Distress Ink and a blending tool with foam.

From a piece of kraft cardstock, die cut a 3 1/4" Fitted Indented Rectangle. Ink the edges of the rectangle using Walnut Stain Distress Ink and a blending tool with foam.

From the Planner Essentials 21 - Note Pieces die, you'll need the 1 1/2" note piece. Choose another piece of patterned paper out of the Reminiscence the Book. Die cut the note piece out of the patterned paper. Ink the edges of the note piece using Walnut Stain Distress Ink and a blending tool with foam.

From the Sidekick Essentials - In My Garden Stamp Set, you'll need the bee hexagon stamp. Apply Wild Honey Distress Ink to the stamp and stamp onto a piece of White Soft Finish Cardstock. Fussy cut the hexagon out. Ink the edges of the hexagon using Walnut Stain Distress Ink and a blending tool with foam.

From the Sidekick Essentials - Planted With Love Stamp Set, you'll need the square, 15 cents and planted with love stamps. Apply Fired Brick Distress Ink to the square stamp and stamp onto a piece of White Soft Finish Cardstock. Apply Detail Black Ink to the 15 cents and Planted with love stamps and stamp onto a piece of kraft cardstock. Fussy cut the square, 15 cents and planted with love pieces out. Ink the edges of the pieces using Walnut Stain Distress Ink and a blending tool with foam.

From the Sidekick Essentials - Home & Nature Stamp Set, you'll need the Forget Me Not stamp. Apply Forest Moss Distress Ink to the stamp and stamp onto a piece of White Soft Finish Cardstock. Fussy cut the forget me not rectangle out. Ink the edges of the rectangle using Walnut Stain Distress Ink and a blending tool with foam.

Adhere the 3 1/4" rectangle to the 3 1/2" rectangle. Foam square the 3" rectangle to the 3 1/2" rectangle.

Adhere the note piece 1/2" from the bottom and 1/8" from the right of the 3" rectangle. Adhere the forget me not rectangle 1/2" from the right and 3/4" from the bottom of the 3" rectangle.

Adhere the 15 cents underneath the forget me not rectangle. It will sit just above the orget. Adhere the bee hexagon to the left of the 15 cents and forget me not rectangle.

Foam square the flower square 1/4" from the bottom and all the way to the left hand side of the 3" rectangle. Use adhesive and foam squares to adhere the planted with love sentiment 1 3/8" from the right and 1/2" from the bottom of the 3" rectangle.

To finish the card, cut a cardbase out of White Soft Finish Cardstock that measures 4 3/4" x 7", score at 3 1/2". Adhere the cardfront to the cardbase.

Here are a few closeup photos of the finish card.


Here is the finished Planted With Love Card.

Elizabeth Craft Designs Supplies Used:
Other Supplies Used:
- Tim Holtz for Ranger Ink: Distress Ink - Walnut Stain, Fired Brick, Forest Moss & Wild Honey and Blending Tool with Foam
- Pink Fresh: Detail Black Ink
- Misc: Kraft Cardstock
Thanks so much for joining me today and I hope that I have inspired you to recreate your own version of my Planted With Love Card.
- Katelyn
No comments:
Post a Comment