Showing posts with label Pam Bray. Show all posts

Wednesday, September 22, 2021

Toil & Trouble Card

 I have one more post to share with you today.

I'm up on Wild Whisper's blog today, where I'm sharing my Toil & Trouble Card. The card features the Halloween Night Paper Pack and Pam Bray Designs - Fall/Halloween Paper Pack.


For all the details and a full tutorial on my card, you'll want to stop by the Wild Whisper blog. You'll want to make sure to keep checking out Wild Whisper's blog as the design team will be sharing lots of inspiration.

- Katelyn


Wednesday, July 28, 2021

Simple Pleasures Feed the Soul! Wall Hanging

   Happy Wednesday!

I'm up on Wild Whisper's blog today, where I'm sharing my Simple Pleasures Feed the Soul! Wall Hanging. The wall hanging features the Simplicity Collection by Pam Bray Designs.


For all the details and a full tutorial on my wall hanging, you'll want to stop by the Wild Whisper blog. You'll want to make sure to keep checking out Wild Whisper's blog as the design team will be sharing lots of inspiration.

- Katelyn


Wednesday, June 16, 2021

Dad Card

  Happy Wednesday!

Father's Day is right around the corner and I'm up on Wild Whisper's blog today, where I'm sharing my Dad Card. The card features the Nature's Bliss Collection from Pam Bray Designs, the Brush Letters Stamp Set and the card pack from the Where to Next? Collection.


For all the details and a full tutorial on my card, you'll want to stop by the Wild Whisper blog. You'll want to make sure to keep checking out Wild Whisper's blog as the design team will be sharing lots of inspiration.

- Katelyn


Wednesday, May 19, 2021

Sweet Little One Tag

 Happy Wednesday!

I'm up on Wild Whisper's blog today, where I'm sharing my Sweet Little One Tag. The tag features the digital printable for the Sweet Little One Collection as well as sequins from the Where to Next? Collection and the Honeycomb Flair Stencil from Pam Bray Designs.


For all the details and a full tutorial on my tag, you'll want to stop by the Wild Whisper blog. You'll want to make sure to keep checking out Wild Whisper's blog as the design team will be sharing lots of inspiration.

- Katelyn


Wednesday, May 5, 2021

It's the Little Memories Card

Happy Wednesday!

I'm up on Wild Whisper's blog today, where I'm sharing my It's the Little Memories Card. The card features the Where to Next? Collection as well as a stamp set from Pam Bray Designs.


For all the details and a full tutorial on my card, you'll want to stop by the Wild Whisper blog. You'll want to make sure to keep checking out Wild Whisper's blog as the design team will be sharing lots of inspiration.

- Katelyn


Wednesday, March 24, 2021

Let Your Feet Wander Wall Hanging

 Happy Wednesday!

I'm up on Wild Whisper's blog today, where I'm sharing my Let Your Feet Wander Wall Hanging. The wall hanging features the No Place Like Home Collection as well as stamps from the Floral Collection, Where to Next? and the Riverbed stamp from Pam Bray.


For all the details and a full tutorial on my wall hanging, you'll want to stop by the Wild Whisper blog. You'll want to make sure to keep checking out Wild Whisper's blog as the design team will be sharing lots of inspiration.

- Katelyn


Wednesday, January 27, 2021

Play In the Sun Wall Hanging

 Happy Wednesday!

I'm up on Wild Whisper's blog today, where I'm sharing my Play In the Sun Wall Hanging. The wall hanging features the new Carefree Collection as well as stamps from the Live in the Moment 4x6 Stamp Set by Pam Bray Designs.


For all the details and a full tutorial on my wall hanging, you'll want to stop by the Wild Whisper blog. You'll want to make sure to keep checking out Wild Whisper's blog as the design team will be sharing lots of inspiration.

- Katelyn


Friday, December 18, 2020

Merry Gift Box

 Happy Friday!

I'm up on Wild Whisper's blog today, where I'm sharing this quick an easy Merry Gift Box perfect for wrapping a small gift in. The gift box features Pam Bray's Winter and Christmas Paper Collection.


For all the details and a full tutorial on my gift box, you'll want to stop by the Wild Whisper blog. You'll want to make sure to keep checking out Wild Whisper's blog as the design team will be sharing lots of inspiration.

- Katelyn


Friday, November 20, 2020

It's the Little Memories Mixed Media Tag

 Happy Friday!

I'm up on Wild Whisper's blog today, where I'm sharing my It's the Little Memories Mixed Media Tag. The tag features some products from Pam Bray, Nicole Wright and the Floral Collection. 


For all the details and a full tutorial on my tag, you'll want to stop by the Wild Whisper blog. You'll want to make sure to keep checking out Wild Whisper's blog as the design team will be sharing lots of inspiration.

- Katelyn


Friday, November 6, 2020

Enjoy the Day Friend Card

 Happy Friday!

I'm up on Wild Whisper's blog today, where I'm sharing my Enjoy the Day Friend Card. The card features a variety of products from Pam Bray's newest collection Simplicity.


For all the details, more photos and a full tutorial on my card, you'll want to stop by the Wild Whisper blog. You'll want to make sure to keep checking out Wild Whisper's blog as the design team will be sharing lots of inspiration.

- Katelyn


Friday, October 9, 2020

Hi Tag

  Happy Friday!

I'm up on Wild Whisper's blog today, where I'm sharing my mixed media Hi Tag. The tag features a variety of stamps by Nicole Wright and Wild Whisper, the Circlet Stencil by Nicole Wright as well as Bronzed Anther Embossing Powder by Pam Bray. 


For all the details, more photos and a full tutorial on my tag, you'll want to stop by the Wild Whisper blog. You'll want to make sure to keep checking out Wild Whisper's blog as the design team will be sharing lots of inspiration.

- Katelyn


Saturday, August 29, 2020

Noted Sidekick Essentials Planner Page

  Happy Saturday! 


For today's post, I've created this Noted Sidekick Essentials Planner Page which features the Planner Essentials and Sidekick Essentials Collection. You'll want to grab a cup of your favourite beverage and learn how to recreate my Planner Page at home.


To start, die cut the page from the Sidekick Essentials 2 Die out of White Soft Finish Cardstock. Spritz water at the bottom right hand corner of the page. Spritz Pure Sunshine, Cherry Pie and Rose Quartz Dylusions Ink Spray in the bottom right corner. Remove the excess ink with a piece of paper towel. Allow the spritz area to dry. Once dry, apply Jet Black Archival Ink to the script stamp from the Background Stamps 2 and stamp randomly on the page as desired five times. Reapply ink to the stamp as needed. Ink the edges of the page using Black Soot Distress Ink and a blending tool with foam.


From a piece of patterned paper, die cut the small note piece from the Planner Essentials 21 - Note Pieces die. Ink the edges of the note piece using Black Soot Distress Ink and a blending tool with foam.


From the Sidekick Essentials 1 die, die cut the noted word out of kraft cardstock. Cut the noted word out so that it measures 3/4" x 2 3/8". Ink the edges of the word rectangle.


Die cut the stitched label from the Planner Label die out of black cardstock.


Die cut the number Planner Patterns out of White Soft Finish Cardstock.


From the Planner Essentials 24 - Photo Frame Pages die, die cut the film strip out of kraft cardstock.


Die cut the arrow strip from the Planner Essentials 22 - Planner Pocket 4 - Top Loading die out of black cardstock.


From the Sidekick Essentials 5 die, you'll need the plain rectangle and the & sign. Die cut the plain rectangle out of black cardstock. Die cut the & sign out of Bright Orange Soft Finish Cardstock. Ink the edges of the & sign using Black Soot Distress Ink and a blending tool with foam.


From the Sidekick Essentials 8 die, you'll need the stitched rectangle and the & reinforcements. Die cut the stitched rectangle out of vellum. Die cut the & reinforcements out of black cardstock. You'll need a total of 6 & reinforcements.


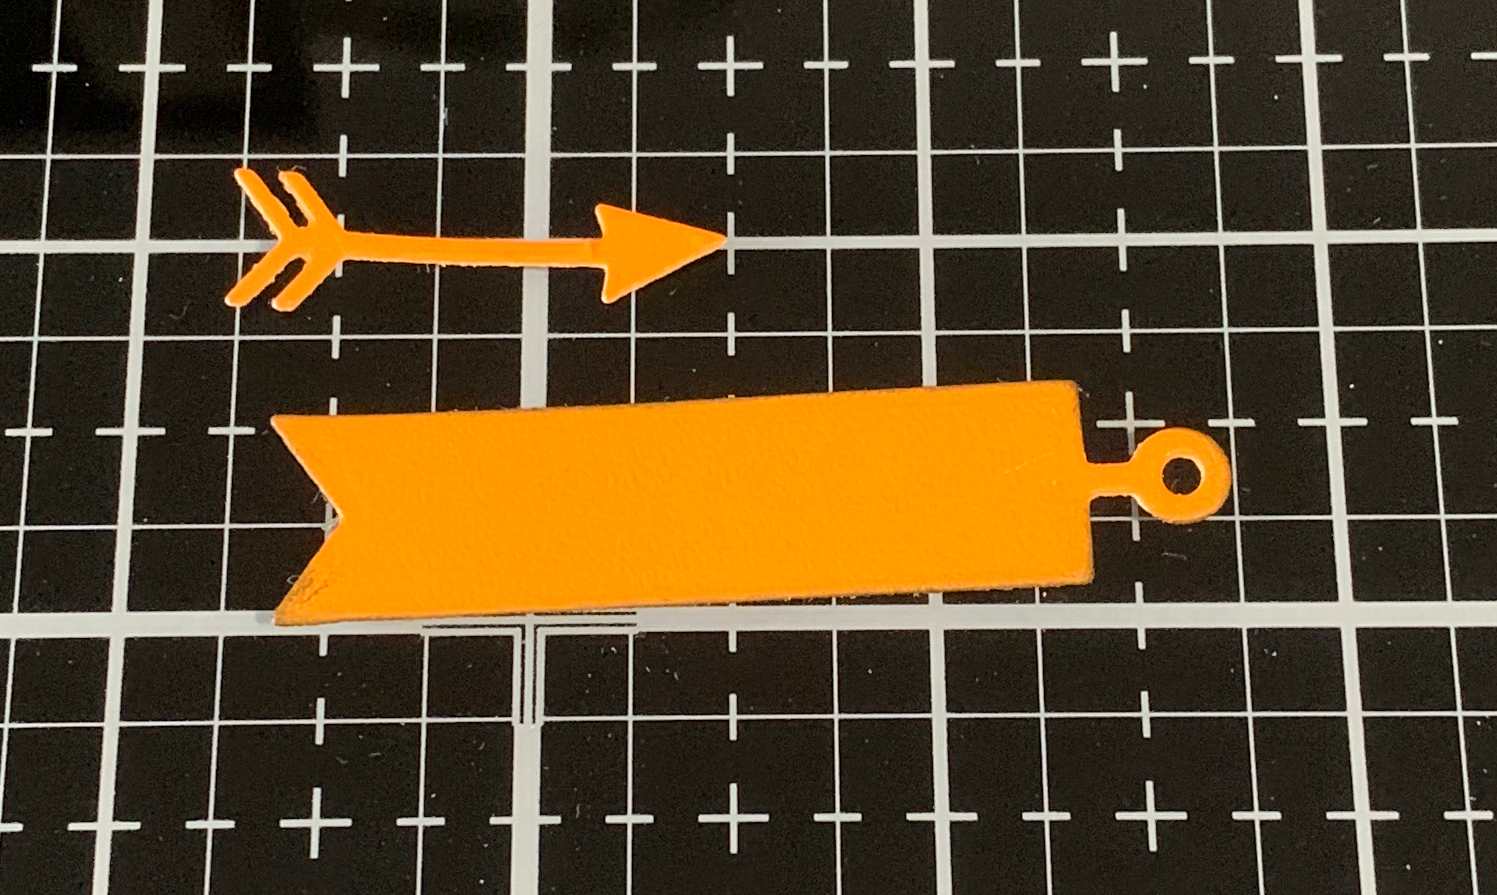
Die cut the arrow and pennant label from the Sidekick Essentials 3 die out of Bright Orange Soft Finish Cardstock. Ink the edges of the pennant label using Black Soot Distress Ink and a blending tool with foam.


Adhere the & reinforcements over top of the holes on the page.


Foam square the black rectangle 5/8" from the right and 3/8" from the bottom of the page. Adhere the stitched rectangle to the middle of the black rectangle. Adhere the patterned paper note piece 1/4" from the right and 1 1/4" from the bottom of the page.


Adhere the pennant label 1/4" from the right and 1 3/4" from the top of the page. Adhere the & sign 5/8" from the left and 2" from the bottom of the page. Staple the film strip and arrow strip to the number background as desired. Adhere the number background 1/4" from the right and 3/4" from the bottom of the page.


Adhere the noted word to the planner label. Staple the arrow underneath the noted word as desired. Use foam squares to adhere the noted word label 1 3/8" from the bottom and 1/8" from the right of the page.


Here are a few closeup photos of the page.


Here is the finished Noted Sidekick Essentials Planner Page.


Elizabeth Craft Designs Supplies Used:


Other Supplies Used:

- Tim Holtz for Ranger Ink: Distress Ink - Black Soot and Blending Tool with Foam
- Dylusions for Ranger Ink: Ink Spray - Pure Sunshine, Cherry Pie & Rose Quartz
- Ranger Ink: Jet Black Archival Ink
- Emerald Creek Craft Supplies: Pam Bray Digital Paper - Grey Barnwood

Thanks so much for joining me today and I hope that I have inspired you to recreate your own version of my Noted Sidekick Essentials Planner Page.

- Katelyn