Showing posts with label Planner Page. Show all posts

Sunday, April 11, 2021

Specimen Planner Page

  Happy Sunday!

I'm up on the Elizabeth Craft Designs blog today, where I'm sharing my Specimen Planner Page. My planner page features dies from the new Sidekick Essentials Release.


For a full tutorial on my Specimen Planner Page, you'll want to head over to the Elizabeth Craft Designs blog for all the details. 

- Katelyn


Saturday, August 29, 2020

Noted Sidekick Essentials Planner Page

  Happy Saturday! 


For today's post, I've created this Noted Sidekick Essentials Planner Page which features the Planner Essentials and Sidekick Essentials Collection. You'll want to grab a cup of your favourite beverage and learn how to recreate my Planner Page at home.


To start, die cut the page from the Sidekick Essentials 2 Die out of White Soft Finish Cardstock. Spritz water at the bottom right hand corner of the page. Spritz Pure Sunshine, Cherry Pie and Rose Quartz Dylusions Ink Spray in the bottom right corner. Remove the excess ink with a piece of paper towel. Allow the spritz area to dry. Once dry, apply Jet Black Archival Ink to the script stamp from the Background Stamps 2 and stamp randomly on the page as desired five times. Reapply ink to the stamp as needed. Ink the edges of the page using Black Soot Distress Ink and a blending tool with foam.


From a piece of patterned paper, die cut the small note piece from the Planner Essentials 21 - Note Pieces die. Ink the edges of the note piece using Black Soot Distress Ink and a blending tool with foam.


From the Sidekick Essentials 1 die, die cut the noted word out of kraft cardstock. Cut the noted word out so that it measures 3/4" x 2 3/8". Ink the edges of the word rectangle.


Die cut the stitched label from the Planner Label die out of black cardstock.


Die cut the number Planner Patterns out of White Soft Finish Cardstock.


From the Planner Essentials 24 - Photo Frame Pages die, die cut the film strip out of kraft cardstock.


Die cut the arrow strip from the Planner Essentials 22 - Planner Pocket 4 - Top Loading die out of black cardstock.


From the Sidekick Essentials 5 die, you'll need the plain rectangle and the & sign. Die cut the plain rectangle out of black cardstock. Die cut the & sign out of Bright Orange Soft Finish Cardstock. Ink the edges of the & sign using Black Soot Distress Ink and a blending tool with foam.


From the Sidekick Essentials 8 die, you'll need the stitched rectangle and the & reinforcements. Die cut the stitched rectangle out of vellum. Die cut the & reinforcements out of black cardstock. You'll need a total of 6 & reinforcements.


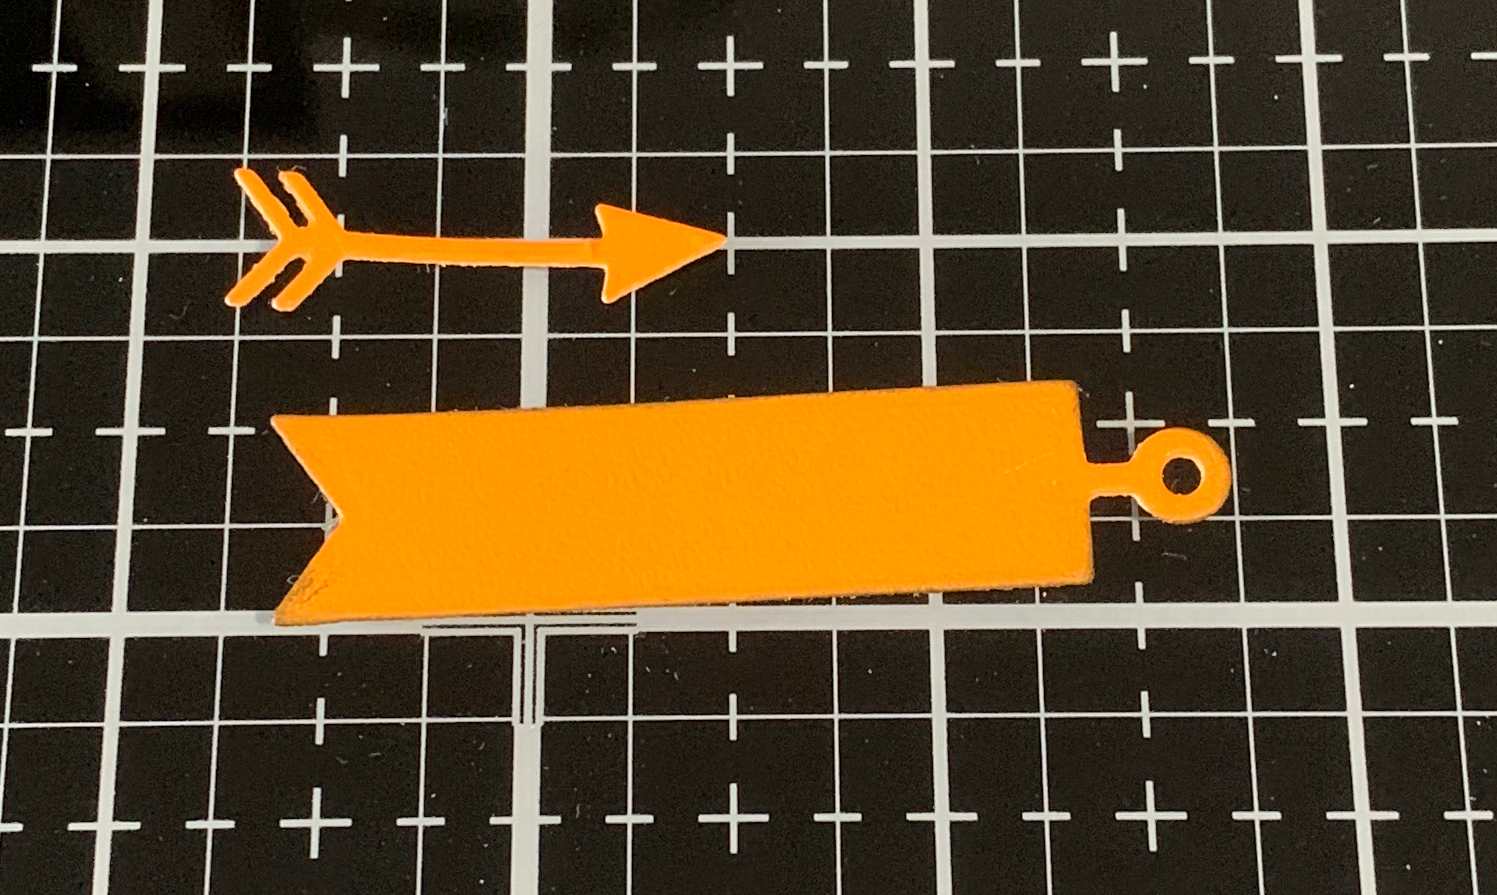
Die cut the arrow and pennant label from the Sidekick Essentials 3 die out of Bright Orange Soft Finish Cardstock. Ink the edges of the pennant label using Black Soot Distress Ink and a blending tool with foam.


Adhere the & reinforcements over top of the holes on the page.


Foam square the black rectangle 5/8" from the right and 3/8" from the bottom of the page. Adhere the stitched rectangle to the middle of the black rectangle. Adhere the patterned paper note piece 1/4" from the right and 1 1/4" from the bottom of the page.


Adhere the pennant label 1/4" from the right and 1 3/4" from the top of the page. Adhere the & sign 5/8" from the left and 2" from the bottom of the page. Staple the film strip and arrow strip to the number background as desired. Adhere the number background 1/4" from the right and 3/4" from the bottom of the page.


Adhere the noted word to the planner label. Staple the arrow underneath the noted word as desired. Use foam squares to adhere the noted word label 1 3/8" from the bottom and 1/8" from the right of the page.


Here are a few closeup photos of the page.


Here is the finished Noted Sidekick Essentials Planner Page.


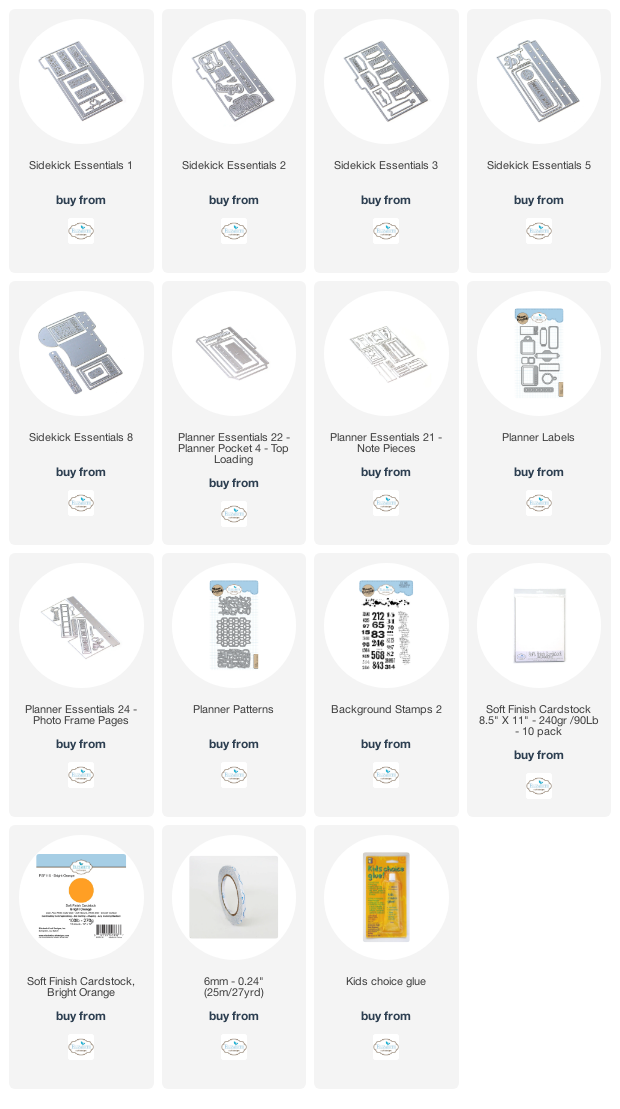
Elizabeth Craft Designs Supplies Used:


Other Supplies Used:

- Tim Holtz for Ranger Ink: Distress Ink - Black Soot and Blending Tool with Foam
- Dylusions for Ranger Ink: Ink Spray - Pure Sunshine, Cherry Pie & Rose Quartz
- Ranger Ink: Jet Black Archival Ink
- Emerald Creek Craft Supplies: Pam Bray Digital Paper - Grey Barnwood

Thanks so much for joining me today and I hope that I have inspired you to recreate your own version of my Noted Sidekick Essentials Planner Page.

- Katelyn


Saturday, August 8, 2020

Inspire Planner Page

 Happy Saturday! 


For today's post, I've created this fun Inspire Planner Page which features the Planner Essentials Collection. You'll want to grab a cup of your favourite beverage and learn how to recreate my Planner Page at home.
To start, die cut the large heart from the Planner Essentials 20 - Half Heart die out of White Soft Finish Cardstock. Choose one of the stencils from the Summer Kit. Place the stencil in the middle of the heart. Sprinkle Magenta Nuance in Hot Pink, Jade and Wisteria over the stencil. Leave the stencil where it is and spritz with water. Remove stencil and allow the stenciled area to dry. Once the stenciled area is dry, ink the edges of the heart using Black Soot Distress Ink and a blending tool with foam.


From the Planner Essentials 21 - Note Pieces die, you'll need the small and medium note piece as well as the stitched curved rectangle. Die cut the medium note piece out of vellum. Die cut the stitched curved rectangle piece out of White Soft Finish Cardstock. Die cut the small note piece out of a piece of patterned paper. Ink the edges of the small note piece and stitched curve rectangle using Black Soot Distress Ink and a blending tool with foam.
From the Planner Essentials 22 - Planner Pocket 3 - Top Loading die, die cut the arrow and reinforcement strips out of White Soft Finish Cardstock. Ink the edges fo the arrows and reinforcement strips using Black Soot Distress Ink and a blending tool with foam.
From the Planner Essentials 26 - Planner Pocket 4 - Tag & Toppers die, you'll need the stitched banner, tab, arrow label and inspire word. Die cut the inspire word out of White Soft Finish Cardstock. Die cut the arrow label out of the patterned paper you used for the small note piece. Choose another piece of patterned paper that coordinates with the previous patterned paper and die cut the stitched banner as well as the tab out of it. Ink the edges of the arrow label, stitched banner and tab using Black Soot Distress Ink and a blending tool with foam.
Next, you'll need the small leaf and heart branch from the Planner Essentials 25 - Double Heart. Die cut the small leaf out of White Soft Finish Cardstock. Choose another piece of coordinating patterned paper and die cut the heart branch out of it.
From the Flower Power die, you'll need three of the flowers or buds. Die cut one bud set out of White Soft Finish Cardstock. Die cut the other bud from the same patterned paper you used for the heart branch. Die cut the third flower from the same patterned paper you die cut the tab and stitched banner out of.
Adhere the reinforcement strips over top of the holes on the heart page.
Foam square the small note piece 3/4" from the left and 1 1/2" from the top of the page. Adhere the stitched curved rectangle 1/2" from the left and 1/4" from the top of the small note piece. Adhere the medium note piece 1 1/4" from the right and 3/4" from the top of the heart. Adhere the tab to the top of the medium note piece as desired. Put a foam square on the back of the tab and adhere to the heart page.
Staple the arrow label to the right side of the arrow. Adhere the arrow and arrow label 2 1/4" from the right and 1" from the top of the heart.
Adhere the buds, flower, heart branch and small leaf as desired over top of the arrow and arrow label. Make sure that you can still see some of the arrows. Staple the inspire word to the stitched banner. 
To finish your page, use adhesive and foam squares to adhere the stitched banner 1 1/2" from the left and 1" from the bottom of the heart.
Here are a few closeup photos of the page.


Here is the finished Inspire Planner Page.


Elizabeth Craft Designs Supplies Used:


Saturday, July 18, 2020

Today Sidekick Planner Page

Happy Saturday! 

For today's post, I've created this pretty Today Sidekick Planner Page which features the Sidekick Collection. To create my page, I've combined a variety of dies from the Planner Essentials Collection and Sidekick Essentials Collection and stamps from Charlene van der Vorst. You'll want to grab a cup of your favourite beverage and learn how to recreate my Sidekick Planner Page at home.


To start, die cut the page from the Sidekick Essentials 6 die out of White Soft Finish Cardstock. Randomly sprinkle Magenta Nuance in Ocean, Turquoise and Hot Pink on the page as desired. Spritz the powder with water. Allow time for the page to dry.


Once the page has dried, apply Jet Black Archival Ink to the grid background stamp from the Make a Wish stamp set and stamp randomly on the page seven times as desired. Reapply ink to the stamp as needed. Ink the edges of the page using Black Soot Distress Ink and a blending tool with foam.


Choose one of the reinforcements from the Reinforcement Variety Pack. Die cut the reinforcements out of a piece of White Soft Finish Cardstock. You'll need a total of six reinforcements.


From the Planner Labels die, die cut the scalloped label out of White Soft Finish Cardstock. Ink the edges of the label using Black Soot Distress Ink and a blending tool with foam.


Die cut the Today word from the Sidekick Essentials 1 die out of black cardstock. Cut the word down to 3/4" x 2 3/8".


Die cut the arrow from the Sidekick Essentials 3 die out of White Soft Finish Cardstock.


Die cut the filmstrip die from the Planner Essentials 24 - Photo Frame Pages out of black cardstock.


From the Planner Essentials 22 - Planner Pocket 3 - Top Loading die, die cut the arrow out of Spring Green Soft Finish Cardstock.


From the Sidekick Essentials 4 die, die cut the large and medium circles out of White Soft Finish Cardstock. Sprinkle Ocean and Turquoise Magenta Nuance on the medium circle. Spritz the powder with water. Once the circle has dried, ink the edges of both circles using Black Soot Distress Ink and a blending tool with foam.


Choose two flowers from the A Field of Flowers Stamp Set. Apply Jet Black Archival Ink to both of them and stamp them onto a piece of White Soft Finish Cardstock. Colour the flowers in using the Watercolors. Fussy cut the flowers out. Ink the edges of the flowers using Black Soot Distress Ink and a blending tool with foam.


Adhere the reinforcements over top of the circles on the page. Staple the filmstrip 5/8" from the left and 1/2" from the bottom of the page. 


Staple the lime green arrow 1/4" from the right of the large circle. Foam square the large circle 1 1/2" from the bottom and all the way to the left hand side of the page. The circle will hang over the edge a bit. Adhere the medium circle to the middle of the large circle. 


Use foam squares and adhesive to adhere the two flowers to the middle of the circles. 


Staple the Today word to the scalloped label. Use adhesive and foam squares to adhere the Today label 1 5/8" from the bottom and 1/2" from the left of the page. Staple the arrow underneath the Today label.


Here are a few closeup photos of the page.


Here is the finished Today Sidekick Planner Page.


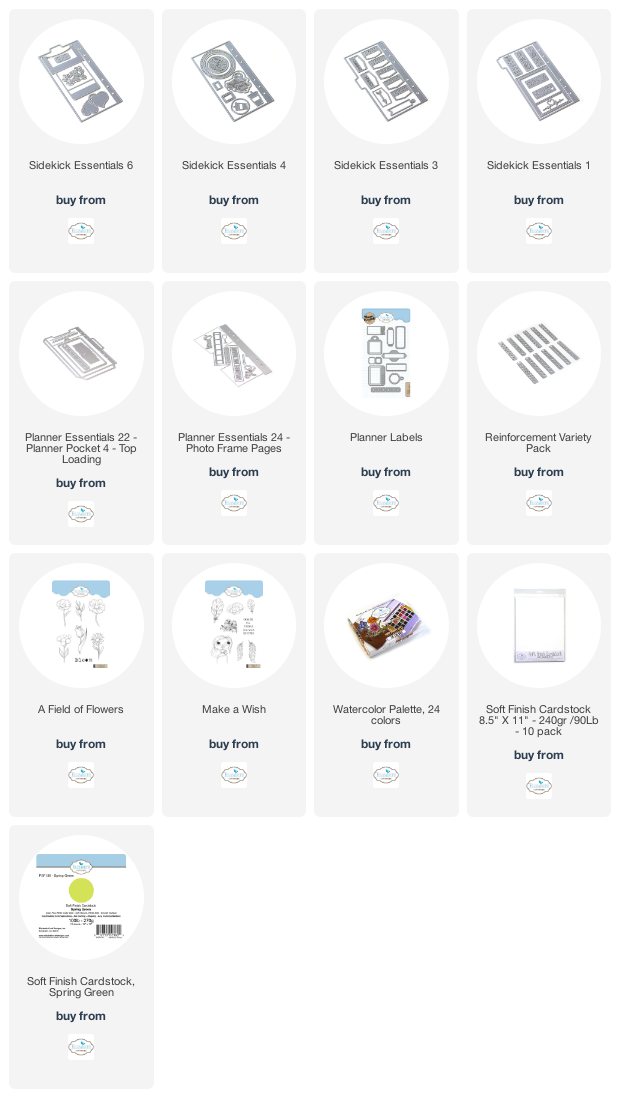
Elizabeth Craft Designs Supplies Used:

Other Supplies Used:

- Ranger Ink: Jet Black Archival Ink
- Tim Holtz for Ranger Ink: Distress Ink - Black Soot and Blending Tool with Foam
- Magenta Nuance: Hot Pink, Ocean and Turquoise
- Misc: Black Cardstock and Mini Stapler

Thanks so much for joining me today and I hope that I have inspired you to recreate your own version of my Today Sidekick Planner Page.

- Katelyn