Wednesday, August 12, 2020

Relax Tag

 Happy Wednesday!


For today's post, I've created this nature inspired Relax Tag. To create the tag, I've used a variety of stamps, dies and stencils from the new release from the Art Journal Specials Collection as well as Joset Designs.  You'll want to read below as I have a full tutorial on how to recreate my tag at home.


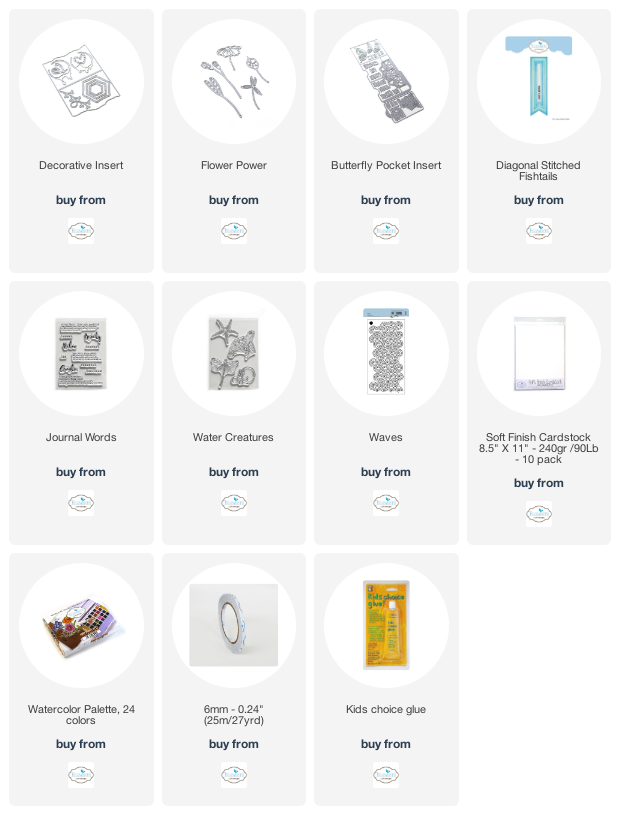
To start, die cut the tag from the Butterfly Pocket Insert Die out of White Soft Finish Cardstock. Place the Waves stencil on the left hand side of the tag. Using a palette knife and Texture Paste Opaque Matte, put the texture paste through the stencil. Remove the stencil and allow the paste to dry. Once the paste has dried, spritz the tag with water and then Distress Spray Stain in Carved Pumpkin, Mermaid Lagoon and Tumbled Glass. Allow the tag time to dry.

Once the tag has dried, apply Jet Black Archival Ink to the bubbles from the Water Creatures stamp set and stamp randomly on the tag five times as desired. Reapply ink the stamp as needed. Ink the edges of the tag using Black Soot Distress Ink and a blending tool with foam.


Die cut a 3/4" Stitched Diagonal Fishtail out of Kraft Cardstock. Cut the fishtail down to 4". Ink the edges of the fishtail using Black Soot Distress Ink and a blending tool with foam.


From the Decorative Insert, you'll need the medium hexagon and the heart branch. Die cut the heart branch out of White Soft Finish Cardstock. Die cut the medium hexagon out of kraft cardstock. Cut the hexagon down to 1 5/8". Ink the edges of the cut hexagon using Black Soot Distress Ink and a blending tool with foam.


From the Flower Power Die, you'll need the two bud branch, the other two bud with the branches attached and one of the single flower buds. Die cut the two bud with the branches attached and one single flower bud out of White Soft Finish Cardstock. Die cut the two bud branch twice out of White Soft Finish Cardstock. Using the Watercolor Palette and a waterbrush, colour a flower bud, one of the two bud branch and a two bud branch with the branch attached. 


Apply Jet Black Archival Ink to the Dragonfly stamp from the Water Creatures stamp set and stamp onto a piece of White Soft Finish Cardstock. Colour the veins in using the Watercolor Palette and a waterbrush. Fussy cut the dragonfly out. Ink the edges of the dragonfly using Black Soot Distress Ink and a blending tool with foam.


Apply Jet Black Archival Ink to the Relax word from the Journal Words stamp set and stamp onto a piece of White Soft Finish Cardstock. Fussy cut the word out. Ink the edges of the word using Black Soot Distress Ink and a blending tool with foam.


Cut a piece of cheesecloth at the desired width and length.


Adhere the 4" fishtail 1/8" from the left of the tag. Adhere the cut hexagon 1/4" from the bottom and all the way to the right hand side of the tag. Adhere the cheesecloth as desired between the fishtail and the hexagon.


Adhere the bud branches and other branches as desired over top of the cheesecloth on the left hand side of the tag.


Adhere the dragonfly to the bottom portion of the buds and branches as desired. Foam square the relax word to the middle inside of the hexagon as desired.


To finish the tag, tie a piece of twine through the hole at the top of the tag.


Here are a few closeup photos of the finished tag.


Here is the finished Relax Tag.


Elizabeth Craft Designs Supplies Used:
 
Other Supplies Used:

- Ranger Ink: Texture Paste Opaque Matte and Jet Black Archival Ink
- Tim Holtz for Ranger Ink: Distress Ink - Black Soot, Distress Spray Stain - Carved Pumpkin, Mermaid Lagoon & Tumbled Glass and Blending Tool with Foam
- Misc: Kraft Cardstock, Twine and Cheesecloth

I hope that my tag has inspired you to recreate your own version at home.

- Katelyn


Sunday, August 9, 2020

Elizabeth Craft Designs August Group Post - Who did you miss over the Summer?

Happy Sunday!

For August's Group Post it's all about Who did you miss over the Summer? For this month's group post, I'm sharing my Miss You Card which is the perfect to send a note to a friend. To create my card, I've used dies and stamps from Joset Designs as well as stamps and dies from the Art Journal Specials Collection. Grab a cup of your favourite summertime beverage and read below as I have a tutorial for you so that you can re-create my Miss You Card at home. You'll also want to make sure to stop by the Elizabeth Craft Designs Blog to check out the rest of the projects.


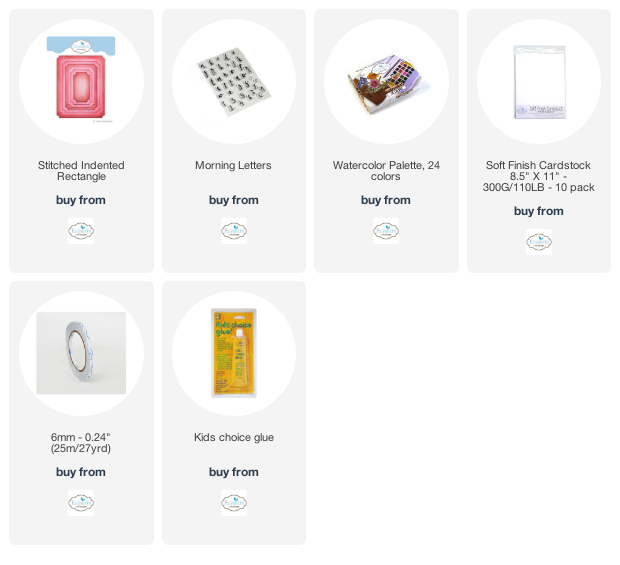
To start, die cut a 4" Stitched Indented Rectangle out of a piece of book page. Distress the edges of the rectangle. Ink the edges of the rectangle using Black Soot Distress Ink and a blending tool with foam.


Die cut a 3 1/2" Stitched Indented Rectangle out of a piece of kraft cardstock. Place the Bloom stencil on the left hand side of the rectangle. Using a palette knife and Texture Paste Opaque Matte, put the texture paste through the stencil. Remove the stencil. Once the stenciled image has dried, distress the edges of the rectangle. Ink the edges of the rectangle using Black Soot Distress Ink and a blending tool with foam.


From the Floral Insert die, die cut three of the flowers out of White Soft Finish Cardstock. Using the Watercolor Palette and a waterbrush, colour the flowers. 


From the Morning Letters stamp set, you'll need the letters to spell out Miss You. Apply Jet Black Archival Ink to stamps and stamp onto a piece of White Soft Finish Cardstock. Once the words are stamped, fussy cut the two words out. Ink the edges of the two words using Black Soot Distress Ink and a blending tool with foam.


Adhere the 3 1/2" stitched indented rectangle to the 4" stitched indented rectangle.


Adhere the three flowers as desired on the left hand side of the 3 1/2" stitched indented rectangle where the stenciled image is.


Foam square the Miss You words to the right of the flowers as desired.


To finish the card, cut a cardbase out of White Soft Finish Cardstock that measures 5 1/2" x 8", score at 4". Adhere the cardfront to the cardbase.


Here are a few closeup photos of the finished card.


Here is the finished Miss You Card.


Elizabeth Craft Designs Supplies Used:


Other Supplies Used:

- Ranger Ink: Jet Black Archival Ink and Texture Paste Opaque Matte
- Tim Holtz for Ranger Ink: Distress Ink - Black Soot and Blending Tool with Foam
- Misc: Bookpage and Kraft Cardstock

Thanks so much for joining me today and I hope that I have inspired you to recreate your own version of my Tropical Vibes Card.

- Katelyn


Saturday, August 8, 2020

Inspire Planner Page

 Happy Saturday! 


For today's post, I've created this fun Inspire Planner Page which features the Planner Essentials Collection. You'll want to grab a cup of your favourite beverage and learn how to recreate my Planner Page at home.
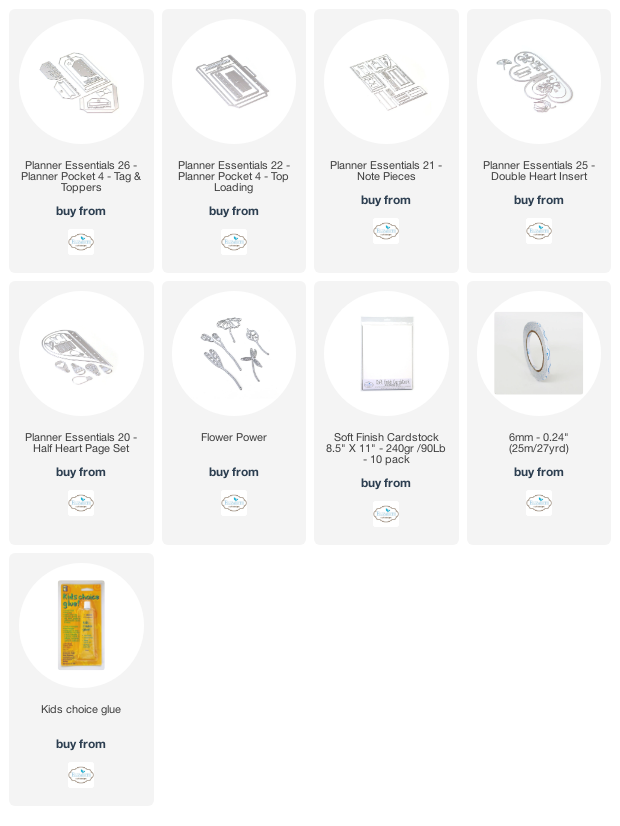
To start, die cut the large heart from the Planner Essentials 20 - Half Heart die out of White Soft Finish Cardstock. Choose one of the stencils from the Summer Kit. Place the stencil in the middle of the heart. Sprinkle Magenta Nuance in Hot Pink, Jade and Wisteria over the stencil. Leave the stencil where it is and spritz with water. Remove stencil and allow the stenciled area to dry. Once the stenciled area is dry, ink the edges of the heart using Black Soot Distress Ink and a blending tool with foam.


From the Planner Essentials 21 - Note Pieces die, you'll need the small and medium note piece as well as the stitched curved rectangle. Die cut the medium note piece out of vellum. Die cut the stitched curved rectangle piece out of White Soft Finish Cardstock. Die cut the small note piece out of a piece of patterned paper. Ink the edges of the small note piece and stitched curve rectangle using Black Soot Distress Ink and a blending tool with foam.
From the Planner Essentials 22 - Planner Pocket 3 - Top Loading die, die cut the arrow and reinforcement strips out of White Soft Finish Cardstock. Ink the edges fo the arrows and reinforcement strips using Black Soot Distress Ink and a blending tool with foam.
From the Planner Essentials 26 - Planner Pocket 4 - Tag & Toppers die, you'll need the stitched banner, tab, arrow label and inspire word. Die cut the inspire word out of White Soft Finish Cardstock. Die cut the arrow label out of the patterned paper you used for the small note piece. Choose another piece of patterned paper that coordinates with the previous patterned paper and die cut the stitched banner as well as the tab out of it. Ink the edges of the arrow label, stitched banner and tab using Black Soot Distress Ink and a blending tool with foam.
Next, you'll need the small leaf and heart branch from the Planner Essentials 25 - Double Heart. Die cut the small leaf out of White Soft Finish Cardstock. Choose another piece of coordinating patterned paper and die cut the heart branch out of it.
From the Flower Power die, you'll need three of the flowers or buds. Die cut one bud set out of White Soft Finish Cardstock. Die cut the other bud from the same patterned paper you used for the heart branch. Die cut the third flower from the same patterned paper you die cut the tab and stitched banner out of.
Adhere the reinforcement strips over top of the holes on the heart page.
Foam square the small note piece 3/4" from the left and 1 1/2" from the top of the page. Adhere the stitched curved rectangle 1/2" from the left and 1/4" from the top of the small note piece. Adhere the medium note piece 1 1/4" from the right and 3/4" from the top of the heart. Adhere the tab to the top of the medium note piece as desired. Put a foam square on the back of the tab and adhere to the heart page.
Staple the arrow label to the right side of the arrow. Adhere the arrow and arrow label 2 1/4" from the right and 1" from the top of the heart.
Adhere the buds, flower, heart branch and small leaf as desired over top of the arrow and arrow label. Make sure that you can still see some of the arrows. Staple the inspire word to the stitched banner. 
To finish your page, use adhesive and foam squares to adhere the stitched banner 1 1/2" from the left and 1" from the bottom of the heart.
Here are a few closeup photos of the page.


Here is the finished Inspire Planner Page.


Elizabeth Craft Designs Supplies Used:


Tuesday, August 4, 2020

Imagine Wall Hanging

Happy Tuesday!

I'm up over on the Elizabeth Craft Designs blog today, where I'm sharing my Imagine Wall Hanging. My wall hanging features a variety of dies from the Art Journal Specials Collection and Joset Designs.


For a full tutorial on my wall hanging, you'll want to head over to the Elizabeth Craft Designs blog for all the details. 

- Katelyn

Monday, August 3, 2020

Falalalala Card

Happy Monday!
I'm up on the Quietfire Design blog today, where I'm sharing my Falalalala Card. My card features a variety of A Way With Words Dies and Modern Gilding Powders.


For a full tutorial of my card, you'll want to head over to Quietfire Design blog for all the details. 

- Katelyn

Saturday, August 1, 2020

Joy Gift Tag

Happy Saturday!

I'm up over on the Elizabeth Craft Designs blog today, where I'm sharing my Joy Gift Tag. My gift tag features a variety of dies and stamps from Suzanne Cannon as well as dies from Els van de Burgt Studio.


For a full tutorial on my gift tag, you'll want to head over to the Elizabeth Craft Designs blog for all the details. 

- Katelyn