Monday, August 13, 2018

Summer Days

Happy Monday! I'm back on Wild Whisper's blog today sharing my Summer Days Scrapbook Layout. To create my project, I used the Lake Life Collection of papers and embellishments.


For all the details, more photos and a full tutorial on my Summer Days Scrapbook Layout, you'll want to stop by the Wild Whisper blog. Make sure to keep on checking out my blog as well as Wild Whisper's blog because myself and the rest of the design team will be sharing lots of projects featuring the One More Chapter Collection as well the Lake Life Collection. 

- Katelyn


Joset Designs Release Day - Happy Hot Chocolate Season

I'm back with a second project for you today. It's a new release day over on the Elizabeth Craft Designs blog, featuring Joset Designs new Christmas die and stamp release. You'll want to stop by the Elizabeth Craft Designs blog to see the rest of the designs team projects featuring her release.

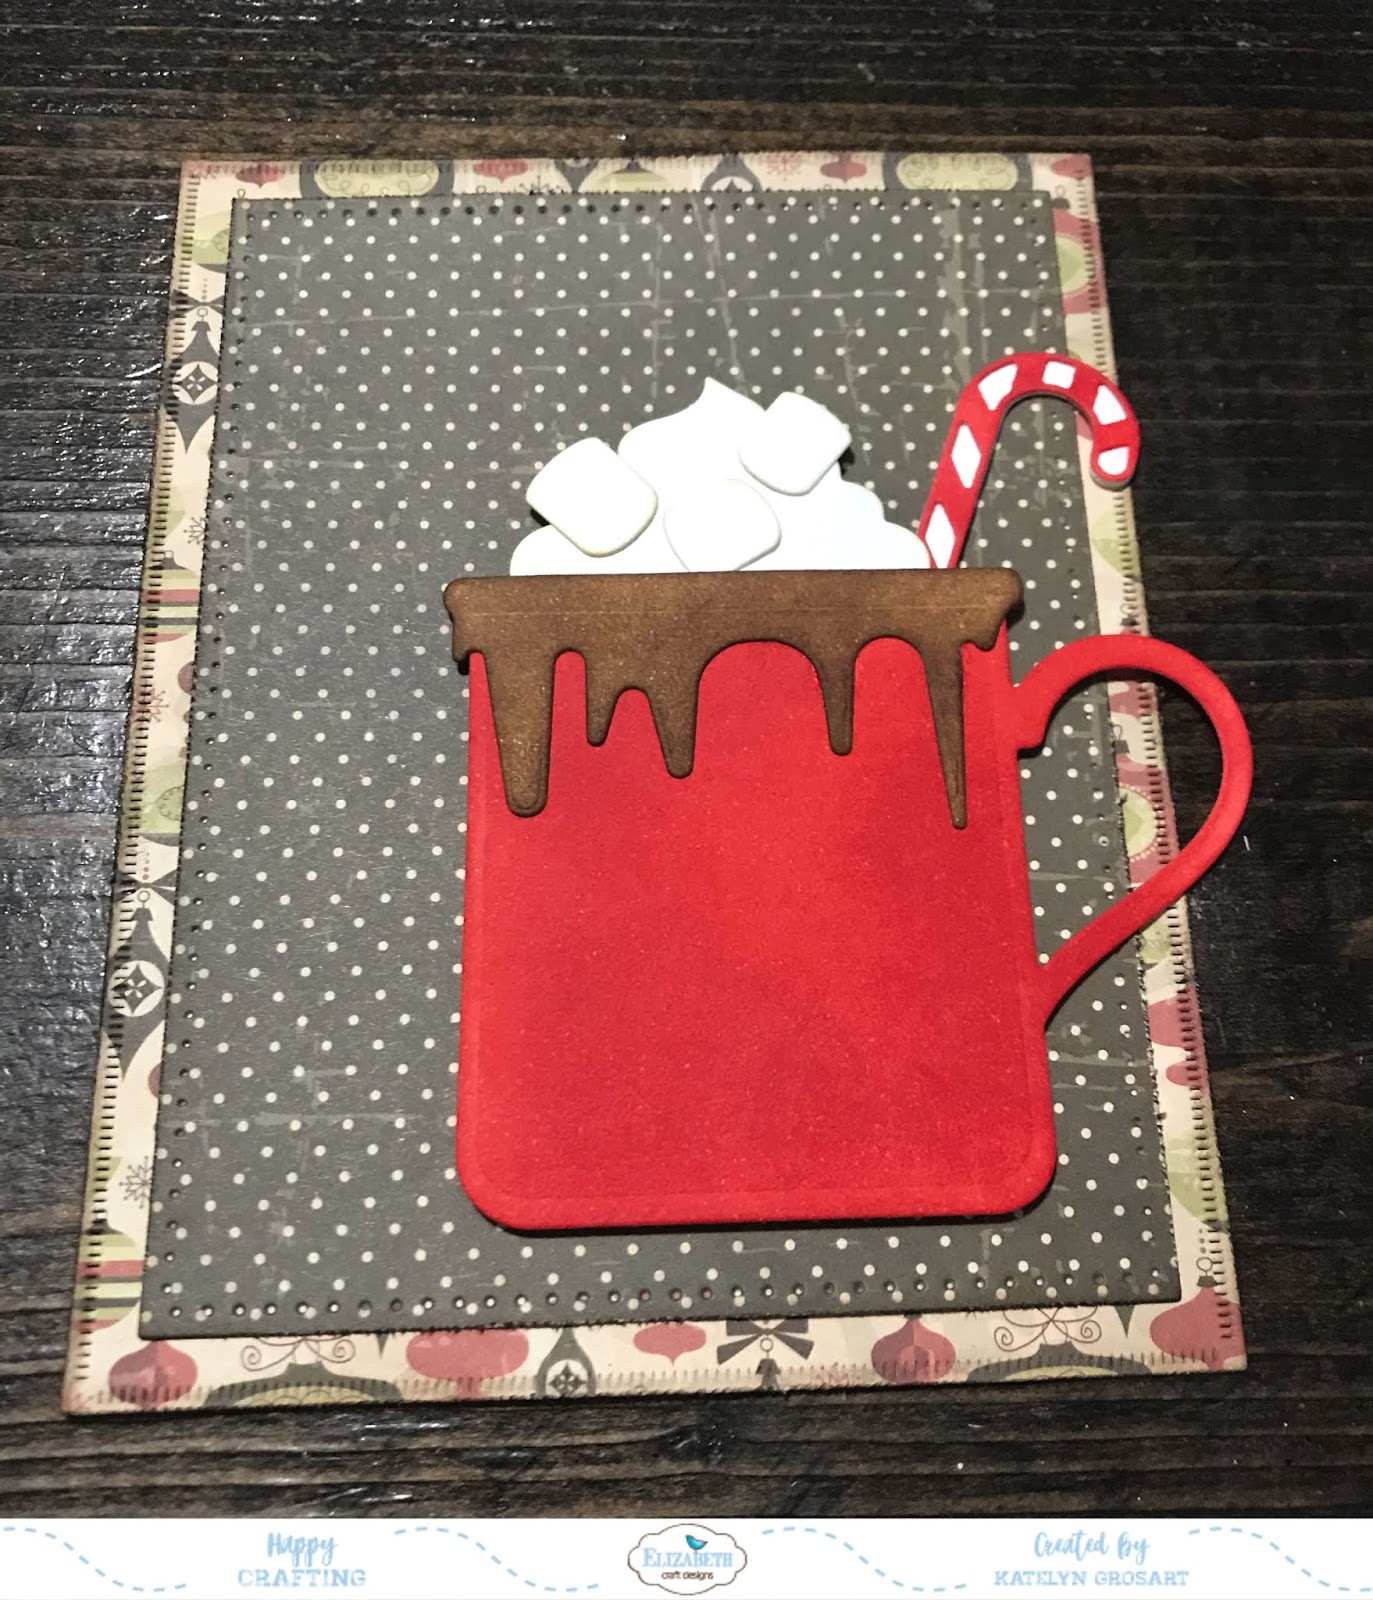
For my project, I featured one of the new dies and stamp set to create my fun Happy Hot Chocolate Season Card. I also have a full tutorial on how to create my card, so grab your favourite Christmas beverage and enjoy!


To start, choose a piece of patterned paper from the Xmas Vintage Paper Pack. Die cut the 4 1/2" Dashing Rectangle die out of the patterned paper piece. Distress the edges of the rectangle. Ink the edges of the patterned paper piece using Ground Espresso Distress Ink and a blending tool with foam.


Next choose one piece of patterned paper. Die cut two 4" Stitched Rectangles out of the patterned paper piece. Die cut the 3 1/2" Stitched Rectangle out of the backside of the same patterned paper piece. Distress the edges of all three rectangles. Ink the edges of all three rectangles using Ground Espresso Distress Ink and a blending tool with foam.


Die cut the 1 1/8" Stitched Fishtail Banner out of a piece of scrap patterned paper. Cut the banner down to 3". Apply Potting Soil Archival Ink to the Happy Hot Chocolate sentiment and stamp onto the banner. Distress the edges of the banner. Ink the edges of the banner using Ground Espresso Distress Ink and a blending tool with foam.


The next steps will be using the Hot Chocolate Die. You'll want to die cut all of the pieces out of White Soft Finish Cardstock. 

Using a blending tool with foam, blend Candied Apple Distress Ink over the entire surface of the cup and cut out candy cane.


Leave the snowflake and plain candy cane white.


Using a blending tool with foam, blend Vintage Photo Distress Ink over the drip marks.


Ink the edges of the marshmallows, the whip cream and steam marks using Antique Linen Distress Ink and a blending tool with foam.


Now it's time for assembly.

Adhere the 4" stitched rectangle patterned paper piece to the 4 1/4" dashing rectangle patterned paper piece.


Adhere the chocolate drip to the cup. Adhere the cut out candy cane to the white candy cane. Adhere the whip cream to the cup. Adhere the candy cane to the right of the whip cream. Adhere the three marshmallows onto the whip cream.


Foam square the hot chocolate cup 3/4" from the right and 5/8" from the bottom of the 4 1/4" dashing rectangle. 


Use foam squares and adhesive to adhere the sentiment stitched banner 3/4" from the bottom and right against the left side of the 4 1/4" dashing rectangle patterned paper.


Adhere the 3 1/2" stitched rectangle to the 4" stitched rectangle. Adhere the snowflake in the bottom right hand corner of the 3 1/2" rectangle.


Cut a cardbase that measures 5 3/4" x 9", score at 4 1/2". Adhere the cardfront to the cardbase.


Adhere the 4" stitched rectangle to the cardbase. To finish off the snowflake, add a transp. glitter/gold dot.


Here's the finished Happy Hot Chocolate Season Card.


Elizabeth Craft Designs Supplies Used:


Other Supplies Used:

- Tim Holtz for Ranger Ink: Distress Ink - Vintage Photo, Ground Espresso, Candied Apple and Antique Linen & Blending Tool with Foam
- Ranger Ink: Potting Soil Archival Ink

- Katelyn


Amazing Scrapbook Layout

I'm up on Southern Ridge Trading Company's blog sharing with you my Amazing Scrapbook Layout. I hope that my layout will inspire you to want to recreate your own version at home.


You'll want to stop by Southern Ridge Trading Company's Blog so that you can learn how to recreate the embellishments for my Amazing Scrapbook Layout at home.

- Katelyn

Tuesday, August 7, 2018

Just Because... Tag

Happy Tuesday! I'm up on the Elizabeth Craft Designs blog today sharing my fun Just Because... Tag. To create my tag I used some dies from Joset Designs and Els van de Burgt Studio as well as a stamp from Krista Schneider.


I have a full tutorial on how I made my tag over on the Elizabeth Crafts Designs Blog. 

- Katelyn

Destiny Card

It's time for a new project over on Quietfire Design's blog today. I'm sharing my Destiny Card that features a variety of Quietfire Designs stamps and  A Way With Words dies.


For a full tutorial and a few more photos of my project, you'll want to head over to Quietfire's blog for all the details. 

- Katelyn

Monday, August 6, 2018

One More Chapter Home Decor Piece

Happy Monday! I'm up on Wild Whisper's blog today sharing my One More Chapter Home Decor Piece. To create my project, I used the new One More Chapter Collection.


For all the details and a full tutorial on my One More Chapter Home Decor Piece, you'll want to stop by the Wild Whisper blog. Make sure to keep on checking out my blog as well as Wild Whisper's blog because myself and the rest of the design team will be sharing lots of projects featuring the One More Chapter Collection as well the Lake Life Collection. 

- Katelyn

Tuesday, July 31, 2018

Grow, Blossom, Bloom Notecard

Happy Tuesday! I'm excited to be sharing with you my Grow, Blossom and Bloom notecard. For my notecard, I featured dies from Els van de Burgt Studio, ModaScrap and Krista Schneider Stamps. You'll want to read below as I share with you how to create my notecard at home.


To start, choose a piece of patterned paper from the Butterfly Dream Patterned Paper Pack. Die cut the 4 1/4" Stitched Square out of the patterned paper piece. Distress the edges of the square. Ink the edges of the square using Black Soot Distress Ink and a blending tool with foam.


With the patterned paper pack still out, choose a second piece from the patterned paper pack. Die cut a 2 1/8" Stitched Circle out of the paper. Distress the edges of the circle. Ink the edges of the circle using Black Soot Distress Ink and a blending tool with foam.


You'll need to choose one more piece from the patterned paper. Die cut the 3/4" Stitched Fishtail Banner out of the paper. With the banner cut out, place the die on the straight end of the banner and run the die back through your die cutting machine. Distress the edges of the banner. Ink the edges of the banner using Black Soot Distress Ink and a blending tool with foam.


From a piece of White Soft Finish Cardstock, die cut a 2 5/8" Stitched Circle. Distress the edges of the circle. Ink the edges of the circle using Black Soot Distress Ink and a blending tool with foam.


On a scrap piece of White Soft Finish Cardstock. Apply Jet Black Archival Ink to the Grow, Bloom and Blossom sentiments from the Garden Party stamp set and stamp onto the piece of cardstock. Cut the three words into three sentiment blocks. Distress the edges of each sentiment block. Ink the edges of the sentiment blocks using Black Soot Distress Ink and a blending tool with foam.


Die cut two Leafy Branch 2's out of White Soft Finish Cardstock. Blend Tumbled Glass Distress Ink over top of each leafy branch using a blending tool with foam.


Die cut one Leafy Branch 1 out of White Soft Finish Cardstock. Blend Stormy Sky Distress Ink over the entire leafy branch using a blending tool with foam.


Die cut a 2 1/8" Stitched Circle out of Watercolour Cardstock. Apply Jet Black Archival Ink to the kitty stamp from the Garden Party Stamp set onto the stitched circle. Watercolour the kitty with following Tombow Markers: 636, 743, 977 and 055. Distress the edges of the circle. Ink the edges of the circle using Black Soot Distress Ink and a blending tool with foam.


Now it's time for assembly.

Adhere the 2 1/8" patterned paper stitched circle to the 2 3/8" white stitched circle. Foam square the 2 3/8" stitched circle 1/2" from the right and 1/2" from the top of the stitched square.


Adhere the banner in the middle of the circles. Adhere all three leafy branches to the top right side of the circle.


Put adhesive at the top of the circle with the kitty and foam squares at the bottom of the same circle. Adhere the circle 1/2" from the left and 1/2" from the bottom of the stitched square.


Adhere the three sentiment blocks to the right of the kitty circle. To finish the card, cut a cardbase that measures 4 1/4" x 8 1/2", score at 4 1/4". Adhere the cardfront to the cardbase.


Here are a few closeup photos of the finished card.


And here's the finished Grow, Blossom, Bloom Notecard.


Elizabeth Craft Designs Supplies Used:

- Leafy Branch 1

Other Supplies Used:

- Ranger Ink: Jet Black Archival Ink
- Tim Holtz for Ranger Ink: Distress Ink- Black Soot, Tumbled Glass & Stormy Sky and Blending tool with Foam
- Tombow Markers: 636, 743, 977 and 055

Thanks for stopping by and checking out my card. I hope that I've inspired you to recreate my Grow, Blossom, Bloom Notecard at home.

- Katelyn