Happy Monday!
We are switching things up on the Elizabeth Craft Designs blog this year and instead of having a designer challenge, we are now having group posts each month. Each month the group post will have a theme and some or all of the design team members will participate. For June's theme it's all about Wedding themed Projects!
Wedding season is in now upon us and sometimes creating for this special occasion can be challenging. For this month's group post, I created this simple, yet pretty, wedding card thats perfect to give to that special couple. To create my card, I've used dies, stamps and patterned paper from ModaScrap as well as dies from Els van de Burgt Studio. Grab your favourite beverage and read below as I have a tutorial for you so that you can re-create my card at home. You'll also want to make sure to stop by the Elizabeth Craft Designs Blog to check out the rest of the team's projects.

To start, die cut the Flowers Lace Frame from the Flowers Lace Frame out of White Soft Finish Cardstock. Cut the Flowers Lace Frame down to 5 1/2" x 5 1/2". Ink the edges of the frame using Black Soot Distress Ink and a blending tool with foam.

From the same Flower Lace Frame, die cut the label out of black cardstock.

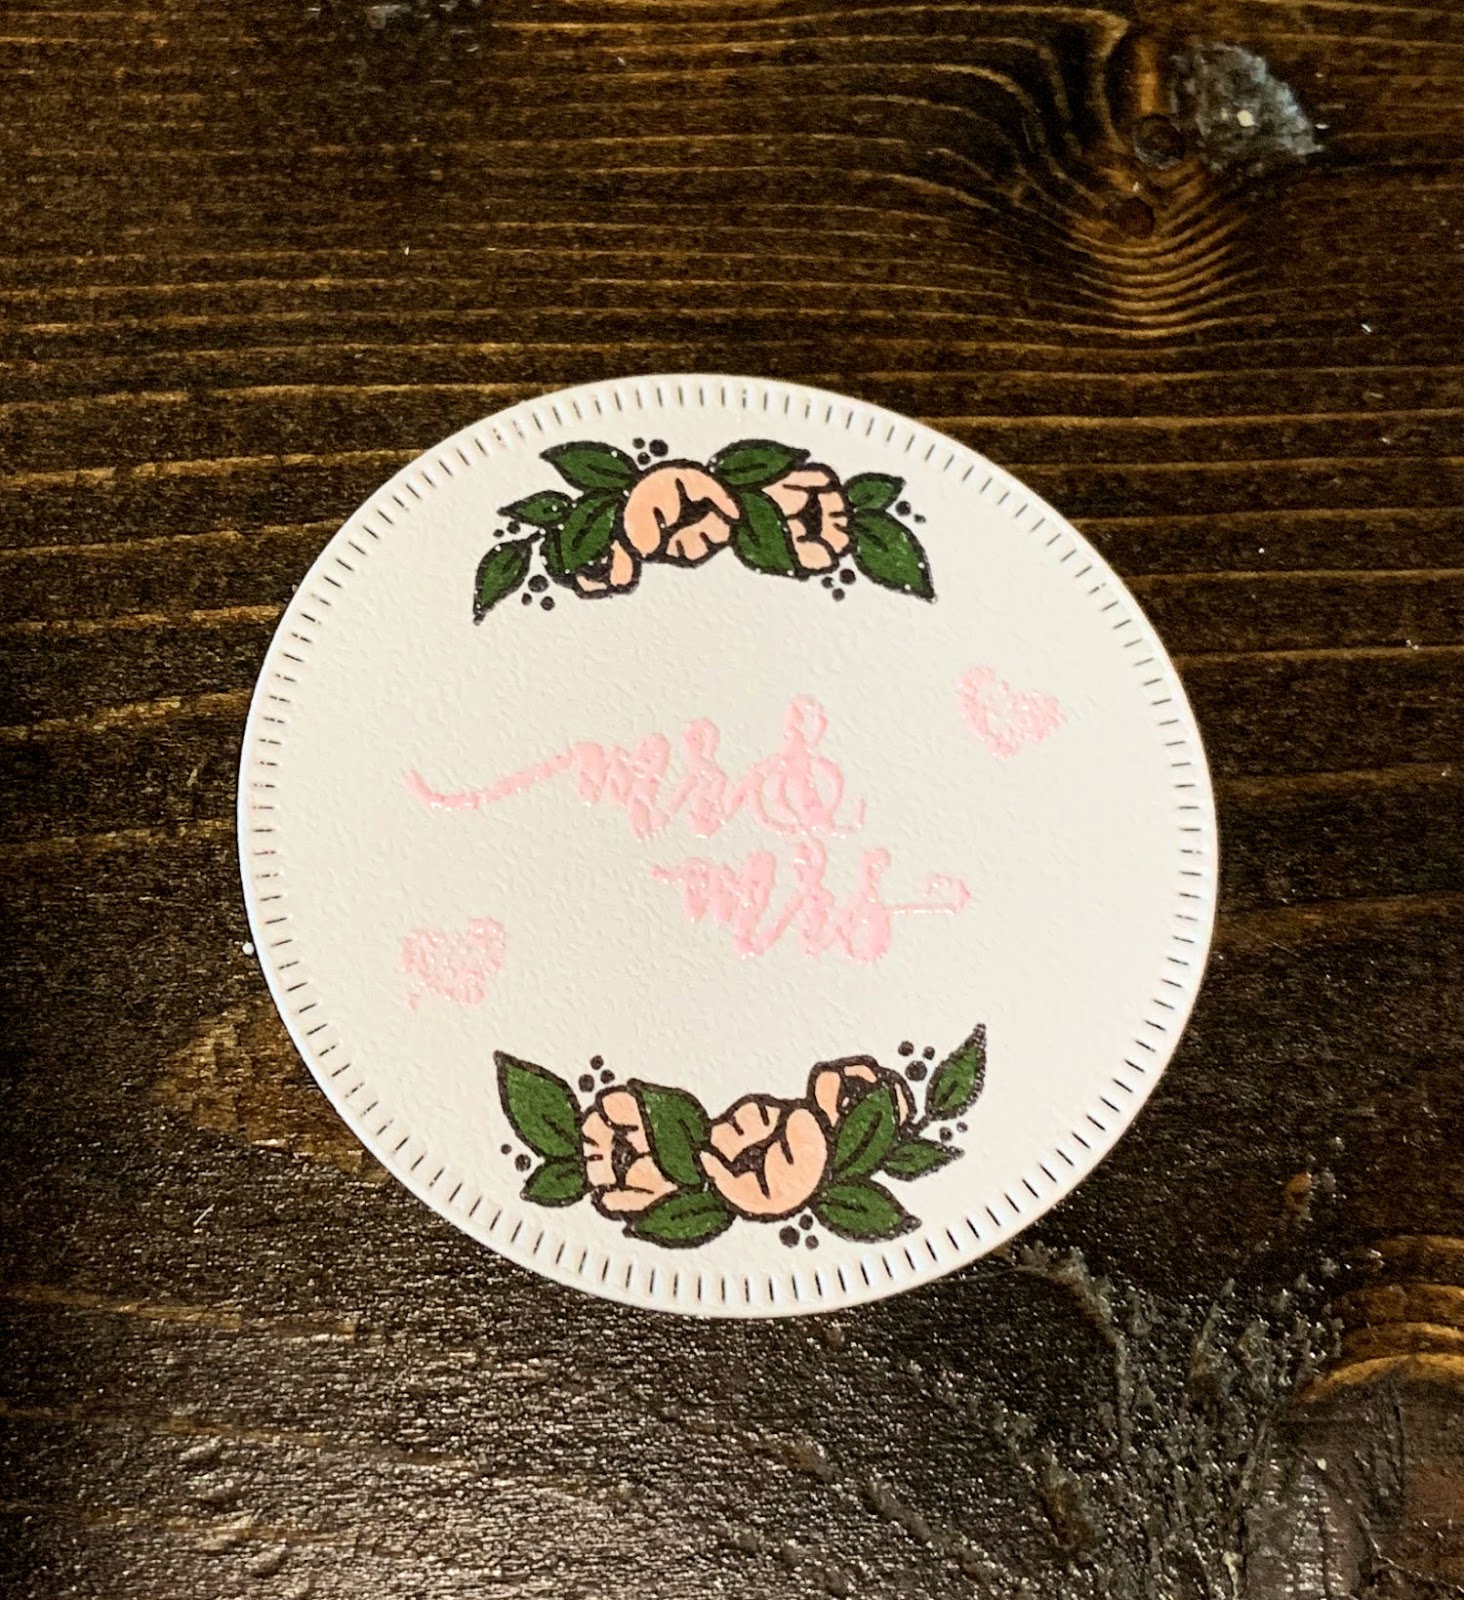
Die cut the 2 1/4" Dashing Circle out of White Soft Finish Cardstock. Place the flower stamp from the Wedding Sentiments stamp onto a block and apply Jet Black Archival Ink to the flower image. Stamp the flower at the top of the circle. Reapply the ink to the flower stamp and stamp the flower at the bottom of the circle. From the same stamp set, you'll need the Mr & Mrs. stamp. Apply Emboss It Ink to the stamp. Stamp the sentiment in the middle of the circle. Sprinkle Pastel Pink Embossing Powder overtop of the sentiment. Tap off the excess powder and emboss with a heat tool. The last stamp you need from the stamp set is the small heart stamp. Apply Emboss It Ink to the stamp. Stamp the heart around the sentiment. Reapply the ink to the heart stamp and stamp again around the sentiment. Sprinkle Pastel Pink Embossing Powder overtop of the two hearts. Tap off the excess powder and emboss with a heat tool. Colour the flowers using Tombow Markers 177 & 850. Ink the edges of the circle using Black Soot Distress Ink and a blending tool with foam.
Cut a piece of White Soft Finish Cardstock to 5 1/2" x 5 1/2". Ink the edges of the square using Black Soot Distress Ink and a blending tool with foam.

From a piece of black cardstock, cut a piece that measures 5 3/4" x 5 3/4".

Choose a piece of patterned paper from the Butterfly Dream Paper Pack. Die cut the 1 1/8" Stitched Fishtail Banner out of the patterned paper piece. Cut the banner down to 4 7/8". Ink the edges of the banner using Black Soot Distress Ink and a blending tool with foam.

Adhere the Flower Lace Frame to the 5 1/2" piece of White Soft Finish Cardstock. Adhere the 5 1/2" piece of White Soft Finish Cardstock to the 5 3/4" black cardstock.

Foam square the black cardstock label to the middle of the flower lace frame. Use adhesive and foam squares to adhere the banner to the middle of the label.

Adhere the circle to the middle of the label, over top of the banner. To finish off the card, cut a card base that measures 5 3/4" x 11 1/2". Adhere the card front to the card base.

Here are a few closeups of the card.


Here's the finished Mr & Mrs. Card.

Elizabeth Craft Designs Products Used:
- ModaScrap: Butterfly Dream Paper Pack
Other Products Used:
- Tim Holtz for Ranger Ink: Distress Ink - Black Soot and Blending Tool with Foam
- Ranger Ink: Emboss It Ink and Jet Black Archival Ink
- Emerald Creek Craft Supplies: Pastel Pink Embossing Powder
- Tombow Markers: 177 & 859
- Misc: Black Cardstock
- Katelyn
No comments:
Post a Comment