Happy Sunday!
For today's post, I've created this Beach Bum Sidekick Planner Page which features the new Sidekick Collection. To create my page, I've combined a variety of dies and stamps from the Planner Essentials Collection and Sidekick Essentials Collection as well as Joset Designs. You'll want to grab a cup of your favourite beverage and learn how to recreate my Sidekick Planner Page at home.

To start, die cut the page from the Sidekick Essentials 6 die out of White Soft Finish Cardstock. Place the Make Your Mark Stencil on the middle of the page. Using a palette knife and texture paste, put the texture paste through the stencil. Move the stencil down and repeat the previous step. Once the paste has dried, spray Distress Spray Stain in Carved Pumpkin, Twisted Citron and Tumbled Glass as desired. Allow time for the page to dry.

With the spray dried, apply Potting Soil Archival Ink to the bubble stamp from the Patterns 2 stamp set and stamp randomly on the page. Reapply ink as needed to the stamp. Stamp a total of seven times. Ink the edges of the page using Walnut Stain Distress Ink and a blending tool with foam.

Die cut a 3/4" Diagonal Stitched Fishtail out of White Soft Finish Cardstock. Cut the fishtail down to 3". Choose a couple of ocean themed patterned papers. Die cut a the 3/4" Diagonal Stitched Fishtail out of one of the patterned papers. Die cut a 1 1/8" Diagonal Stitched Fishtail. Ink the edges of all three fishtails using Walnut Stain Distress Ink and a blending tool with foam.

From the Planner Filmstrip die, die cut the tabbed polaroid frame out of a third piece of coordinating patterned paper. Ink the edges of all three pieces using Walnut Stain Distress Ink and a blending tool with foam.

From the Planner Essentials - 2 die, die cut the small tag out of White Soft Finish Cardstock. Ink the edges of the tag using Walnut Stain Distress Ink and a blending tool with foam.

Die cut a 1 1/2" Stitched Indented Rectangle out of Kraft Cardstock. Ink the edges of the rectangle using Walnut Stain Distress Ink and a blending tool with foam.

Apply Carved Pumpkin Distress Ink to the Beach Bum words from the Splish Splash Sentiment and stamp onto a piece of White Soft Finish Cardstock. Cut the two words in half. Ink the edges of both word strips using Walnut Stain Distress Ink and a blending tool with foam.

From the Sea Weed Die, die cut the three seaweed pieces out of White Soft Finish Cardstock. Using the Watercolor Palette, colour the three seaweed pieces using the waterbrush with the Sap Green and Yellow Green colours. Once the sea weed pieces dry, ink the edges of the pieces using Walnut Stain Distress Ink and a blending tool with foam.

From the Sea Turtle die, die cut the head, shell, eye, tail and fins out of White Soft Finish Cardstock. Using the Watercolor Palette, colour the turtle pieces using the waterbrush with the Sap Green, Dark Brown and Payne's Gray colours. Once the turtle pieces dry, ink the edges of the pieces using Walnut Stain Distress Ink and a blending tool with foam.

Choose one of the reinforcements out of the Reinforcement Variety Pack. Die cut the reinforcement out of White Soft Finish Cardstock. You'll need a total of six reinforcements. Ink the edges of the reinforcements using Walnut Stain Distress Ink and a blending tool with foam.

Cut a piece of cheesecloth.

Adhere the reinforcements overtop of the circles on the page.

Foam square the 1 1/8" fishtail 1 1/2" from the right and 1/2" from the bottom of the page. Adhere the 3/4" patterned paper fishtail 1 1/4" from the right and 3/4" from the bottom of the page. Use adhesive and foam squares to adhere the tag 1/4" from the right and 1 7/8" from the bottom of the page.

Adhere the indented rectangle 7/8" from the right and 1 1/2" from the bottom of the page. Adhere the polaroid frame together. Foam square the polaroid frame 3/4" from the right and 1 3/4" from the bottom of the page. Adhere the last fishtail 1/4" from the left and 1/8" from the top of the polaroid frame.

Adhere the Sea Turtle together.

Adhere the cheesecloth as desired to the middle of the polaroid frame. Use foam squares to adhere the sea weed pieces as desired. Foam square the sea turtle to the middle of the polaroid frame.

Use foam squares to adhere the Beach Bum words to the top left corner of the polaroid frame.

To finish the page, add some white dots using a white gel pen around the page as desired. Add a white dot using a white gel pen on the sea turtle eye.

Here are a few closeup photos of the page.


Here is the finished Beach Bum Sidekick Planner Page.

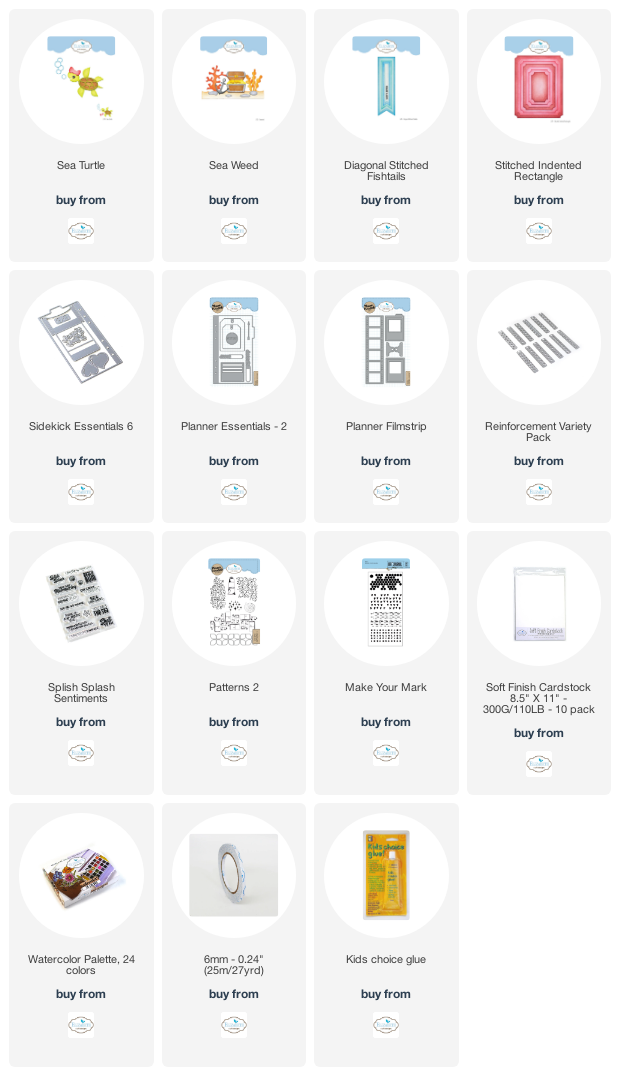
Elizabeth Craft Designs Supplies Used:
Other Supplies Used:
- Tim Holtz for Ranger Ink: Distress Ink - Walnut Stain & Carved Pumpkin, Distress Spray Stain - Carved Pumpkin, Twisted Citron & Tumbled Glass and Blending Tool with Foam
- Ranger Ink: Potting Soil Archival and Texture Paste Opaque Matte
- Graphic 45: Sunkissed Collection
- Misc: Kraft Cardstock and Cheesecloth
Thanks so much for joining me today and I hope that I have inspired you to recreate your own version of my Beach Bum Sidekick Planner Page.
- Katelyn
No comments:
Post a Comment