Happy Thursday!
For today's post, I've created this Creative Freedom Junk Journal Page. To create the junk journal page, I've used a variety of dies, stamps and stencils from the Art Journal Specials Collection. You'll want to read below as I have a full tutorial on how to recreate my junk journal page at home.
To start, you'll need to die cut the page from the Floral Insert die out of cream cardstock. Die cut the page from the Decorative Insert die out of kraft cardstock. Put the two pages together, make sure that you have the cream page on the right and the kraft page on the left.
Apply Jet Black Archival Ink to the wordy/branch stamp out of the Words and Layers stamp set. Stamp the stamp three times on the right hand page as desired. Reapply ink to the stamp as needed. Apply Jet Black Archival Ink to the same stamp out of the Words and Layers stamp set. Stamp the stamp three times on the left hand page as desired. Reapply ink to the stamp as needed. Apply Jet Black Archival Ink to the same stamp out of the Words and Layers stamp set. Stamp the stamp in the middle of both pages. Place the Waves Stencil on the right hand side page and using a palette knife, put Texture Paste Opaque Matte through the stencil. Move the stencil one more time and repeat the previous step. Place the Waves Stencil on the left hand side page and using a palette knife, put Texture Paste Opaque Matte through the stencil. Move the stencil one more time and repeat the previous step.
Once the texture paste has dried, use Prima Marketing Art Alchemey Impasto Paints in Green Apple, Wild Iris and Crimson. Apply to the page as desired using your finger. Allow for the paint to dry.
With the paint dry, ink the edges of the pages using Black Soot Distress Ink and a blending tool with foam.
Next, you'll need the Blooming Branches Die. Die cut the heart branch twice out of a piece of patterned paper from the Worn Wood Paper Pack. Die cut the smaller branch out of a piece of book page.
From the Budding Florals die, die cut the long blossom out of a piece of book page. Die cut the single bud from a piece of kraft cardstock. Ink the edges of the single bud using Black Soot Distress Ink and a blending tool with foam.
Next, you'll need a piece of ribbon that measures 2" wide. Cut the ribbon in half. Trim on piece down to 4" and cut the other one down to 4 1/4".
Die cut the Bubbles die out of a piece of vellum.
From the Floral Insert die, die cut the medium hexagon out of a piece of vellum. Die cut the large hexagon out of a piece of black cardstock. Cut the hexagon down to 2 1/8". Ink the edges of the vellum hexagon using Black Soot Distress Ink and a blending tool with foam.
Next, you'll need the Journal Words Stamp Set. Apply Jet Black Archival Ink to the Create word and stamp onto a piece of White Soft Finish Cardstock. Apply Jet Black Archival Ink to the Creative Freedom stamp and stamp onto the same piece of White Soft Finish Cardstock. Fussy cut the create word out. Cut the Creative Freedom definition into six strips. Ink the edges of the strip and fussy cut word using Black Soot Distress Ink and a blending tool with foam.
We will start with the right hand page.
Staple the bubble die cut the to the middle of the page. Staple the ribbon to the right hand side of the page overtop of the bubbles 1/2" from the bottom of the page.
Adhere the black hexagon 5/8" from the bottom and all the way to the right hand side of the page. Adhere the book page branch and one of the heart branches to the middle of the hexagon.
Adhere the single kraft bud to the middle of the branches. Foam square the create word to the left of the branches and single bud as desired.
We will work on the left hand page now.
Staple the hexagon 3/8" from the bottom and 1/8" from the left of the page. Staple the ribbon 1/4" from the bottom and 1/4" from the left of the page.
Adhere the remaining branch to the middle of the ribbon as desired. Staple the long budding branch down the center of the ribbon.
Adhere the Creative Freedom definition as desired to the right of the hexagon.
Slide the finished pages into your junk journal. Take a white gel pen and add some dots randomly on the two pages as desired. Use the white gel pen to add lines around the Creative Freedom definition strips.
Here are a few closeup photos of the finished junk journal page.
Here is the finished Creative Freedom Junk Journal Page.
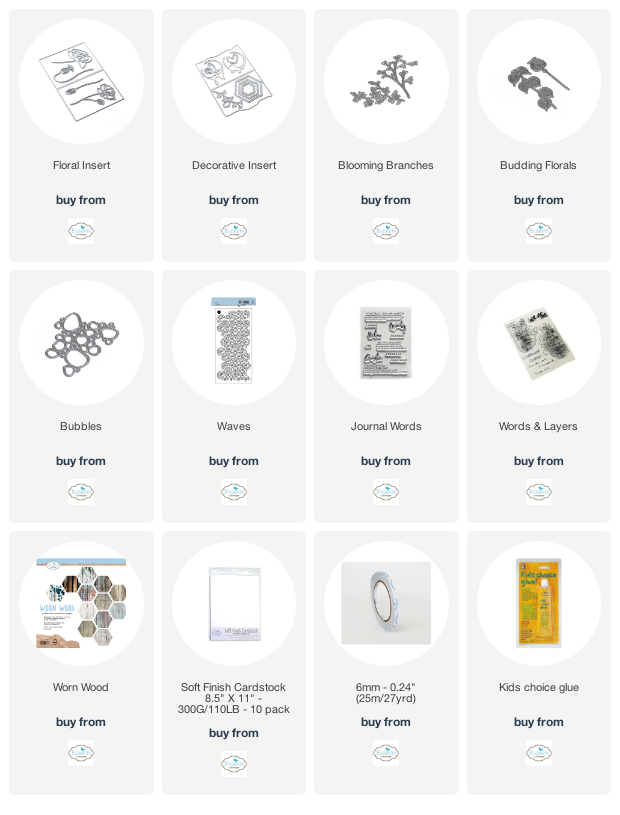
Elizabeth Craft Designs Supplies Used:
Other Supplies Used:
- Tim Holtz for Ranger Ink: Distress Ink - Black Soot and Blending Tool with Foam
- Ranger Ink: Jet Black Archival Ink and Texture Paste Opaque Matte
- Prima Marketing Inc.: Art Alchemy Impasto Paint - Green Apple, Wild Iris and Crimson
- Misc: Mini Stapler, Ribbon, Vellum, Cream Cardstock, Kraft Cardstock, Black Cardstock and White Gel Pen
I hope that my junk journal page has inspired you to recreate your own version at home.
- Katelyn


I love your work, so much to discover. Thank you for your inspiration.
ReplyDeleteThanks Marjolijn!
Delete