Happy Saturday!
I'm back with another flower project. Today's project is a Happy Birthday Card which features a variety of dies from the Paper Flower Collection, Joset Designs and Els van de Burgt Studio. You'll want to read below as I have a full tutorial on how to recreate my card at home.

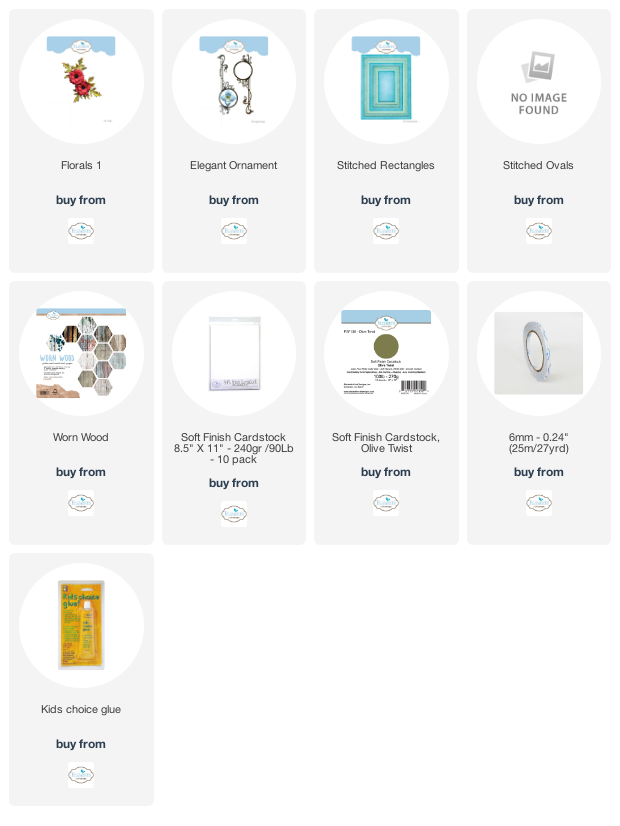
To start, choose a piece of paper out of the Worn Wood Paper Pack. Die cut a 4" Stitched Rectangle out of the patterned paper. Distress the edges of the rectangle. Ink the edges of the rectangle using Black Soot Distress Ink and a blending tool with foam.

Die cut a 3" Stitched Oval out of a piece of kraft cardstock. Die cut a 2 1/2" Stitched Oval out of White Soft Finish Cardstock. Distress the edges of both ovals. Ink the edges of both ovals using Black Soot Distress Ink and a blending tool with foam.

Die cut the Elegant Ornament out of a piece of copper foil. Cut the ornament into two pieces.

From the Words 1 - Celebration die, die cut the words Happy Birthday out of black cardstock.

The next three steps use the Florals 1 die.
Die cut the large leaf three times out of Olive Twist Soft Finish Cardstock. Die cut the small leaf four times out of Olive Twist Soft Finish Cardstock. Ink the edges of all the leaves using Black Soot Distress Ink and a blending tool with foam.

Die cut the large, medium and small flowers three times out of White Soft Finish Cardstock. Using a blending tool with foam, blend Dried Marigold Distress Oxide Ink over the entire surface of the nine flowers. Spritz the flowers. Once the flowers have dried, ink the edges of the flowers and leaves using Black Soot Distress Ink and a blending tool with foam.

Die cut the centres of the flowers three times out of black cardstock.

Adhere the 2 1/2" oval to the 3" oval. Foam square the 3" oval to the middle of the 4" square.

Adhere the elegant ornament pieces to the right hand side of the ovals.

Shape and adhere the poppies together.

Shape the leaves as desired. Adhere the leaves as desired on the right hand side of the ovals.

Foam square the three flowers over top of where the leaves meet on the oval.

Adhere the Happy Birthday words to the left of the flowers on the oval. To finish the card, cut a cardbase out of White Soft Finish Cardstock that measures 5 1/4" x 8", score at 4". Adhere the cardfront to the cardbase.

Here are a few closeup photos of the finished card.


Here is the finished Happy Birthday Card.

Elizabeth Craft Designs Supplies Used:
Other Supplies Used:
- Tim Holtz for Ranger Ink: Distress Ink - Black Soot, Distress Oxide Ink - Dried Marigold and Blending Tool with Foam
- Misc: Black Cardstock, Kraft Cardstock and Copper Foil
I hope that my card has inspired you to recreate your own version of my Happy Birthday Card.
- Katelyn
Tremendously beautiful greeting. I really, really like the dark inking around the edges of the flower petals.
ReplyDeleteAutumn Zenith 🎃 Witchcrafted Life
Thanks Autumn!
ReplyDelete