Happy Sunday!
For today's post, I've created this Winter Tag . I'm sharing a sneak peek of some of the new dies, stencils, and patterned papers from the Art Journal Specials Collection. You'll want to read below as I have a full tutorial on how to recreate my tag at home.

To start, choose a piece of patterned paper out of the Mystical Winter Paper Pack. Die cut the tag from the Winter Home Pocket out of the patterned paper. Next, you'll need the dot stencil out of the Pattern Stencil Pack. Place the stencil on the left hand side of the tag. Using a palette knife, put texture paste opaque matte through the stencil. Remove the stencil. Once the texture paste has dried, ink the edges of the tag using Black Soot Distress Ink and a blending tool with foam.

Choose another piece of patterned paper from the Mystical Winter Paper Pack. Die cut the large flower from the Florals of Winter die out of the patterned paper. Die cut the small flower from the same die set out of a piece of White Soft Finish Cardstock.

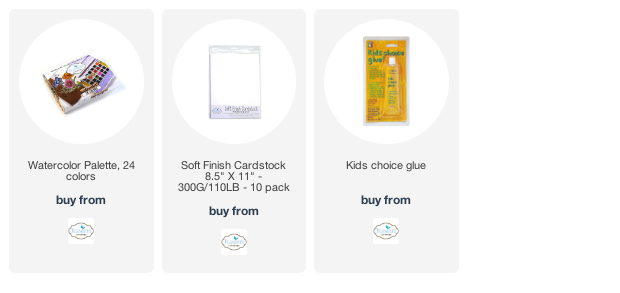
From the same Florals of Winter Die, die cut the branch out of a piece of White Soft Finish Cardstock. Using a waterbrush, colour the branch using the Watercolor Palette.

Pick a third piece of patterned paper from the Mystical Winter Paper Pack. From the Winter Edges die, die cut the winter word out of the patterned paper. Trim the ends to fit the tag as desired. Ink the edges of the strip using Black Soot Distress Ink and a blending tool with foam.

From the Winter Home Pocket die, die cut the three houses out of a piece of White Soft Finish Cardstock. Using a waterbrush and the Watercolour Palette, colour in the houses. Once the houses have dried, ink the edges of the houses using Black Soot Distress Ink and a blending tool with foam.

Adhere the two flowers and the branch as desired on the left hand side of the tag.

Staple the winter strip to the bottom right hand side of the tag.

Use foam squares and adhesive to adhere the houses to the bottom left hand side of the tag as desired.

To finish the tag, tie a piece of white twine through the hole at the top of the tag.

Here are a few closeup photos of the finished tag.


Here is the finished Winter Tag.

Elizabeth Craft Designs Supplies Used:
- Pattern Stencil Pack
- Winter Home Pocket
- Florals of Winter
- Winter Edges
- Mystical Winter Paper Pack
Other Supplies Used:
- Tim Holtz for Ranger Ink: Distress Ink - Black Soot and Blending Tool with Foam
- Ranger Ink: Texture Paste Opaque Matte
- Misc: Mini Stapler and White Twine
I hope that my tag has inspired you to recreate your own version at home.
- Katelyn
Very lovely design. The blend of industrial meets shabby meets elegance here is wildly appealing and works sooo well!
ReplyDeleteAutumn Zenith 🧡 Witchcrafted Life
Thanks Autumn!
Delete