Happy Sunday!
For today's project, I created this pretty Just For You Gift Box. To create my gift box, I've used a variety of dies from the Paper Flower Collection and Joset Designs. You'll want to read below as I have a full tutorial on how to recreate my gift box at home.
The next five steps use the Pizza Box Die.
From a piece of patterned paper, die cut the Pizza Box out of it. Ink the edges of the pizza box using Black Soot Distress Ink and a blending tool with foam.
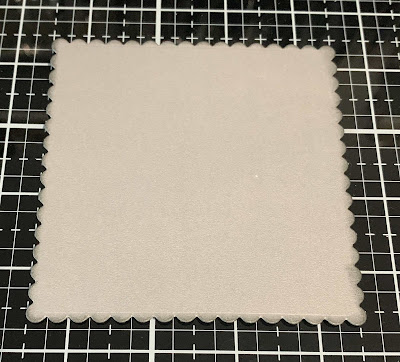
Die cut the scalloped square out of Pewter Soft Finish Cardstock. Ink the edges of square using Black Soot Distress Ink and a blending tool with foam.
Choose a piece of patterned paper out of the Worn Wood Paper Pack. Die cut the stitched square out of the patterned paper. Ink the edges of the square using Black Soot Distress Ink and a blending tool with foam.
Die cut the scalloped circle and the stitched circle out of kraft cardstock. Ink the edges of both circles using Black Soot Distress Ink and a blending tool with foam.
Choose a second piece of patterned paper out of the Worn Wood Paper Pack. Die cut the plain circle out of the patterned paper. Ink the edges of the circle using Black Soot Distress Ink and a blending tool with foam.
From the Words 2 - Thinking of You die, die cut the Just For You words out of Pewter Soft Finish Cardstock.
From the Florals 1 die, die cut the large leaf twice and the small leaf three times out of Olive Soft Finish Cardstock. Die cut the centres twice out of black cardstock. Die cut the large, medium and small flowers twice out of White Soft Finish Cardstock. Using a blending tool with foam, blend Candied Apple Distress Oxide Ink over the entire surface of the six flowers. Spritz the flowers. Once the flowers have dried, ink the edges of the flowers and leaves using Black Soot Distress Ink and a blending tool with foam.
Assemble the Pizza Box.
Adhere the worn wood square to the scalloped square. Foam square the scalloped square to the top of the pizza box.
Adhere the stitched circle to the worn wood circle. Adhere the worn wood circle to the scalloped circle. Foam square the scalloped circle to the middle of the stitched square.
Shape the leaves as desired. Adhere the leaves as desired on the left hand side of the circles.
Shape and adhere the poppies together.
Foam square the two poppies over top of where the leaves meet the circle.
To finish the gift box, adhere the Just For You words to the right hand side of the poppies as desired.
Here are a few closeup photos of the finished gift box.
Other Supplies Used:
- Tim Holtz for Ranger Ink: Distress Ink - Black Soot, Distress Oxide Ink - Candied Apple and Blending Tool with Foam
- Misc: Black Cardstock, Kraft Cardstock and Music Patterned Paper
I hope that my card has inspired you to recreate your own version of my Just For You Gift Box.
- Katelyn


No comments:
Post a Comment